Ping
This page provides information on how to configure Cloud CMS Single Sign On (SSO) for Ping Identity's PingOne Single Sign-on with SAML 2.0.
Cloud CMS provides Single Sign On (SSO) Enterprise support for a variety of Identity Providers using SAML 2.0 and/or JWT. For more information, see Cloud CMS Single Sign On (SSO).
You can learn more about Ping Identity and PingOne here:
https://www.pingidentity.com/en/cloud/pingone-enterprise.html
Set up PingOne
In this section, we'll set up Single Sign On with Ping Identity's PingOne SSO product.
Log into the PingOne Administration Portal
Login at https://admin.pingone.com/web-portal/dashboard#
and click APPLICATIONS
Create an Application
Create a new Application for Cloud CMS
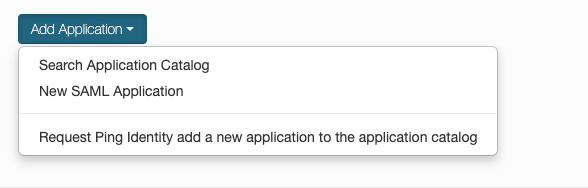
Under "My Applications": click the Add Application button and select "New SAML Application"
You will see a form like this:
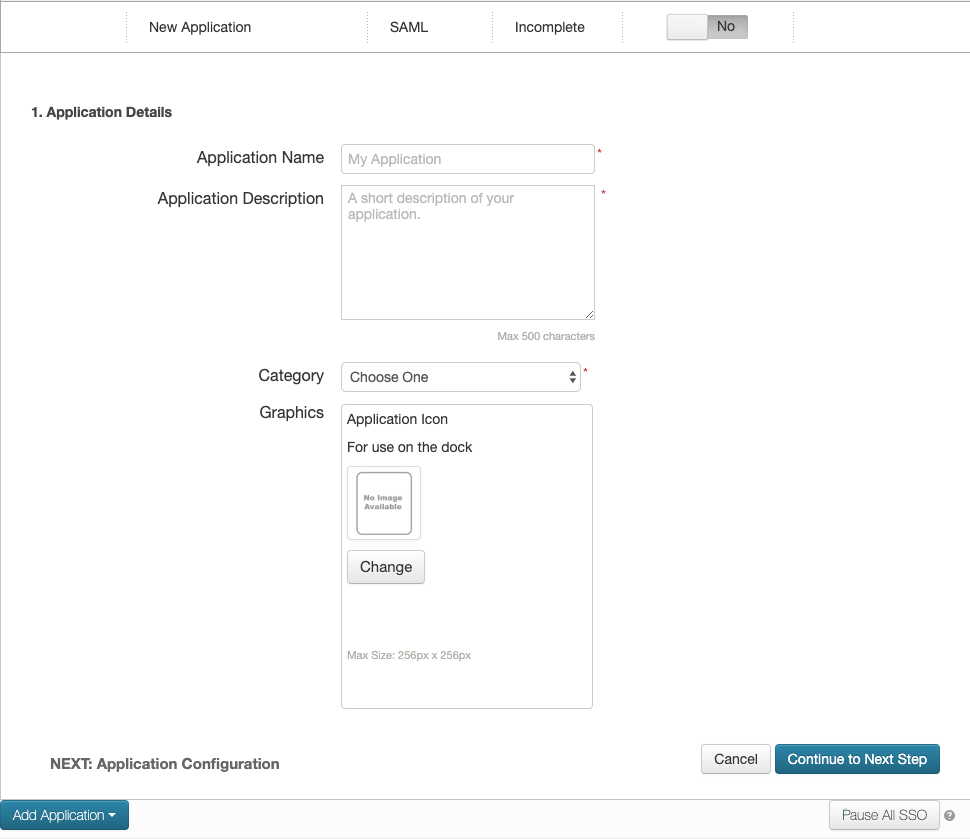
Enter an "Application Name" such as Cloud CMS, an "Application Description" and a "Category".
Click Continue to Next Step
You will see the following form:
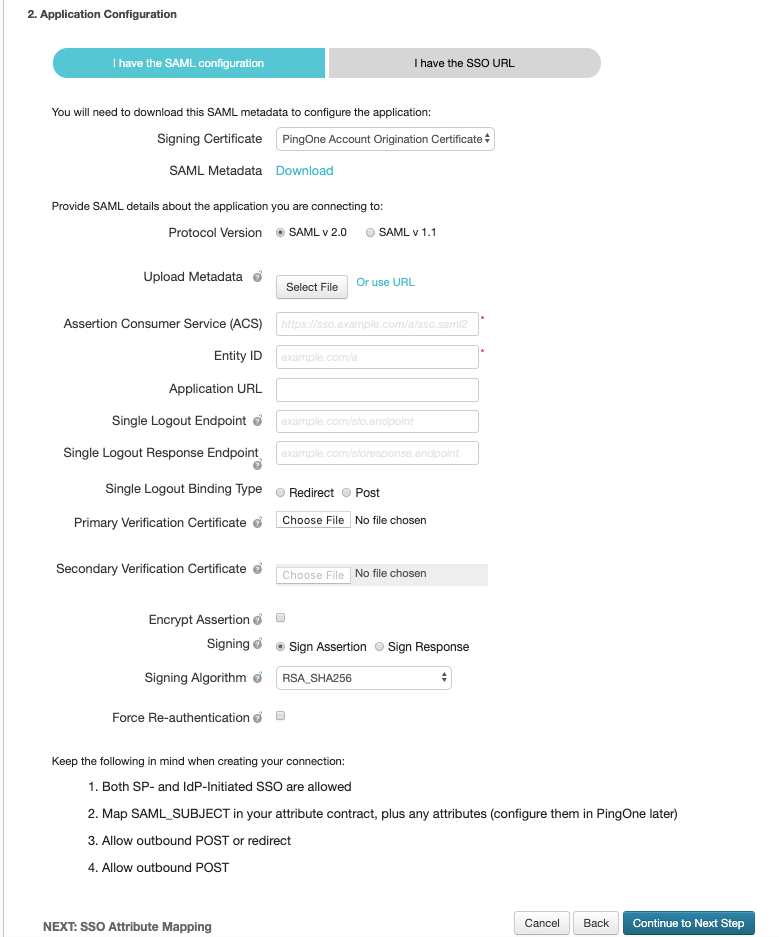
For "Assertion Consumer Service (ACS)" enter the Cloud CMS Assertion Consumer Service URL: https://{your-cloudcms-domain}.cloudcms.net/saml
Enter cloudcms for "Entity ID". Remember this value as it is required in the Cloud CMS SSO configuration in a future step. This value is only an example. It can be any name you like.
For "Application URL" enter the Cloud CMS Assertion Consumer Service URL: https://{your-cloudcms-domain}.cloudcms.net
Click Continue to Next Step two more times and click Finish
From the settings of the new "Application", copy the URL value under Initiate Single Sign-On (SSO) URL. You will need this URL in the Set up Cloud CMS step below.
Set up Cloud CMS
In a new browser window, log into the Cloud CMS user interface. Click on Manage Platform and then pick SSO on the left-hand menu.
Select SAML 2.0 from the radio button list.
And then fill out the form.
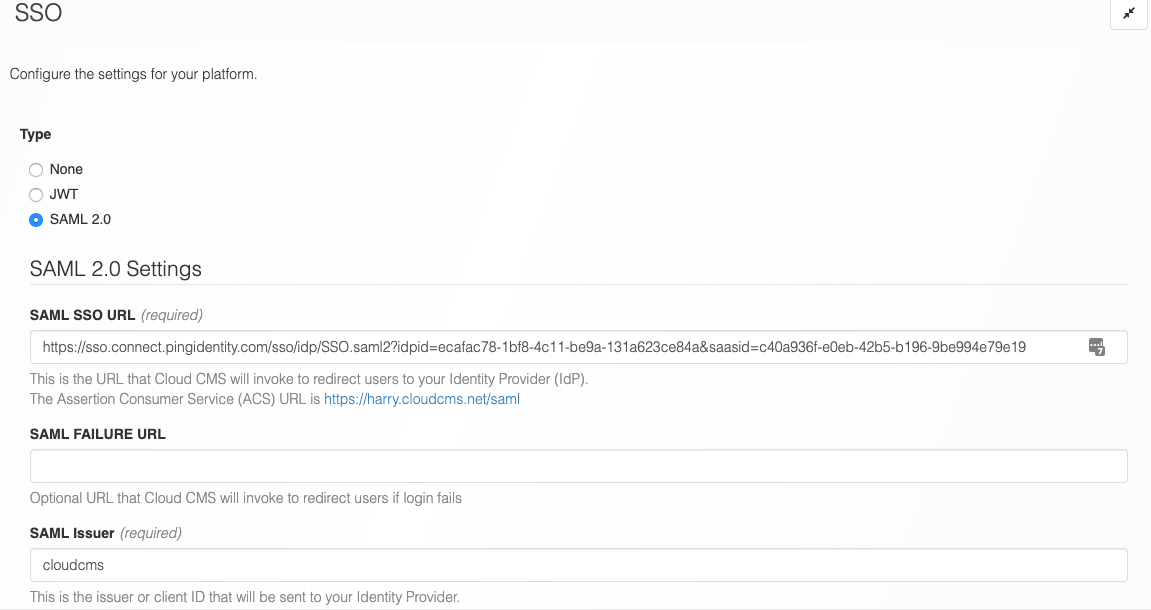
The following is required:
The
SAML SSO URLshould be the Initiate Single Sign-On (SSO) URL value from your PingOne "Application" you created above.The
SAML Issuershould match your PingOne Application's Audience URI
Save your changes and log out.
Verify it works
You can now verify that Cloud CMS is configured to use SAML 2.0:
- Log out of your current Cloud CMS account
- Log back in
- While Logging in again, you will be re-directed to PingOne
- Log into PingOne with your username and password.
- If the credentials match, you will be redirected back to Cloud CMS.
- Cloud CMS will automatically log you in and create your user if it doesn't yet exist.