Google GSuite
This page provides a walkthrough of how to configure Cloud CMS Single Sign On (SSO) for Google GSuite.
Google GSuite provides support for SSO (single-sign-on) to allow users to authenticate to Cloud CMS using their Google accounts. Google plays the role of the Identity Provider and uses SAML 2.0 to assert authentication to Cloud CMS.
You can learn more about Google GSuite here:
https://gsuite.google.com/
Create a SAML App
To configure Cloud CMS to use Google GSuite, you must first log in to GSuite as the Google GSuite administrator.
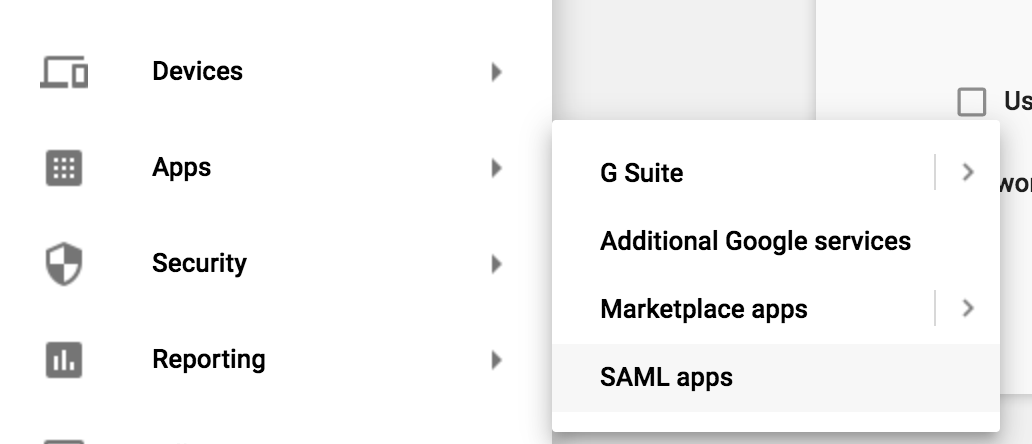
Bring up the menu on the left-hand side, go under Apps and select SAML Apps.
Click on the + button to create a new SAML App.
This will bring up a modal dialog that will let you pick from pre-configured application types. It'll look something like this:
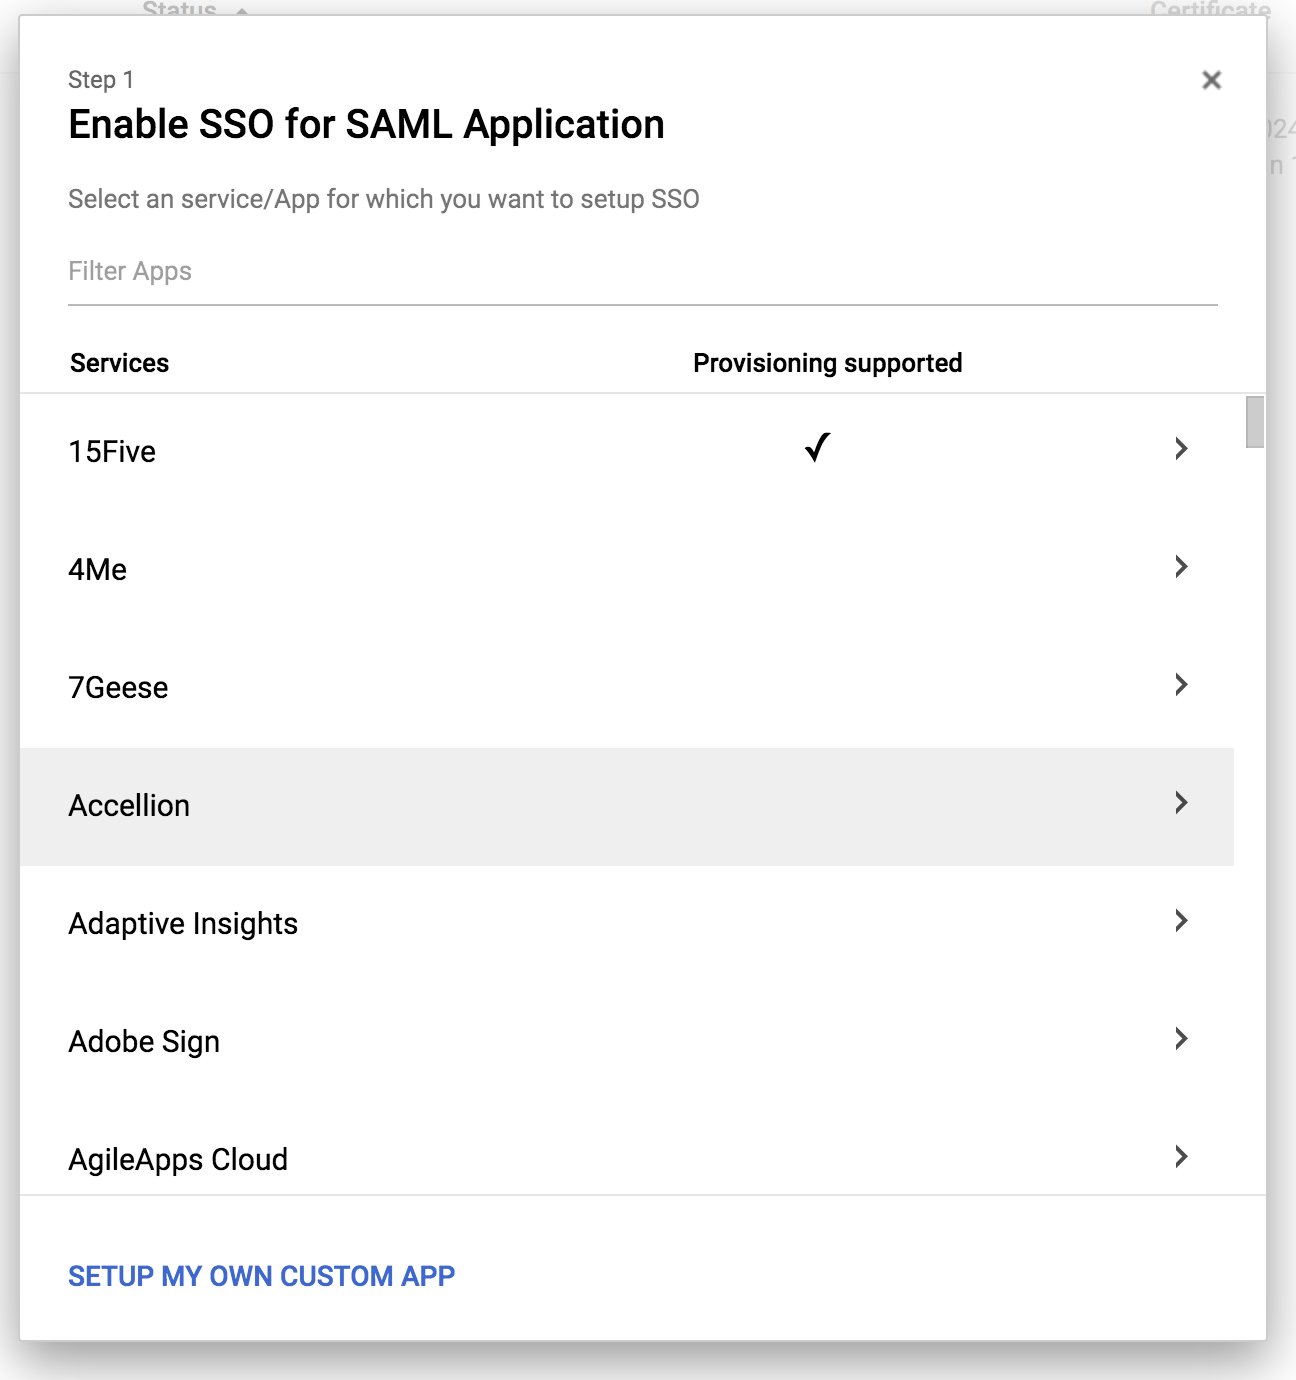
Click on Setup My Own Custom App.
The next screen will show you some important information that you should keep track of.

We advise keeping track of the following in a text editor (you'll need them later).
- The SSO URL. This looks like
https://accounts.google.com/o/saml2/idp?idpid={your_identity_provider_id}
- The Certificate PEM. Download the certificate and open it with text editor. It looks something like this:
-----BEGIN CERTIFICATE-----
gTCkNhbGSIb3DQEBCwUAM9Hb29nbGUgRm9yIFdvcmsxHsxFDASBgNVBAoTC0dvb2dsZSBJMIIDME
bmMuMRYVBAGlmb3JuaWEwHhwFAYDVQQHEw1Nb3VudGFpbiBWaWV3MQ8wDQYDVQQDEwZHbMA0GCSq
b2dsZSBGb3IgV29yazELMAkGA1UEBhMCVVMxEzARBgNcNMTkwNjEy29nbGUxGDAWBgNVBAsTD0dv
nRhaW4gVmlldzEPMA0GA1UEAxMGR29dDCCwIBAgIgYDVQQKEwtHb29nbGUgSW5jLjEWMBQGA1UEB
TW91bGAWtMJVvZ2xlMRgwFgYDVQQLEwMTQ0NDAyWhcNMjQwNjEwMTQ0NDAyWjB7MRQwEAlygAxMN
CzAJBgNVBAYTAlVTMRMwEQYDVQQIEwpDYWxpZm9ybmlhMIIBIjANBgkqhkZYiBf0B0UsTrhgofzp
iG9w0BAQEFAAOCAQ8Afn87yWVfvaxIeoCX9r/6vN0SiiWIk3W5+PbVOWCpMyXDtKefCV7u/6W0vS
MIIBCgKCAQEAz94+gF87hq4oMjHV9YpFVM5IMmq4zkn3eM47XCunIfz9cZi9QvIm9bxSFoNmZ4q8
mF0MjumeCfr0kjRtf51Dch4GZ0ACl2wM30LhB+HDAiVuBtBBIB72yo+MHE2SWEGQOin5rBpLdpaX
MnU6Ef9MQXyT8+zLcGe/P0/WLuejynN11UW4833SqEUToI4yx0iJZ1JXZjXnN1MvUKBUzunaBRwx
hp7CUZQ7UpoiB7K7sfLBzrRZHKTIV8Mh2v1FtXzJi2UEfoTGcWBMMWY3iQowIDAQABMA0GCSqGSI
b3DQEBCwUAhWClrldKGPsn93MCE38zULg+PJ7jalcwhjYwdhT2Jfhe8joOteg9ISc13HBoe1XgAN
pS0tkPmLFcl9ngNTZaF/+OQNOTyI0DZFBxZA4IBAQCGLdI/1WeffucbT6AO/XrYEf9MQXyT8+zLc
haMAcg1BZyoImPyRLYunR5HZunar0fHsBKXusg3lXHJe7kBnLy9ABuMbmSkcAqQ8VyvFh4KihFvP
qm/LjKRk+QIYwPt7um+vroJW5tiC1tWBMPRoGTtZ4mFP095zV7MEwiUmPBgkqhkZYiBfGer/6vNa
bet5a/LQIF0egCVcFGMQrgOQ1nLJjoJW3tYMPpfaQ44khuZfG/nNL3Xfpul5dxuC2Vp7Sv0apcUf
-----END CERTIFICATE-----
Then click on Next.
The next screen lets you set up some basic information for your SAML App.
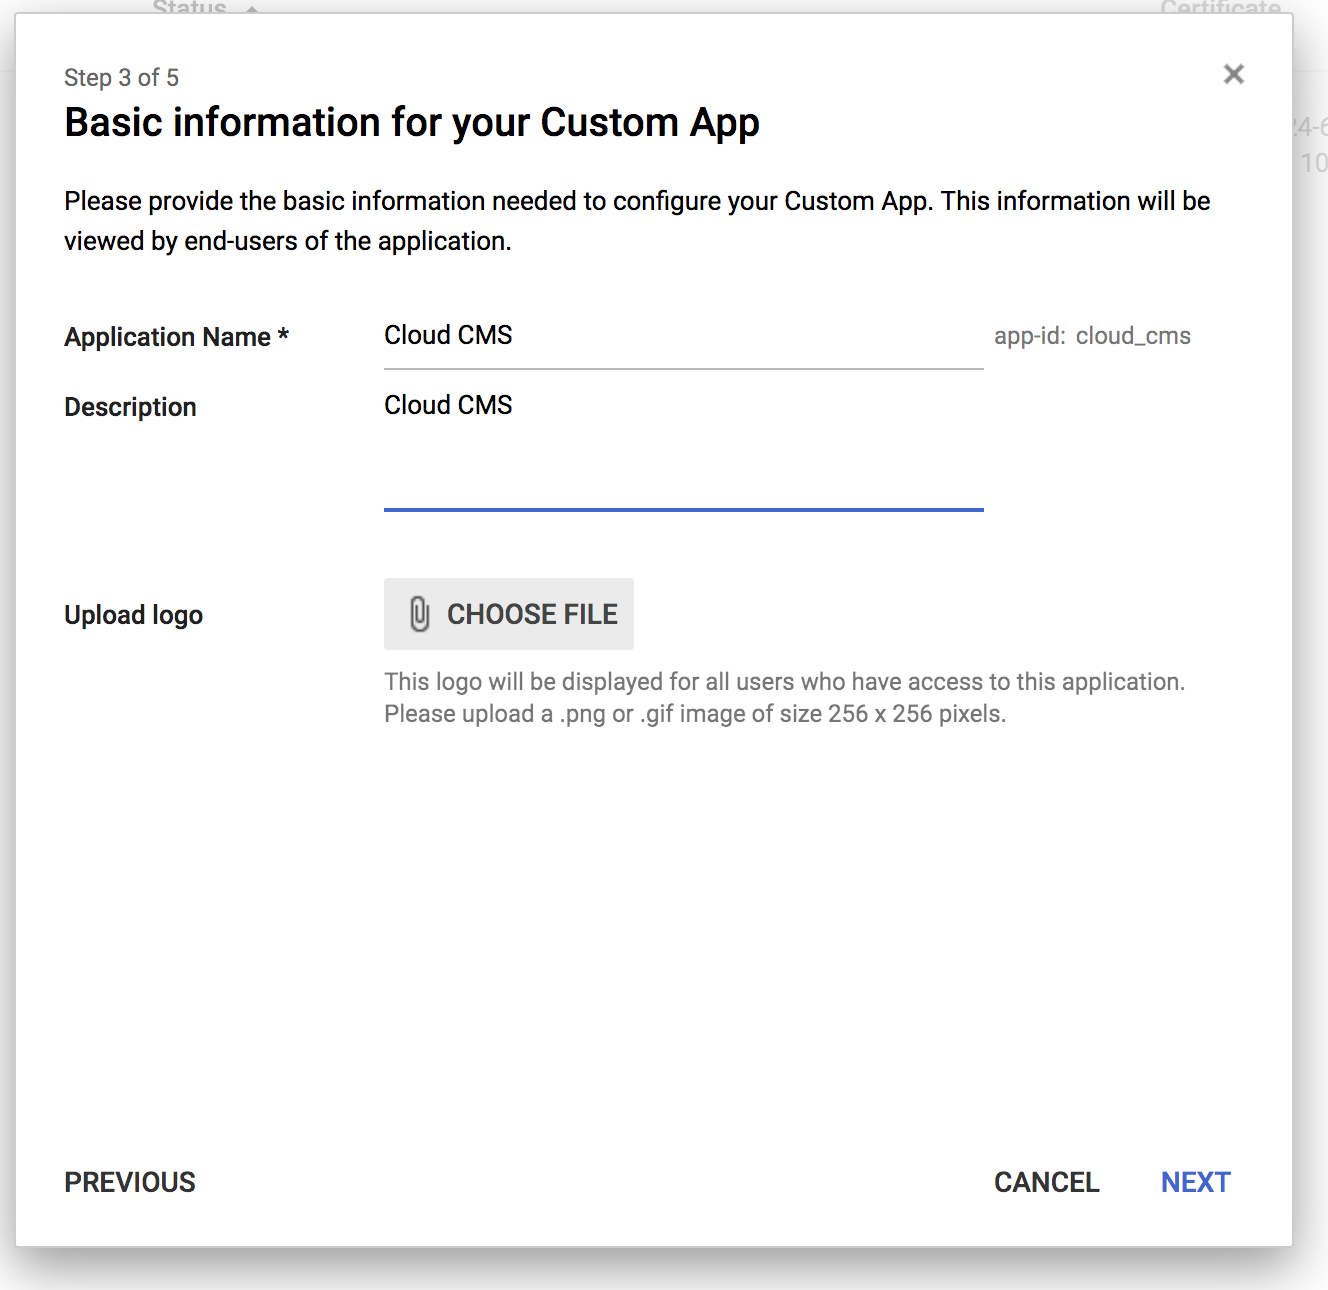
We recommend naming it Cloud CMS to keep things simple.
On the next screen, you will need to tell Google about Cloud CMS.
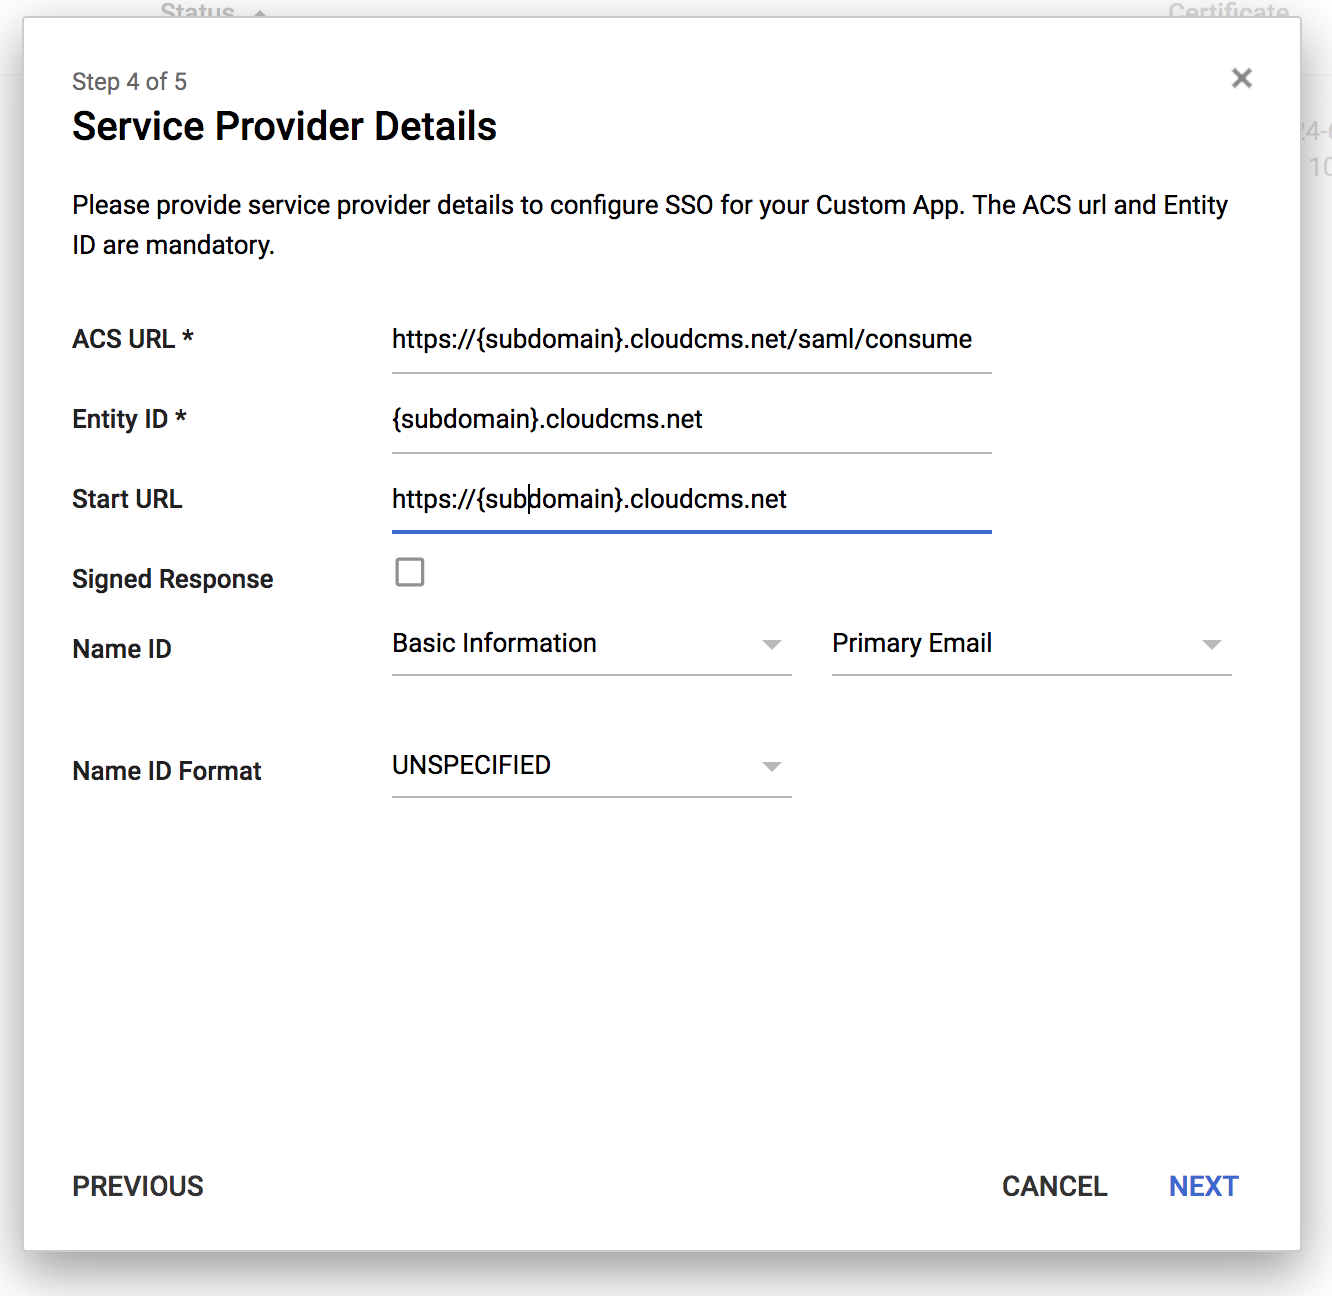
The values you should fill in here will depend on where your Cloud CMS UI lives.
If you are a SaaS customer and your subdomain is abc, then you would fill in the following:
- ACL URL:
https://abc.cloudcms.net/saml/consume - Entity ID:
abc.cloudcms.net - Start URL:
https://abc.cloudcms.net
In addition,
- You should leave Signed Response unchecked.
- For Name ID, leave this as Basic Information > Primary Email.
- For Name ID Format, leave this as Unspecified.
Then click on Next.
You should now set up SAML Attribute mappings for the following properties:
emailfirstNamelastName
Use the screen to set things up so that it looks more or less like this:
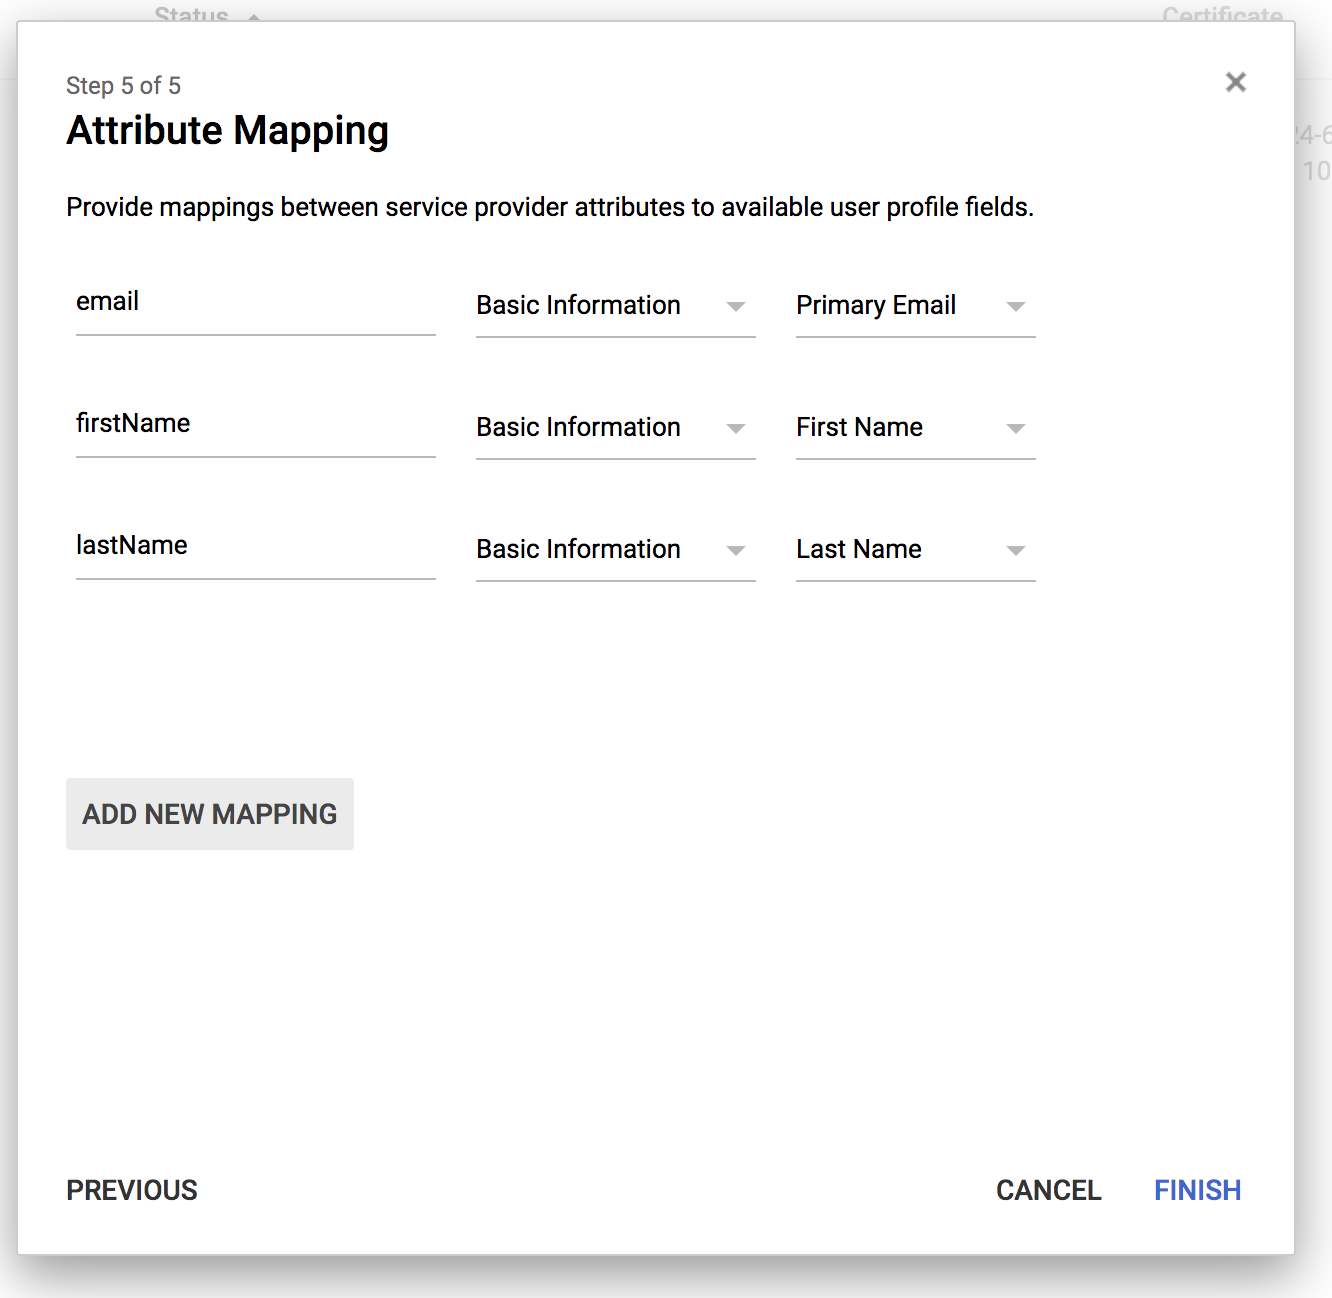
And then click on Finish.
Enable your SAML App
You should now see your SAML App appear in the list of SAML Apps you've configured for GSuite.

Click on the SAML App to bring up its detail view.
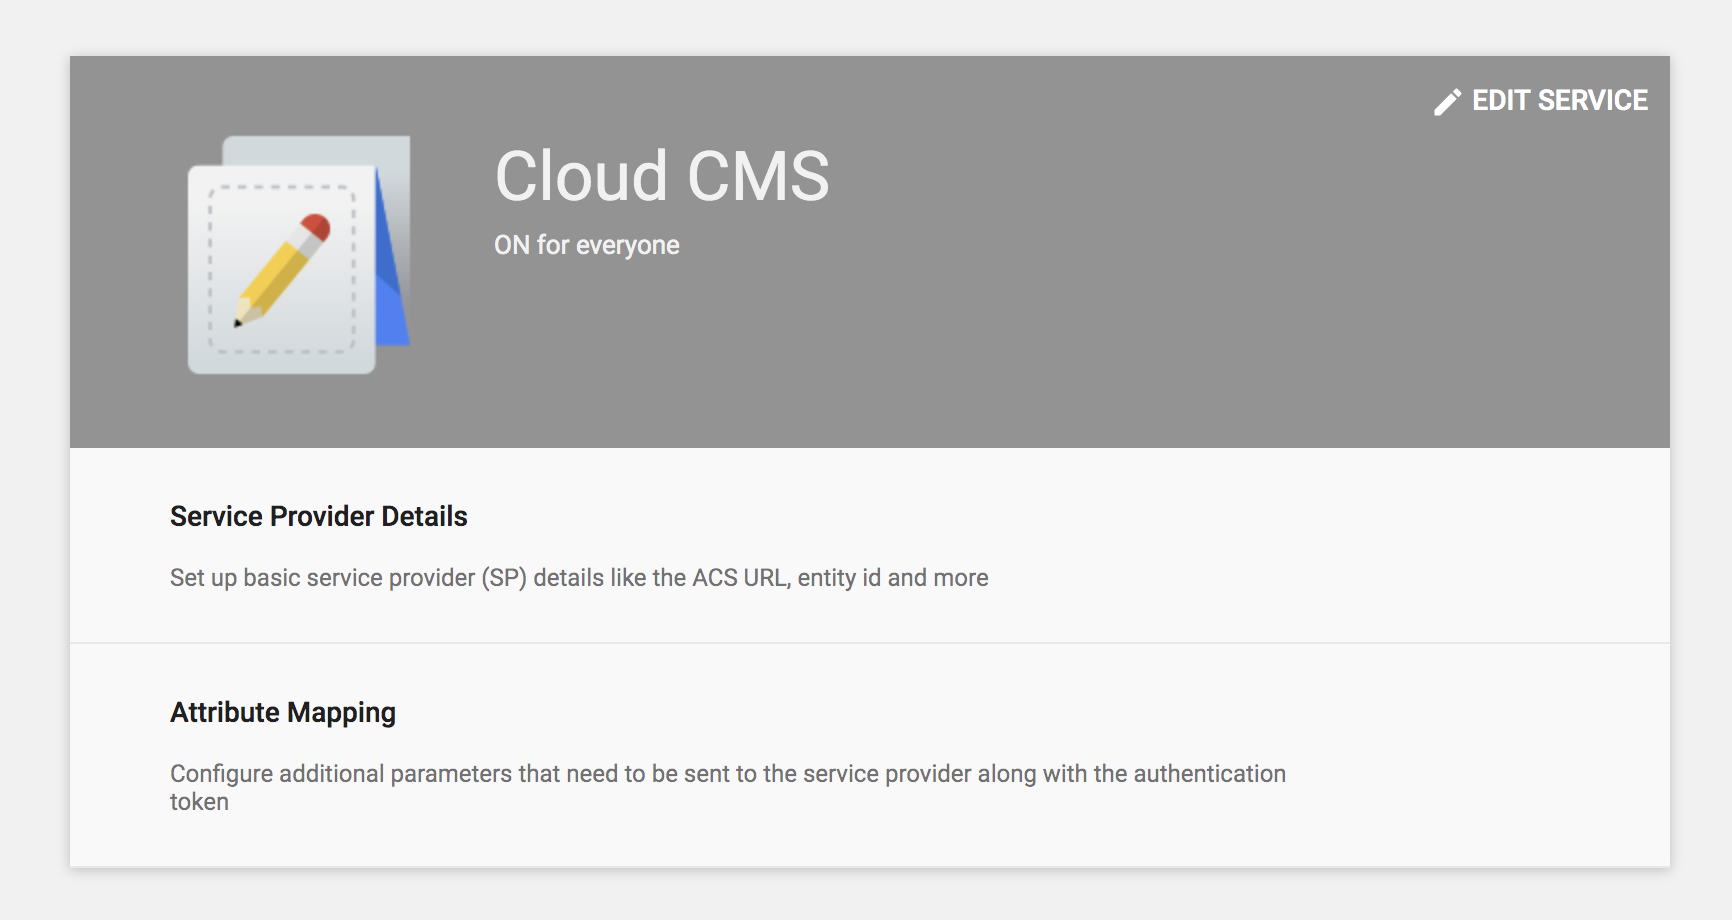
Click on Edit Service.
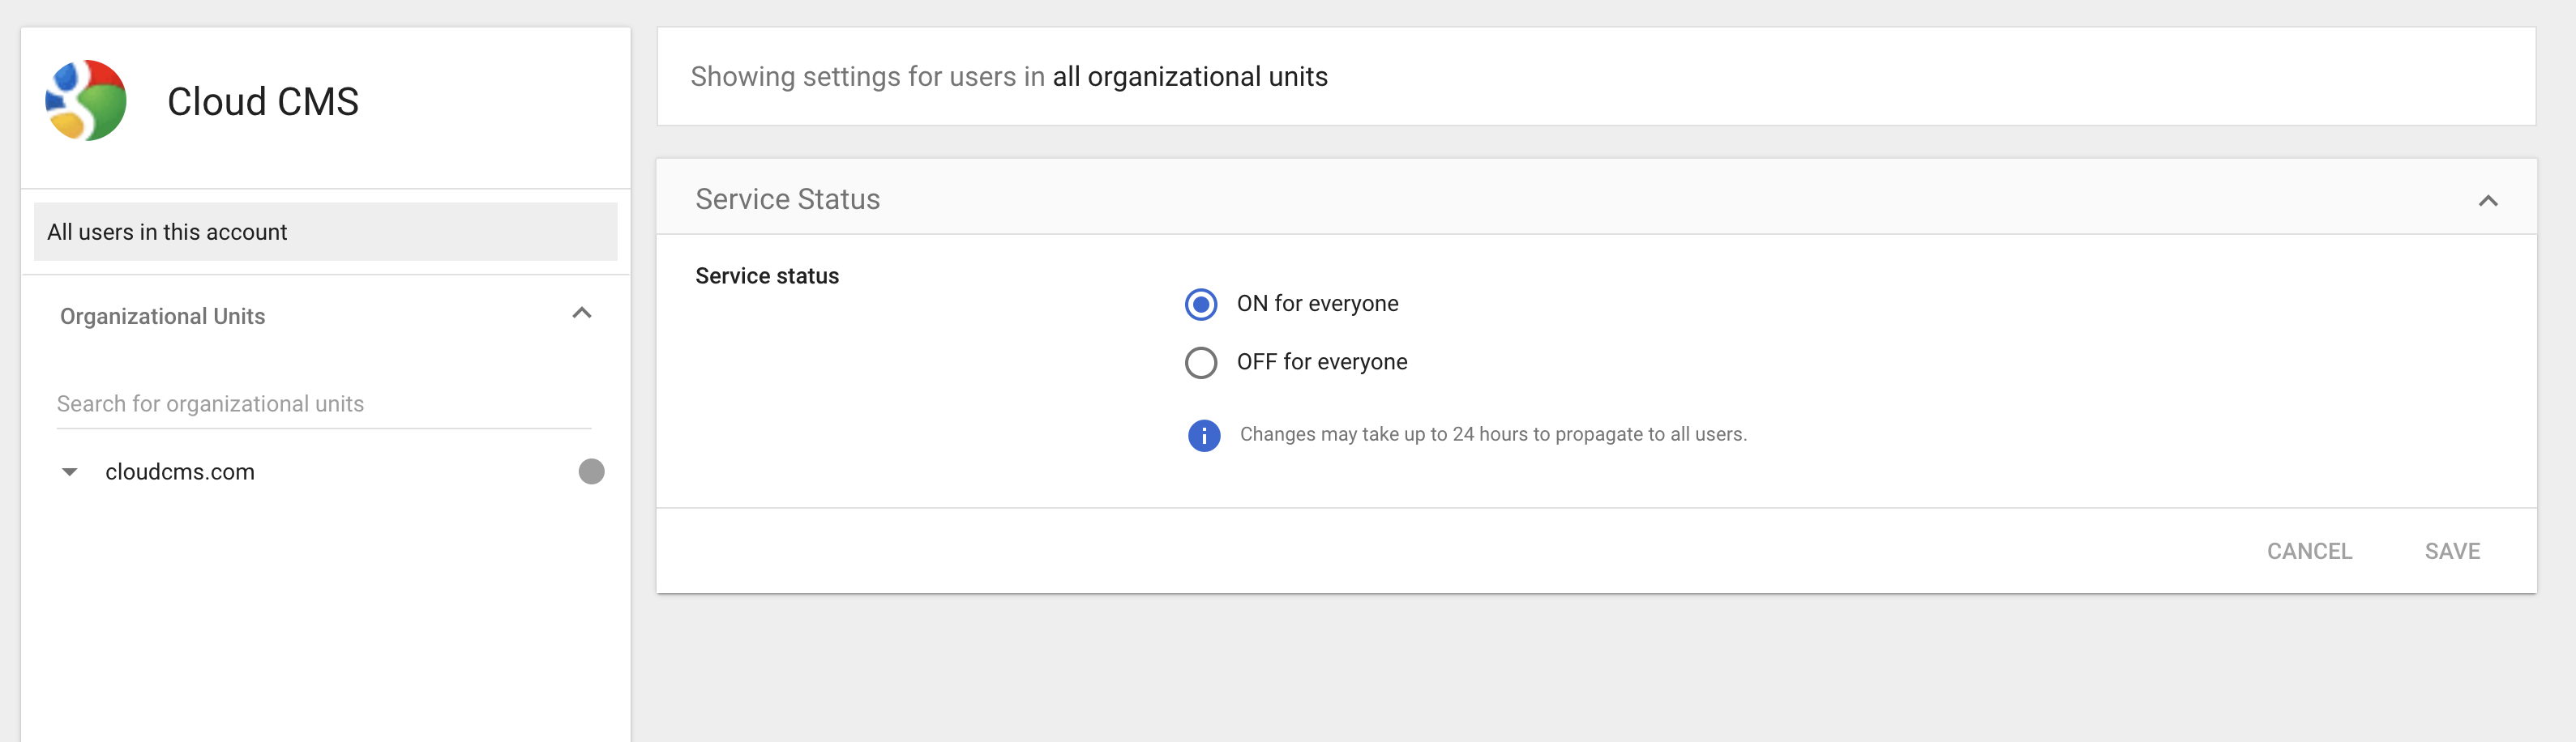
Make sure that "ON for everyone" is selected and click on Save.
This will enable the SAML App and make it possible for Cloud CMS to log in using SSO.
Configure Cloud CMS
In the previous steps, we set up Google GSuite to support a SAML SSO flow that will originate from Cloud CMS. We now need to set up Cloud CMS to connect to Google GSuite to initiate and complete this flow.
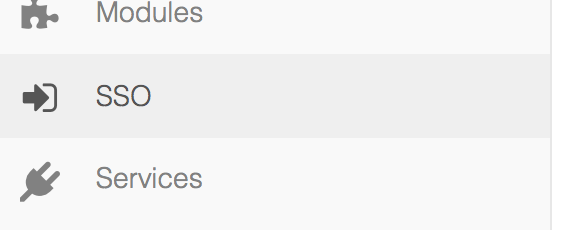
Log in to Cloud CMS as a Platform Manager and then click on SSO on the left-hand side.
For the SSO Type, select SAML 2.0 and the configure the first set of fields as shown here:
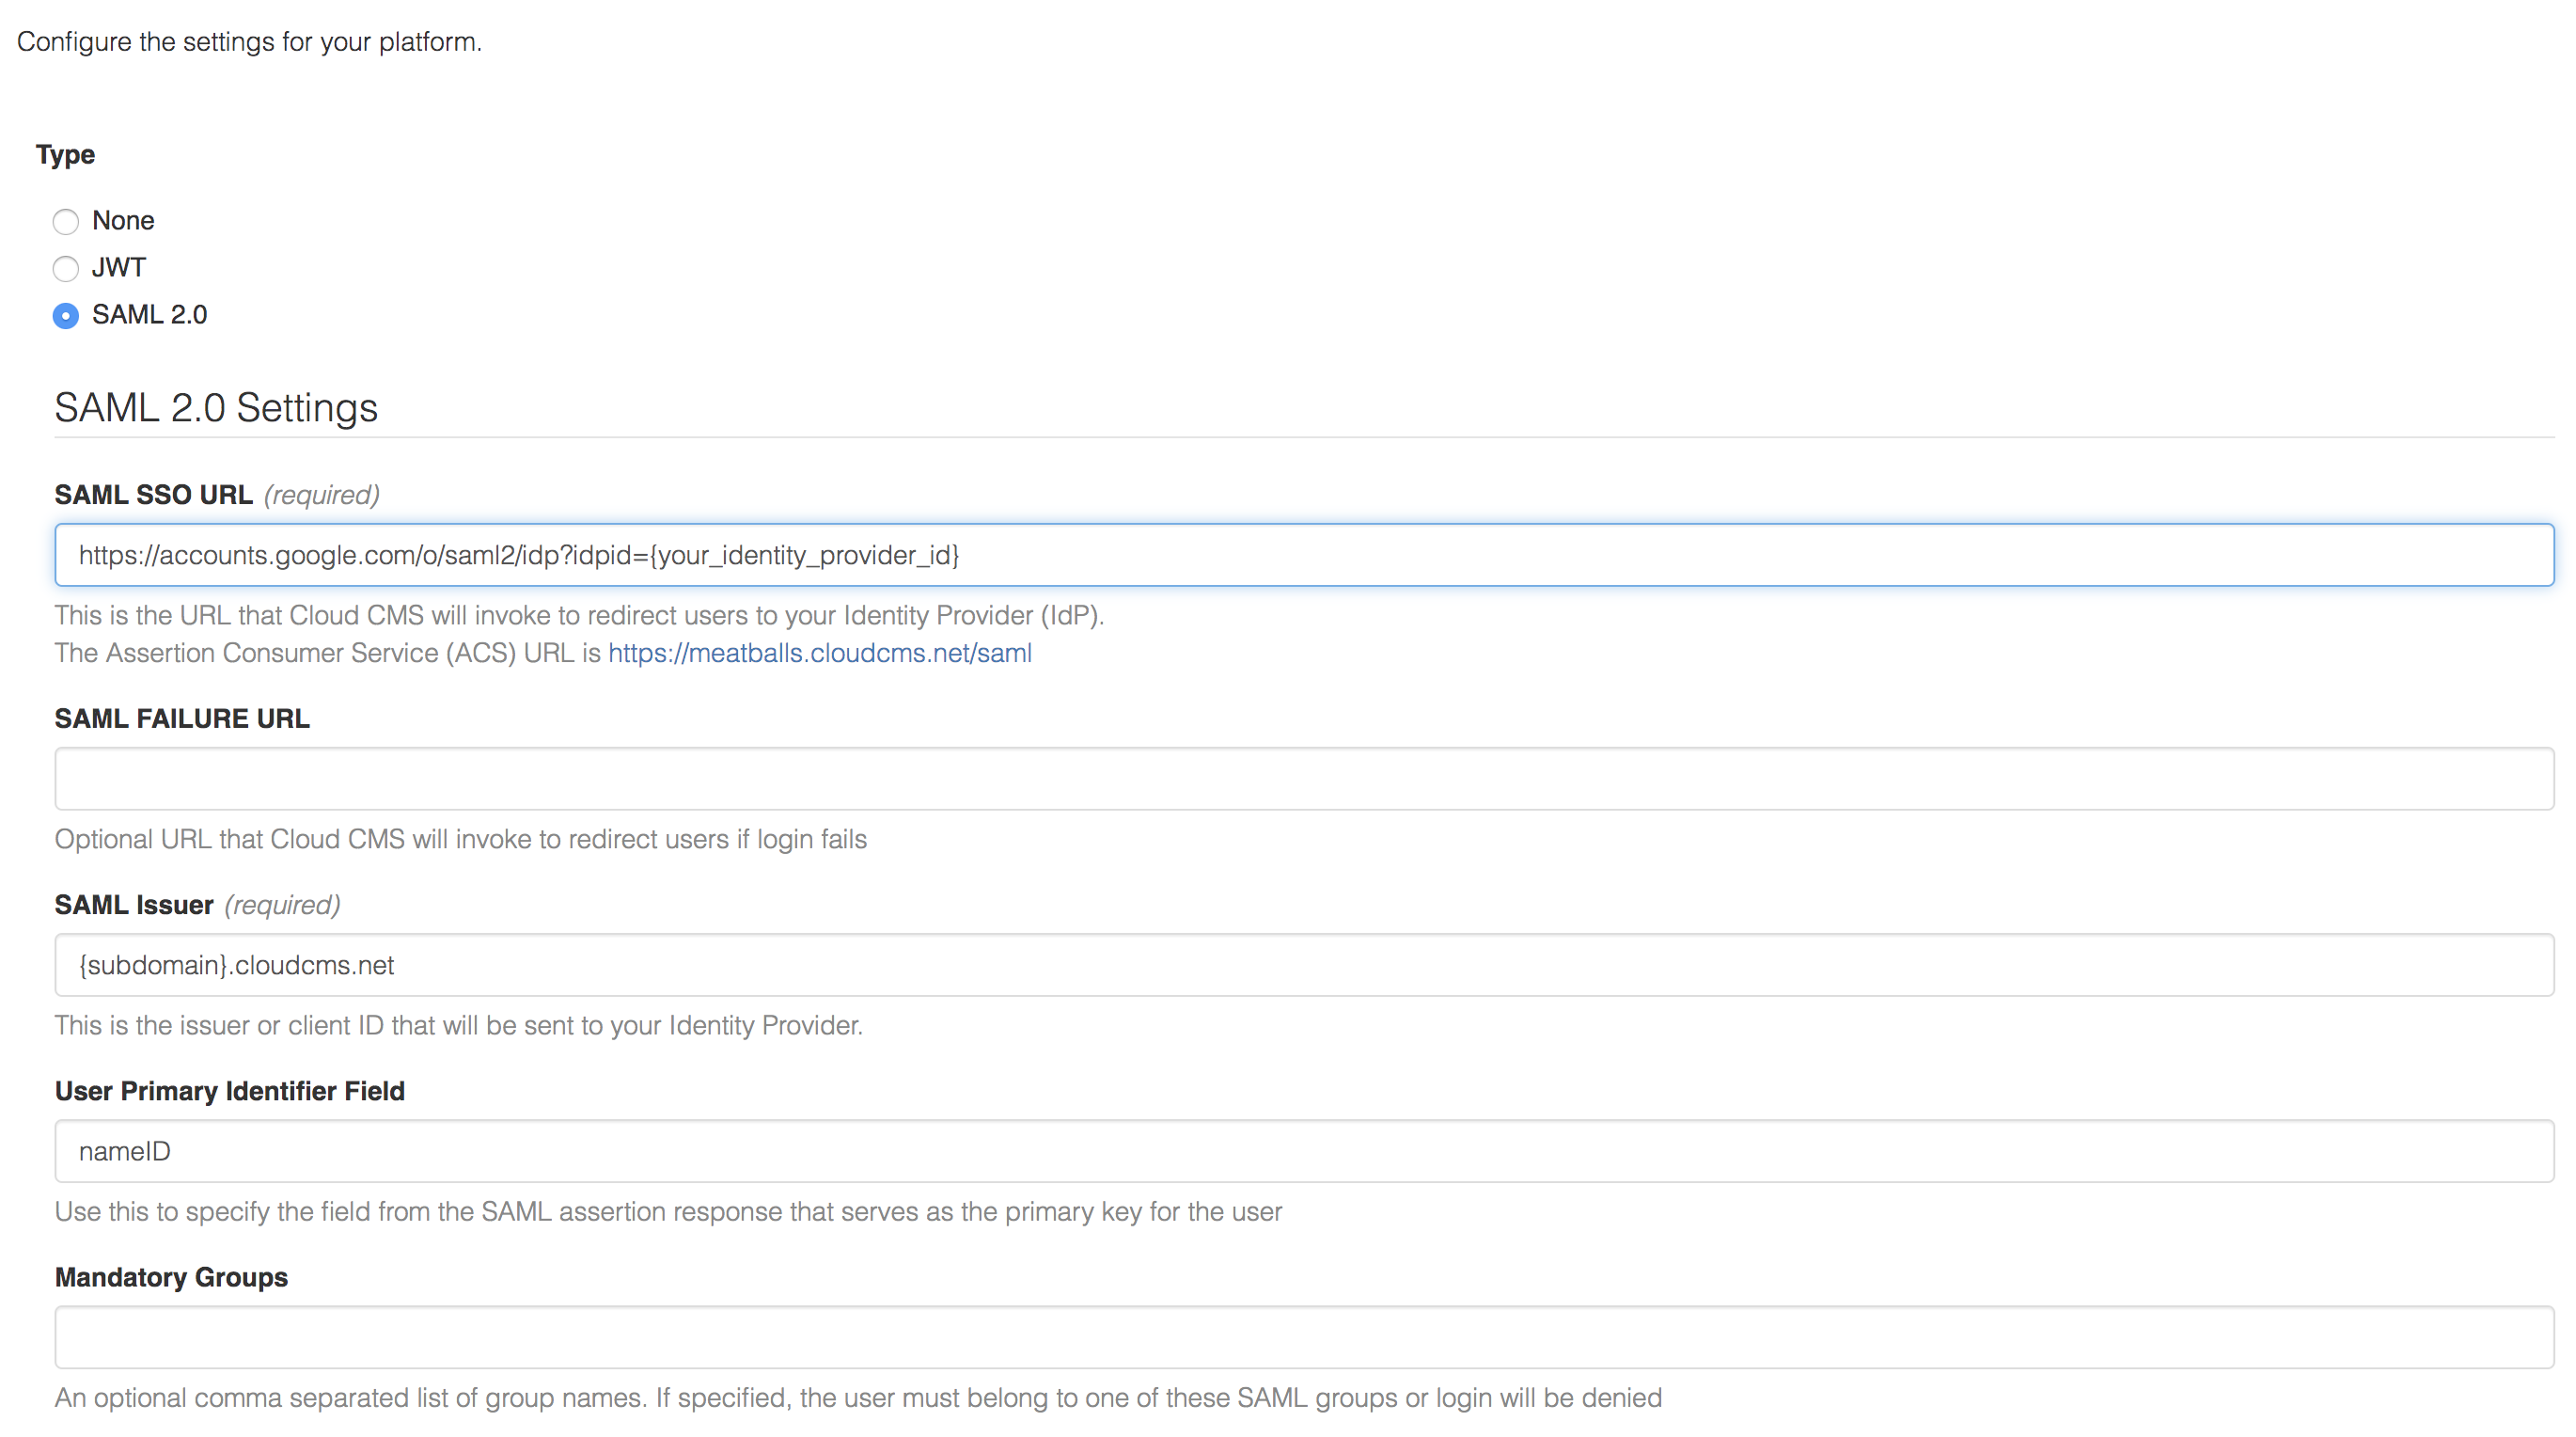
- For SAML SSO URL, put in the value for the Google GSuite SSO URL from above. This will look like:
https://accounts.google.com/o/saml2/idp?idpid={your_identity_provider_id}
Fill in the correct value for the {your_identity_provider_id} as per the URL you retained previously.
- For SAML Issuer, put in the value for the Google GSuite Entity ID. This will look like:
{subdomain}.cloudcms.net
Fill in the correct value for your Cloud CMS subdomain.
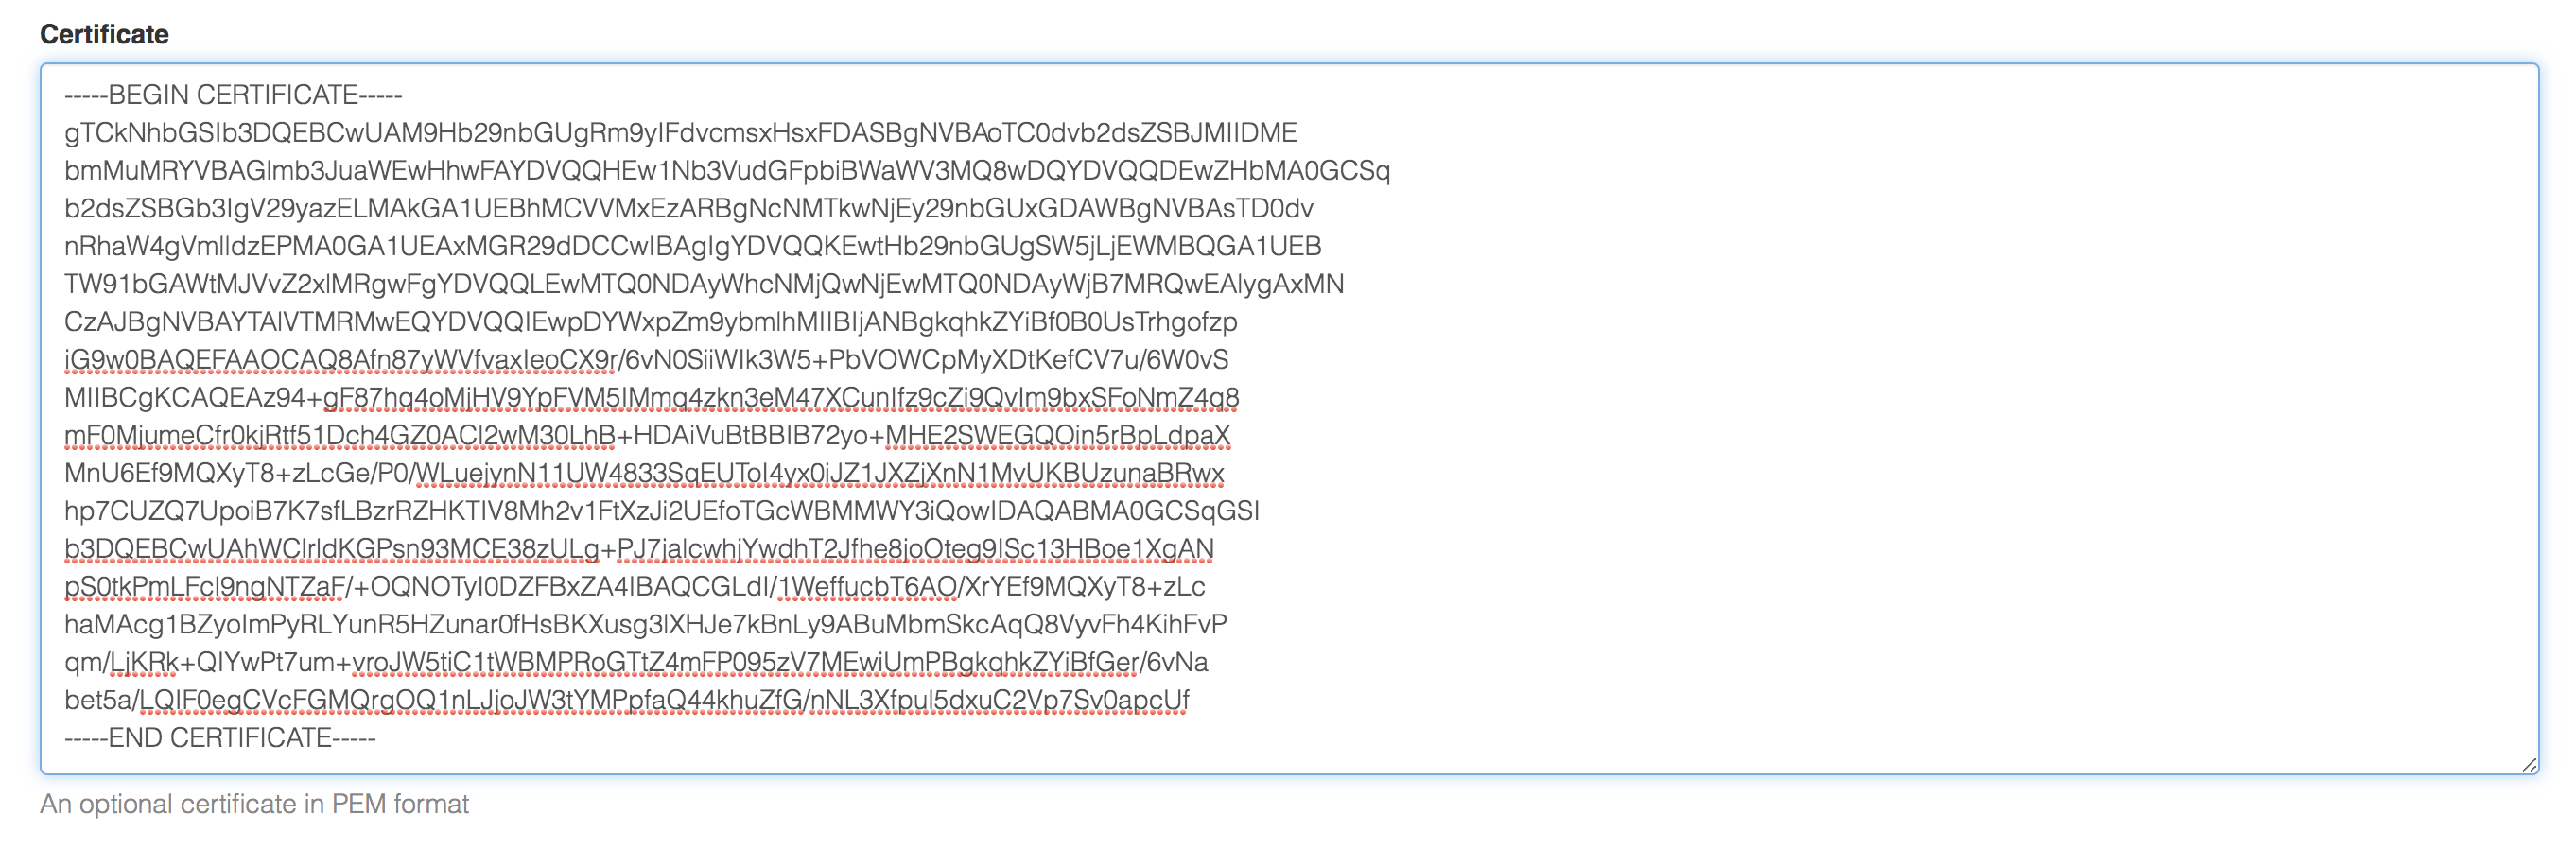
Under Certificate, paste in the PEM value of your certificate.
And add the following user field mappings
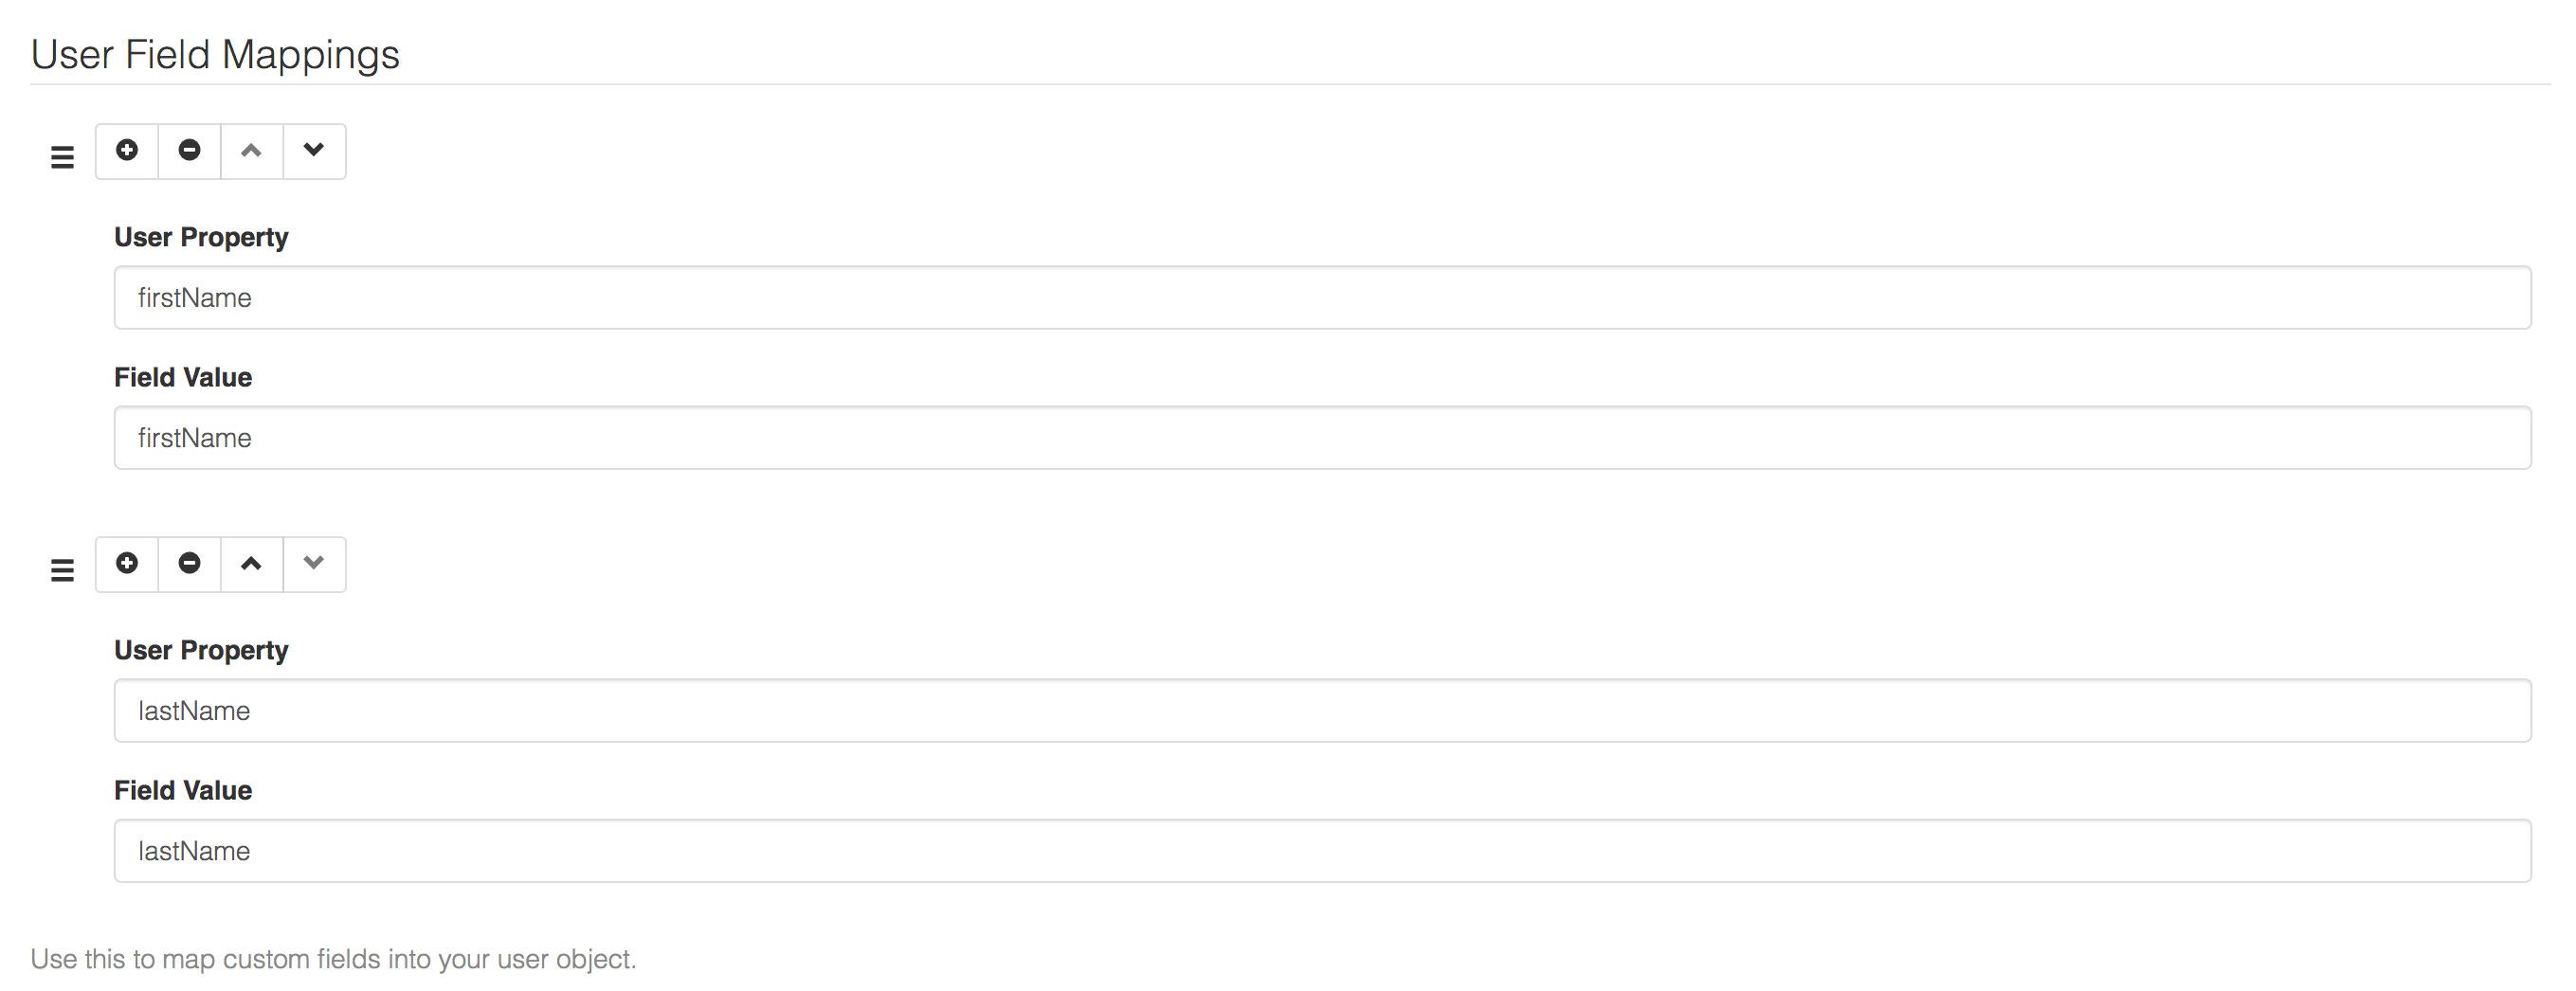
The user field mappings will pull the firstName and lastName SAML Assertions (which you told Google GSuite to supply) into your Cloud CMS user accounts. That way, you'll be able to tell who is who. The primary ID for any synchronized Google users into Cloud CMS is their email address and the email address will automatically appear in the Cloud CMS user's email property.
Click on Update to save your changes.
Trying it out
We recommend logging out of both Cloud CMS and Google to try this out.
To see this in action:
- Go to your Cloud CMS login page:
https://{subdomain}.cloudcms.net
- Cloud CMS will redirect you to Google's login, similar to this:
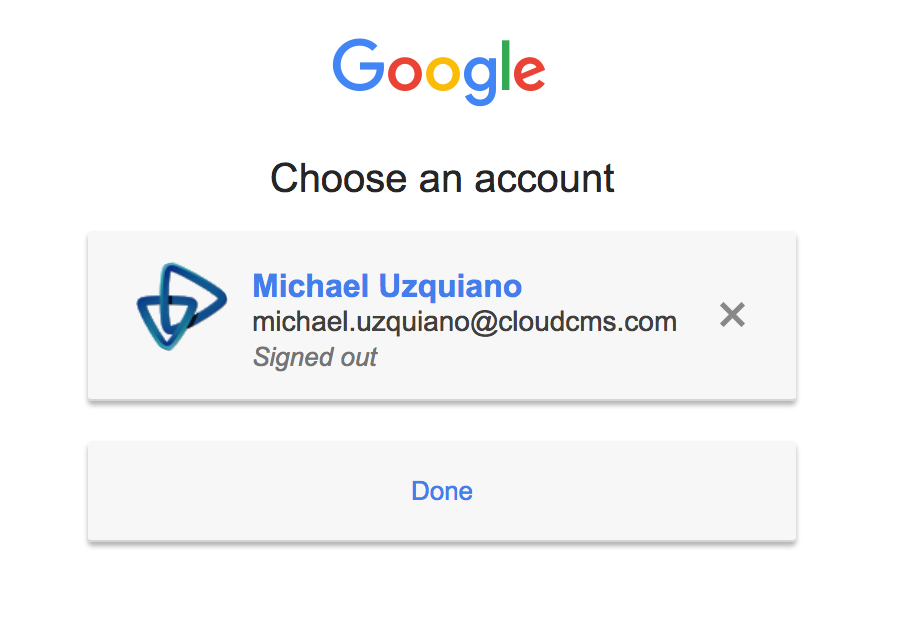
Log in to Google. Just provide your username and password to Google like you normally would.
You'll be redirected back to Cloud CMS. And then you'll automatically be signed in. In the upper-right hand corner, you'll see your authenticated user information, like this:
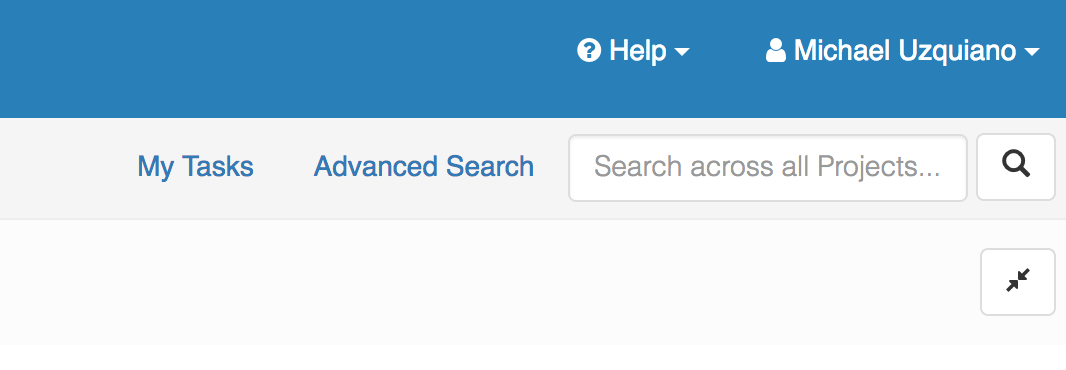
Cloud CMS automatically parses the SAML 2.0 response from Google and validates it. It uses the email, firstName and lastName information to synchronize the user account.
If the user account doesn't yet exist within Cloud CMS, it is created.
It if already exists within Cloud CMS, it is updated when you log in, automatically keeping your Cloud CMS account information in sync with Google GSuite.