Example Publishing Setup
The following are the steps to config a typical Publishing setup (Publish and Unpublish):
Step 1: Create Projects
Create two projects
Create an "Authoring" project
Create a "Live" Project
Step 2 : Create a Deployment Target
Deployment Target is the endpoint where the package will be deployed or sent.
Go to Platform
Go to Deployments Targets under
DeploymentsLeft Navigation MenuClick on Create a Deployment Target
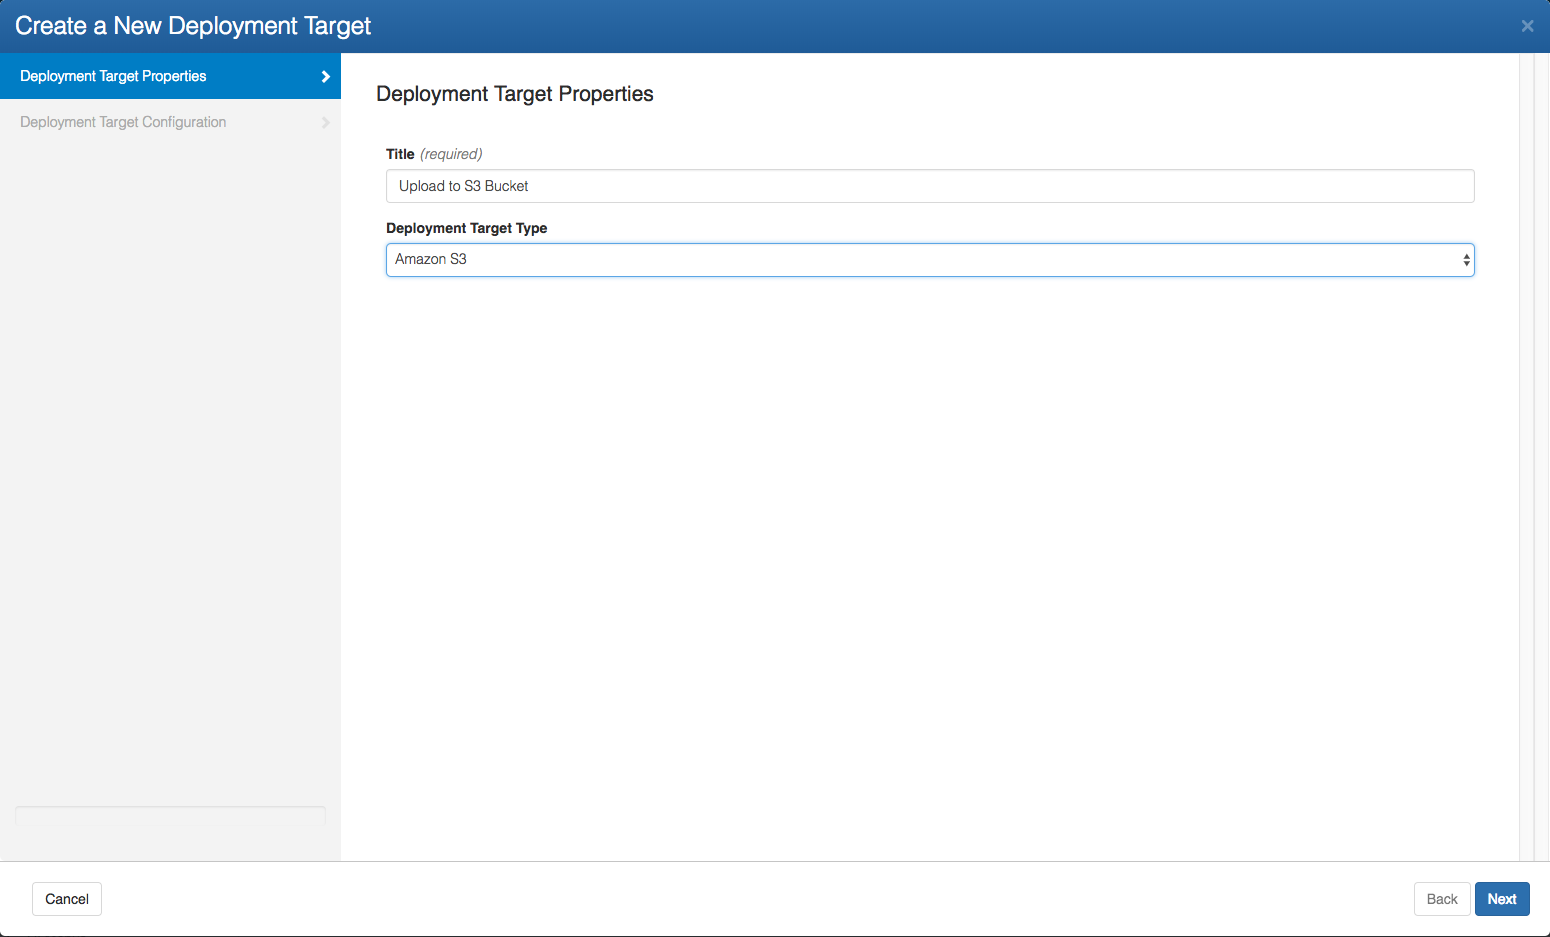
Title : "Live Web Site"
Deployment Target Type : "Branch"
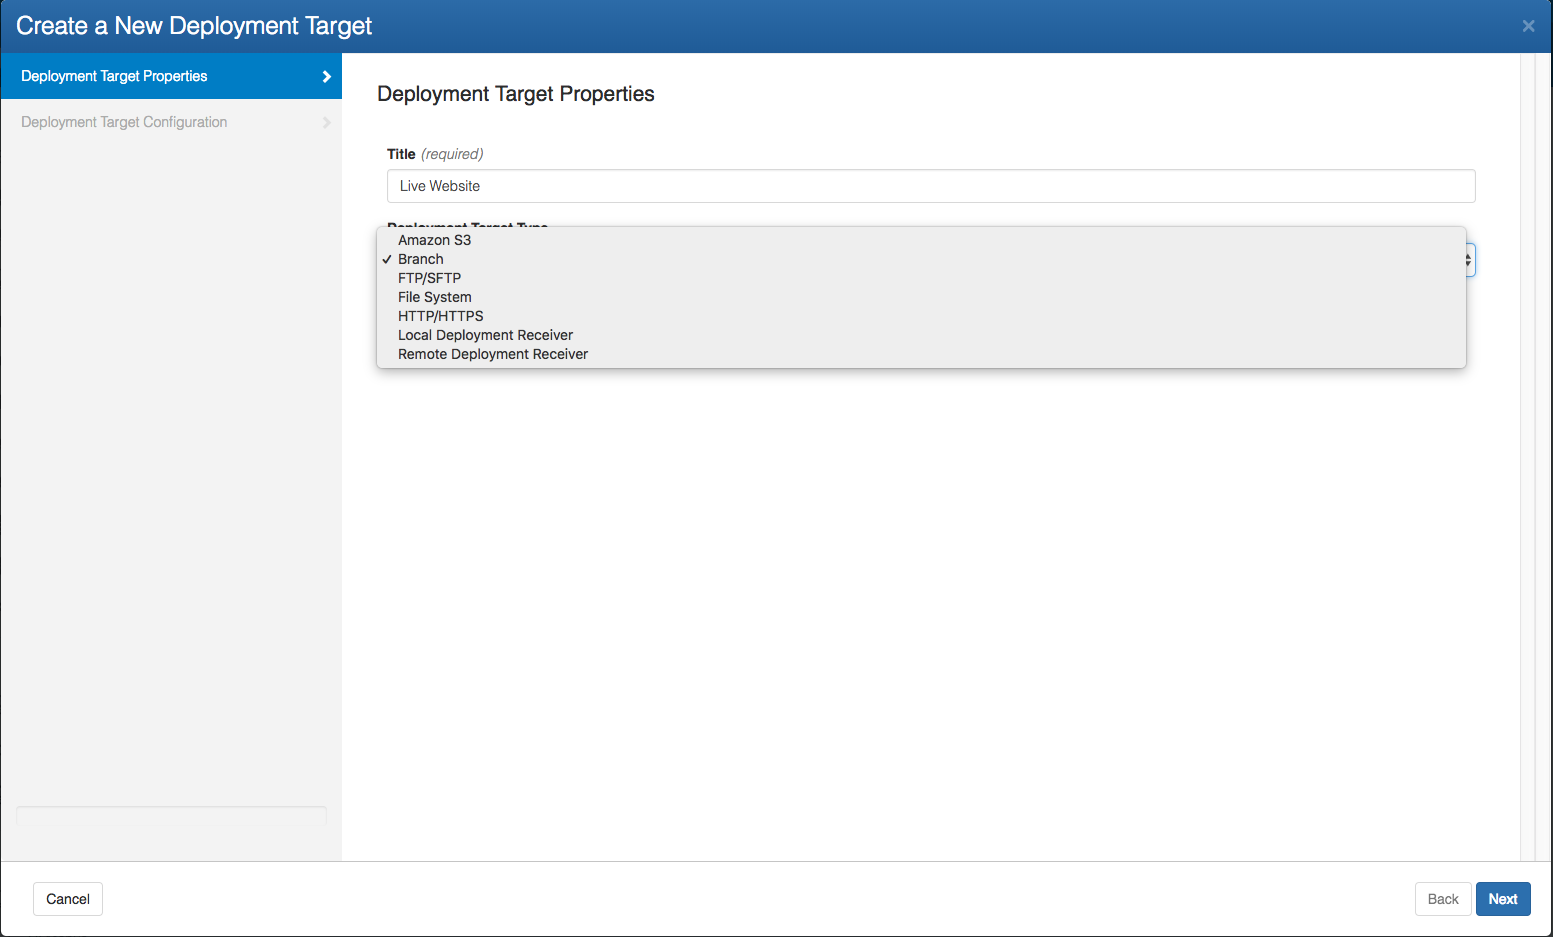
Click on Next
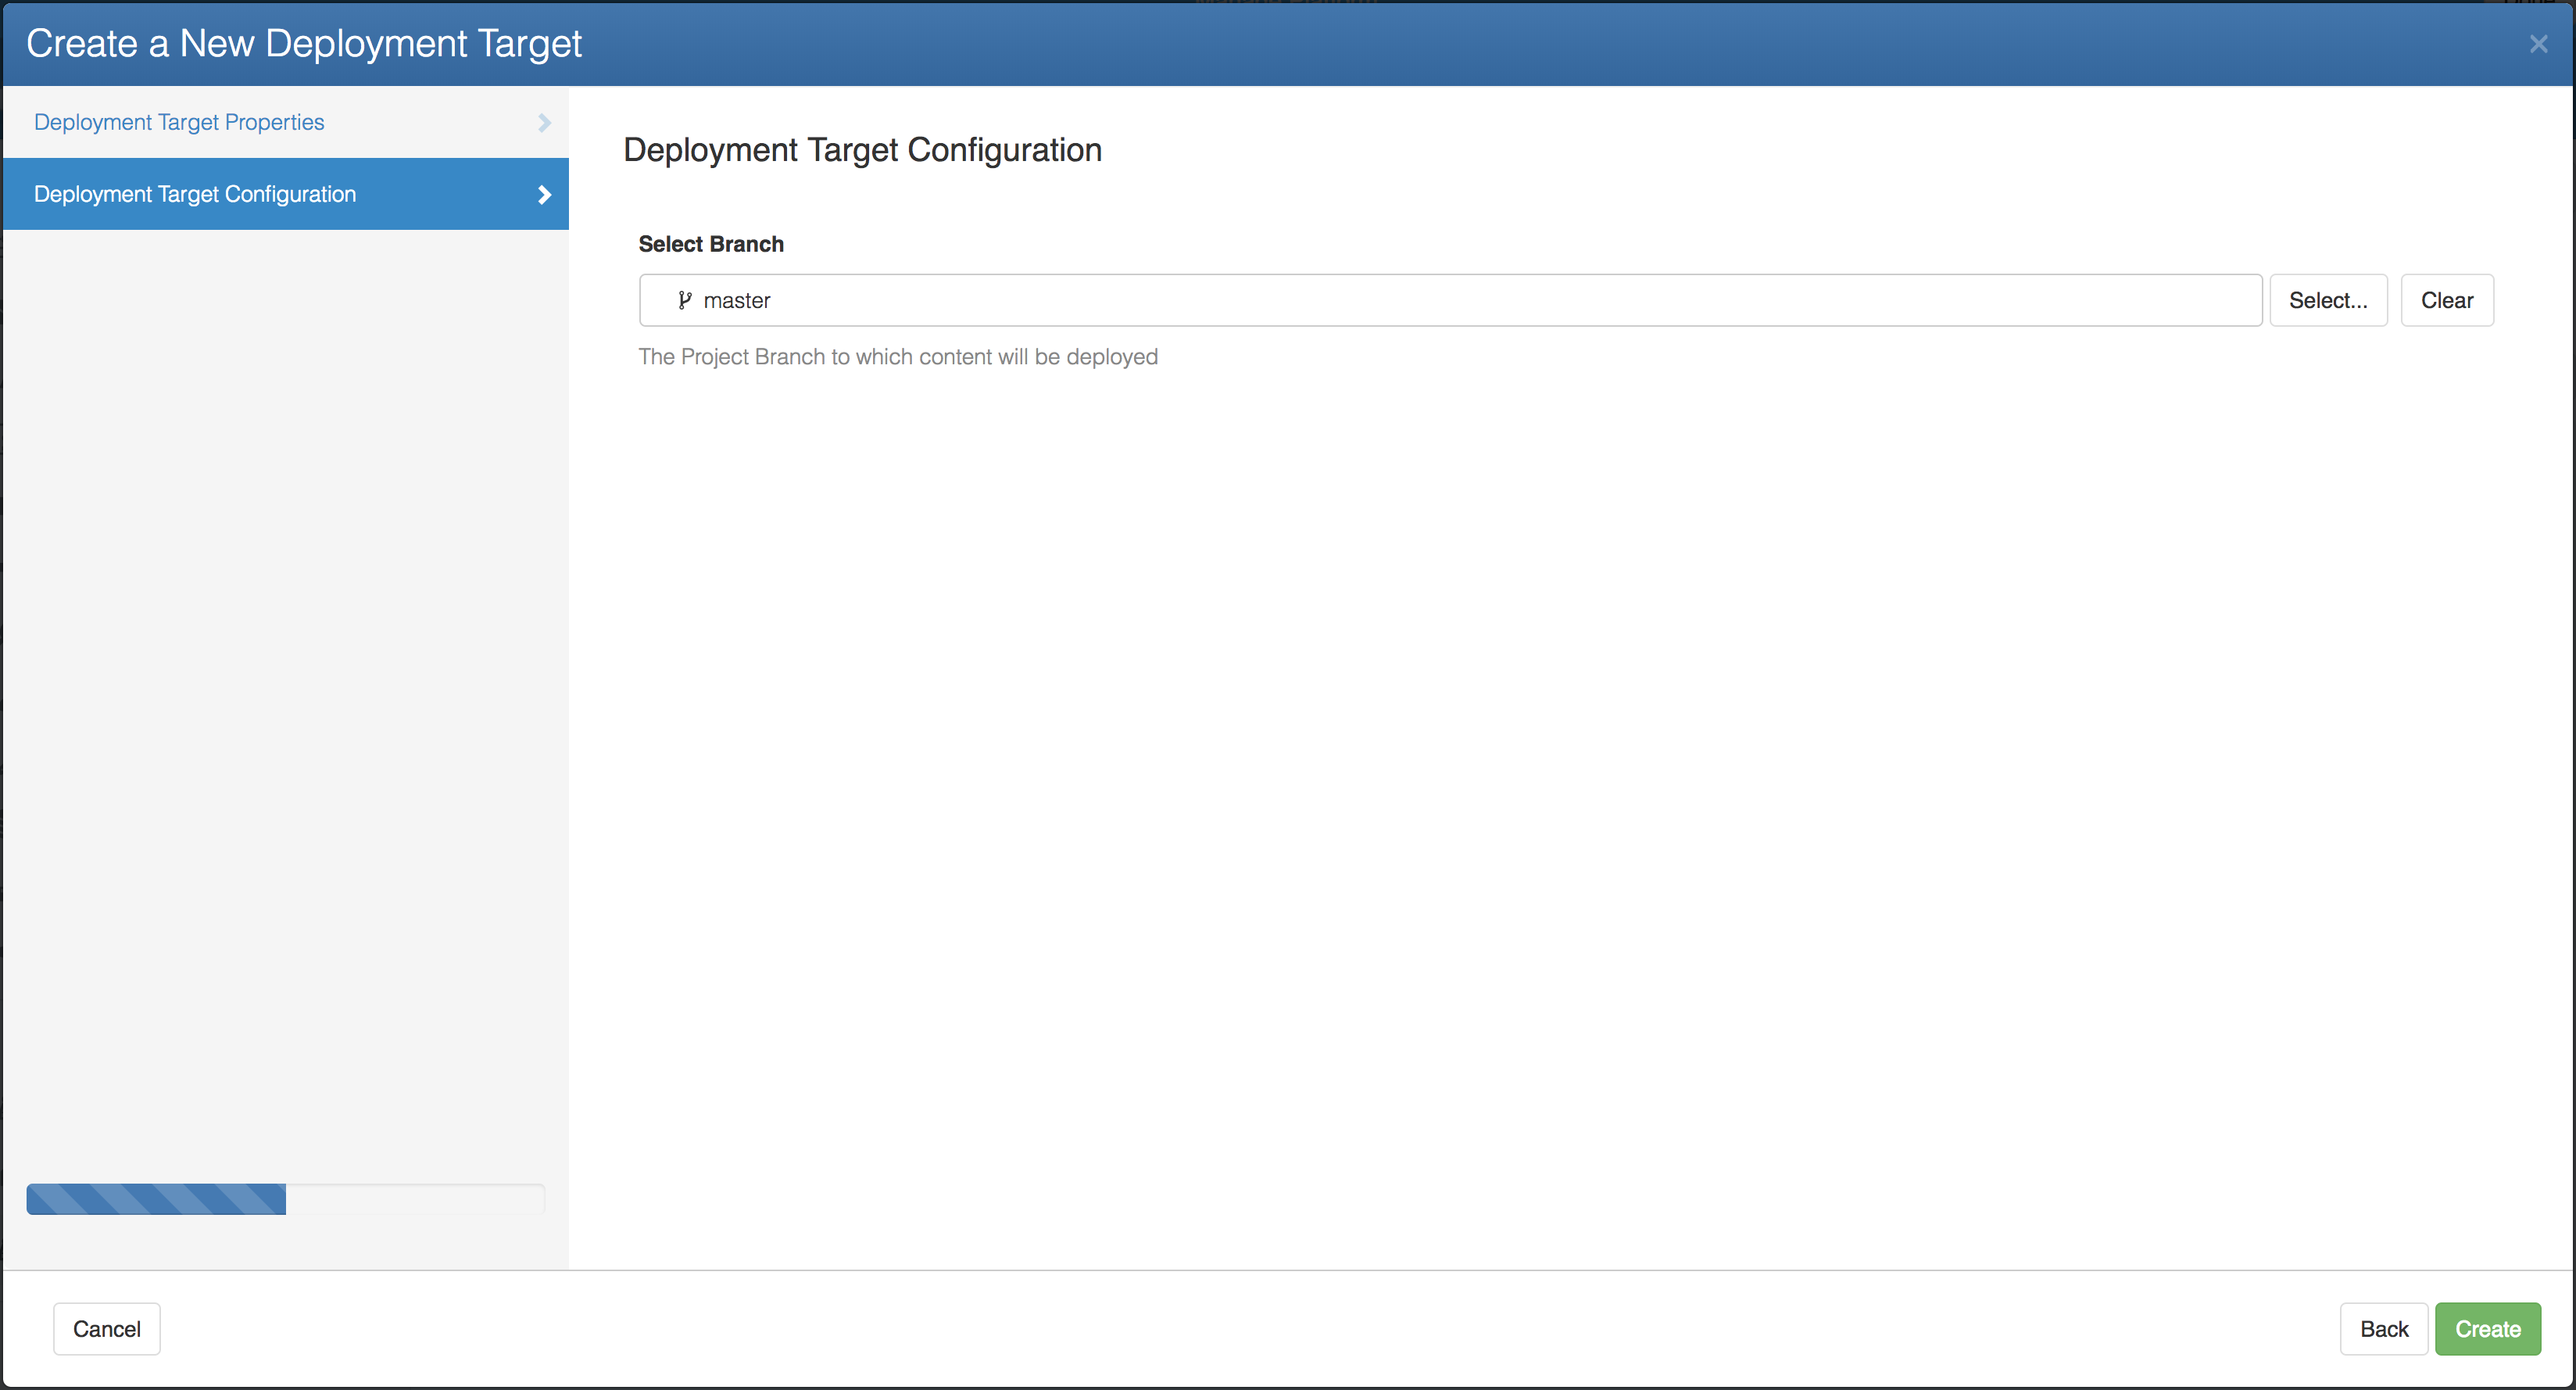
For Deployment Target Configuration:
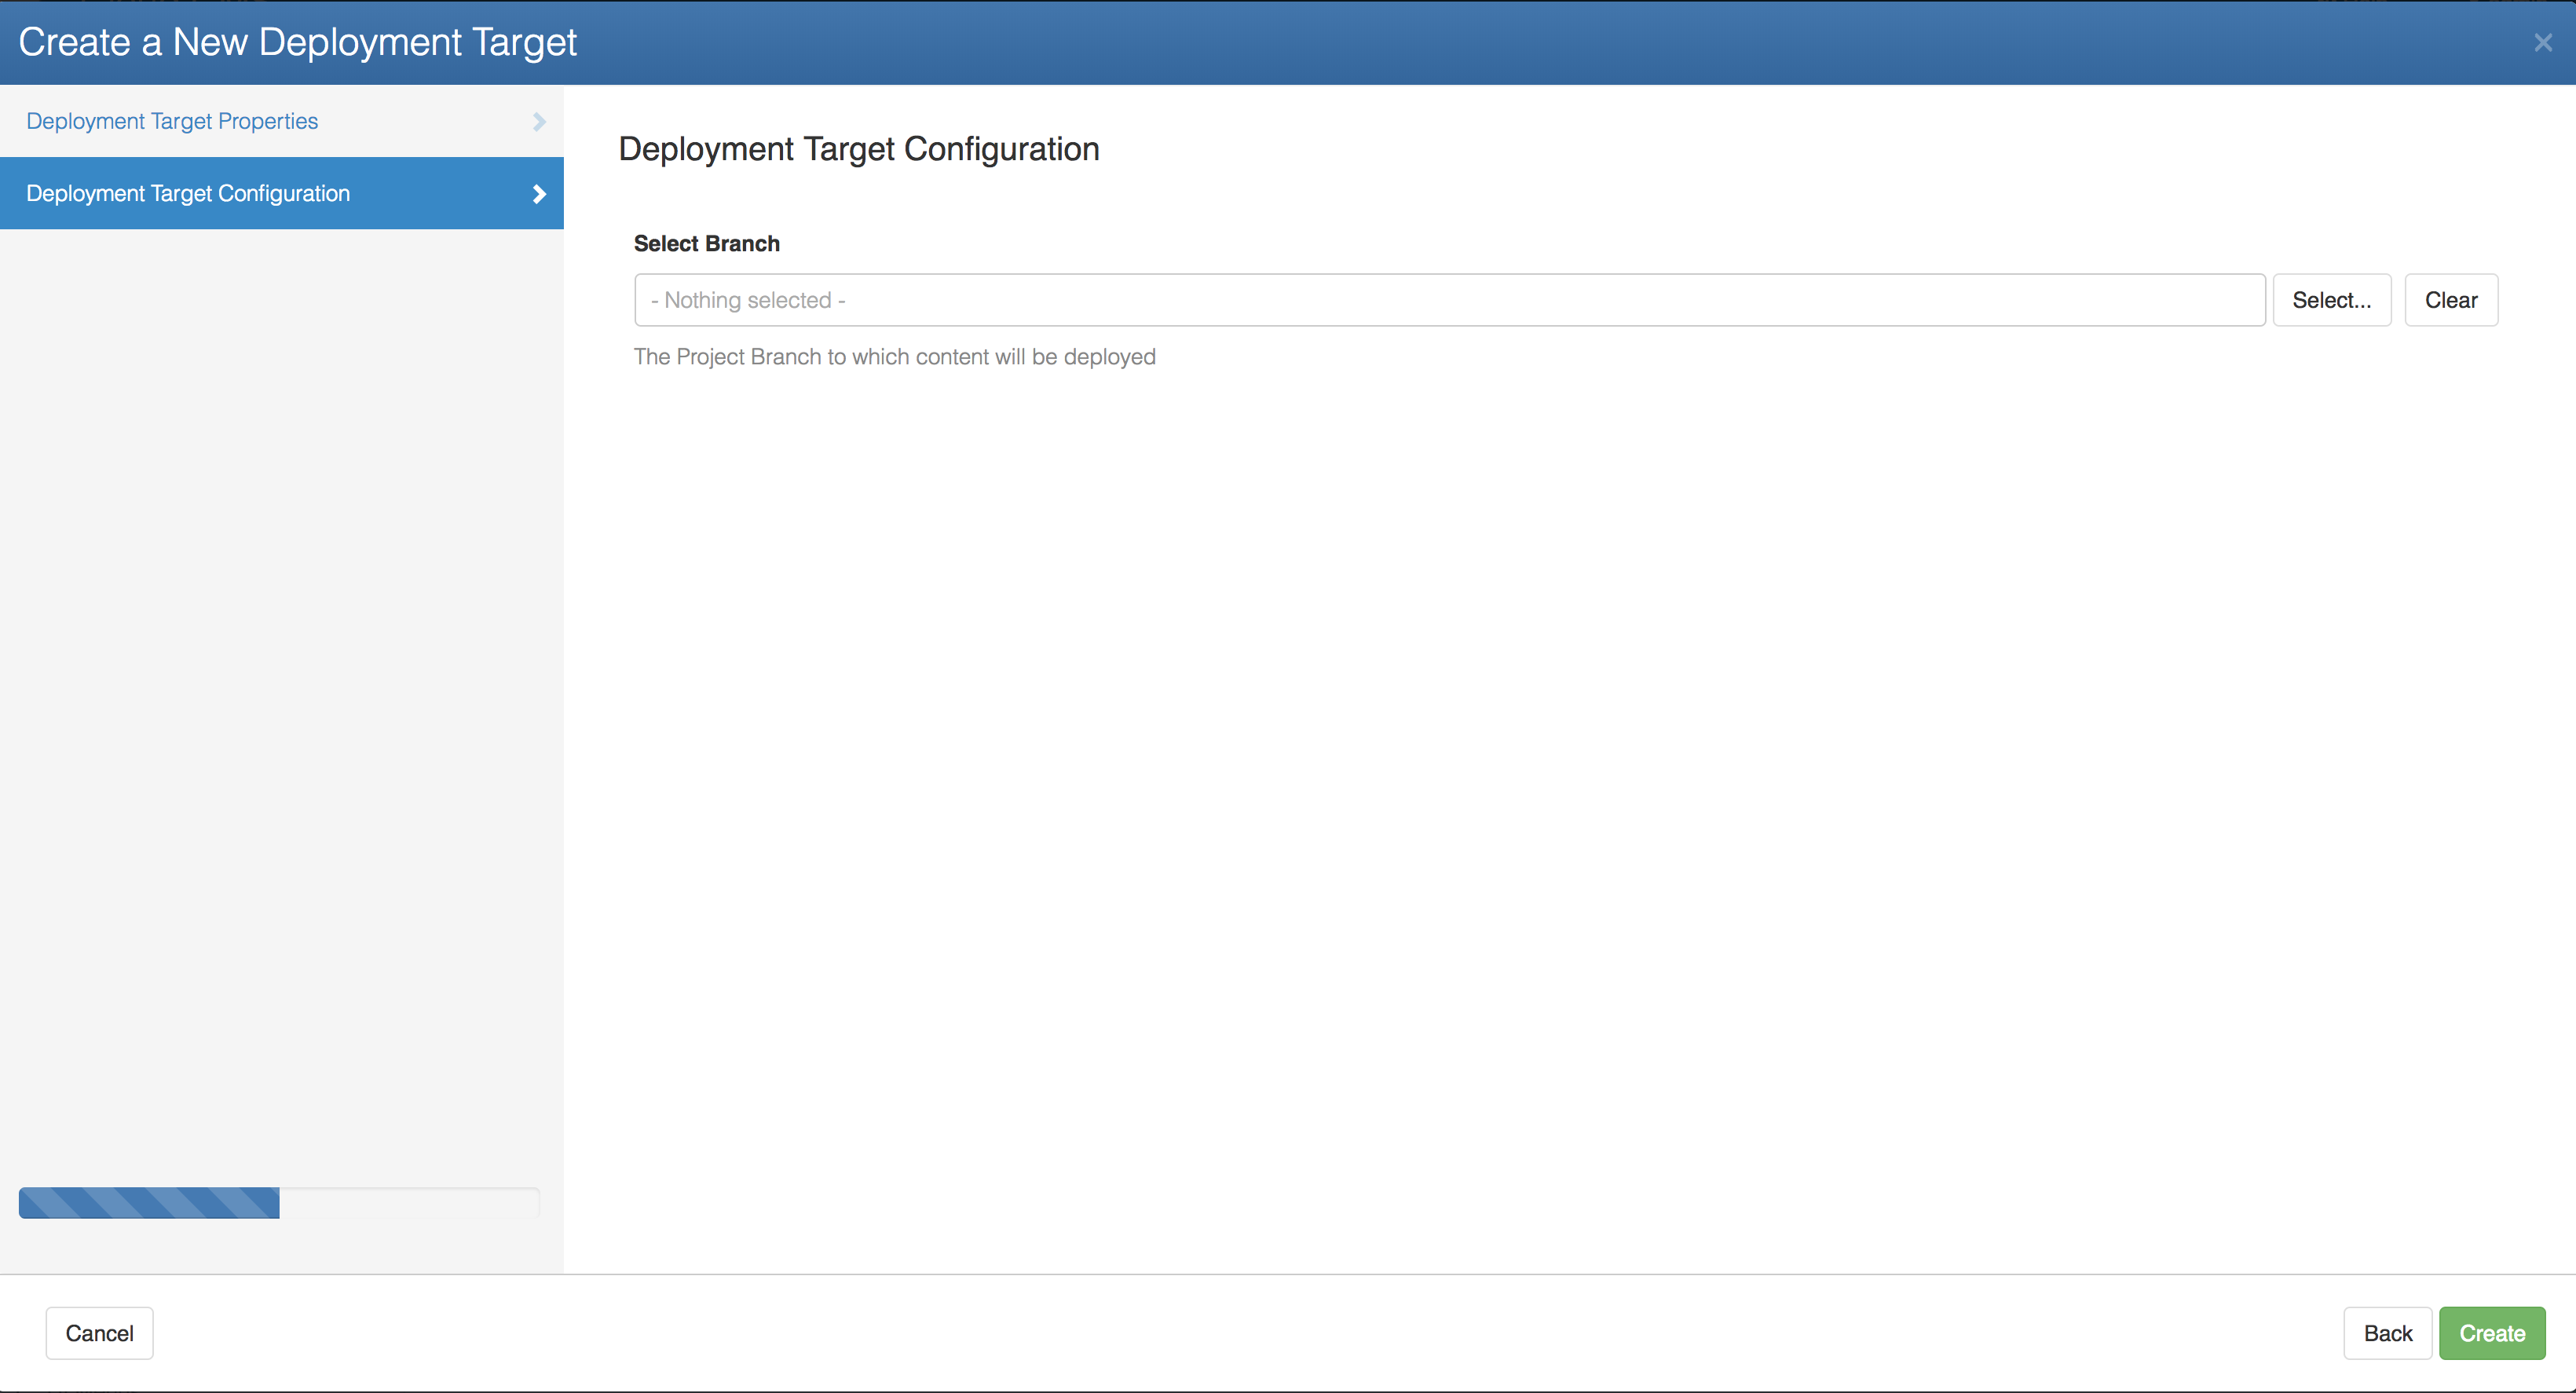
- Select the Target Project which in this case is Project Live
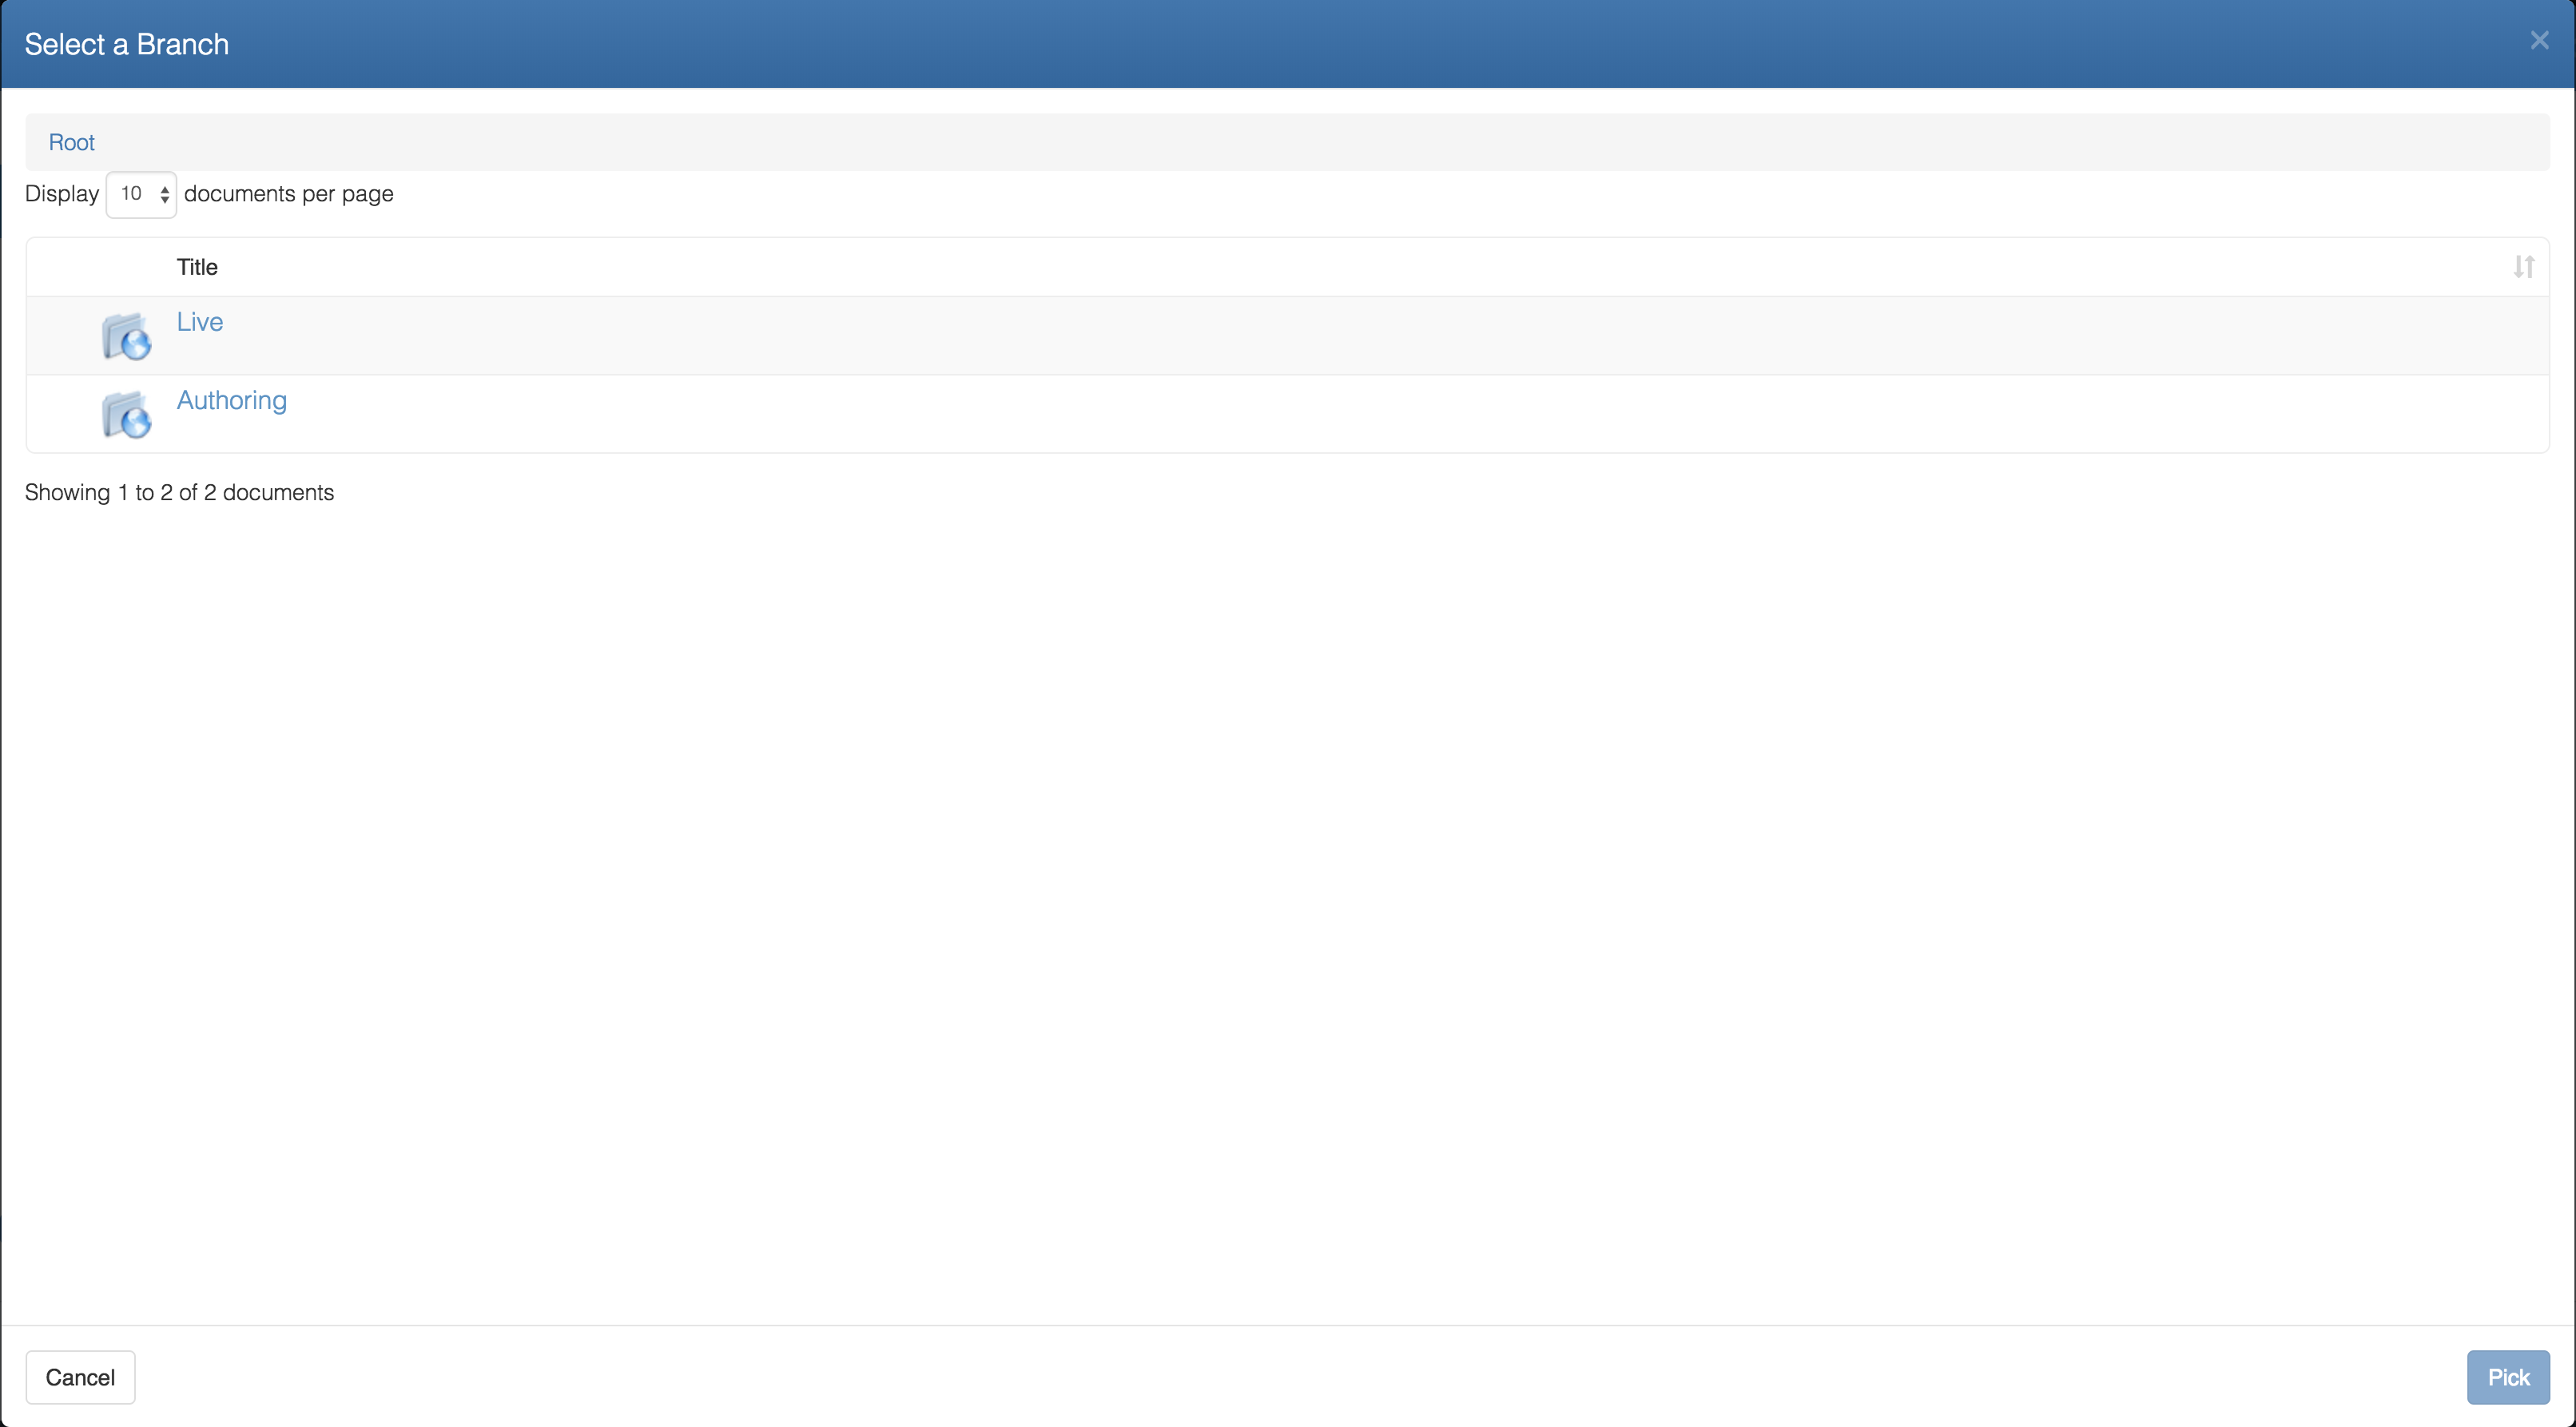
- Select the Branch of Live Project
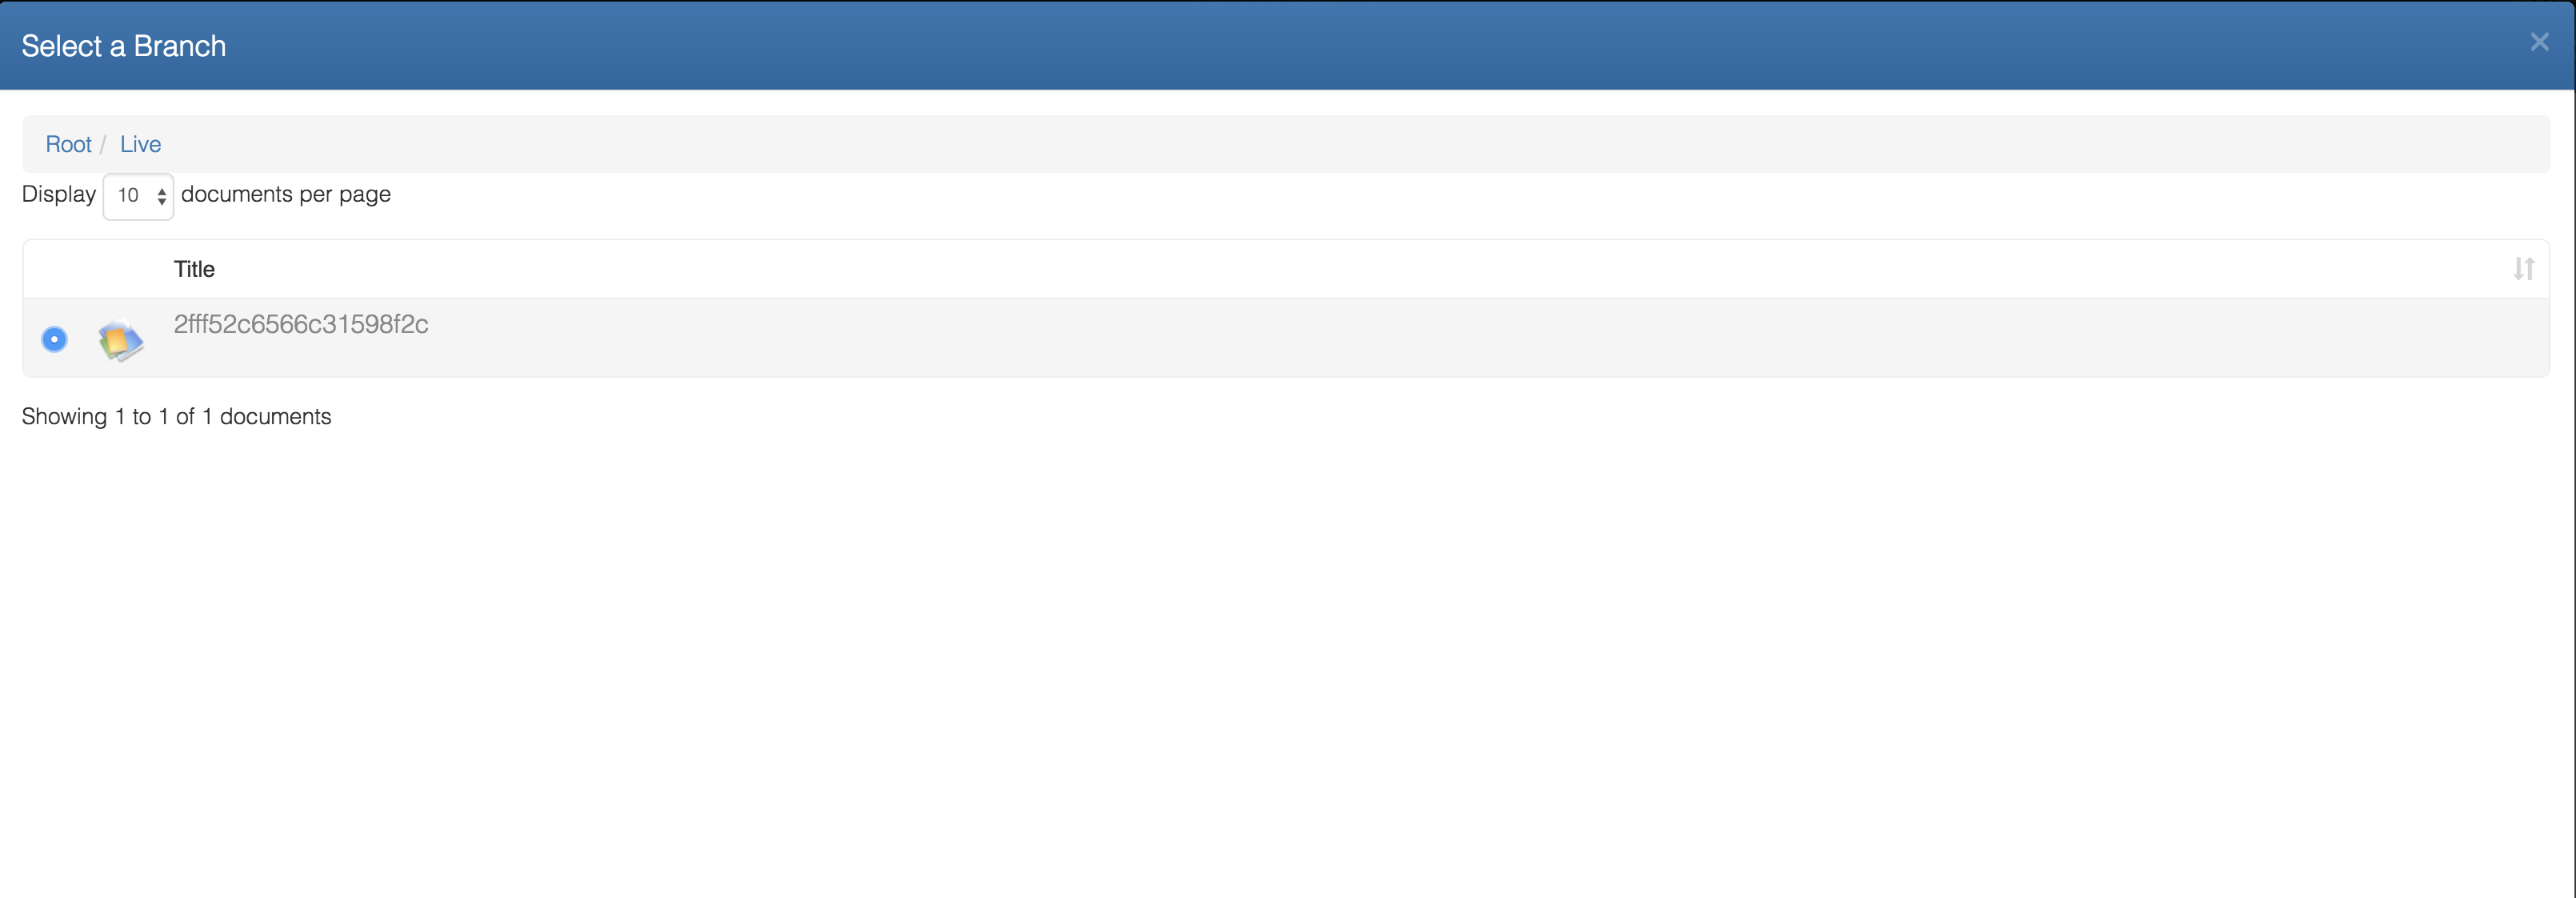
- Click on Create
You can set up the target endpoints as Amazon S3 bucket, FTP servers, File System or any CloudCMS branches on same cluster or some remote cluster located in another data center somewhere else in the world.
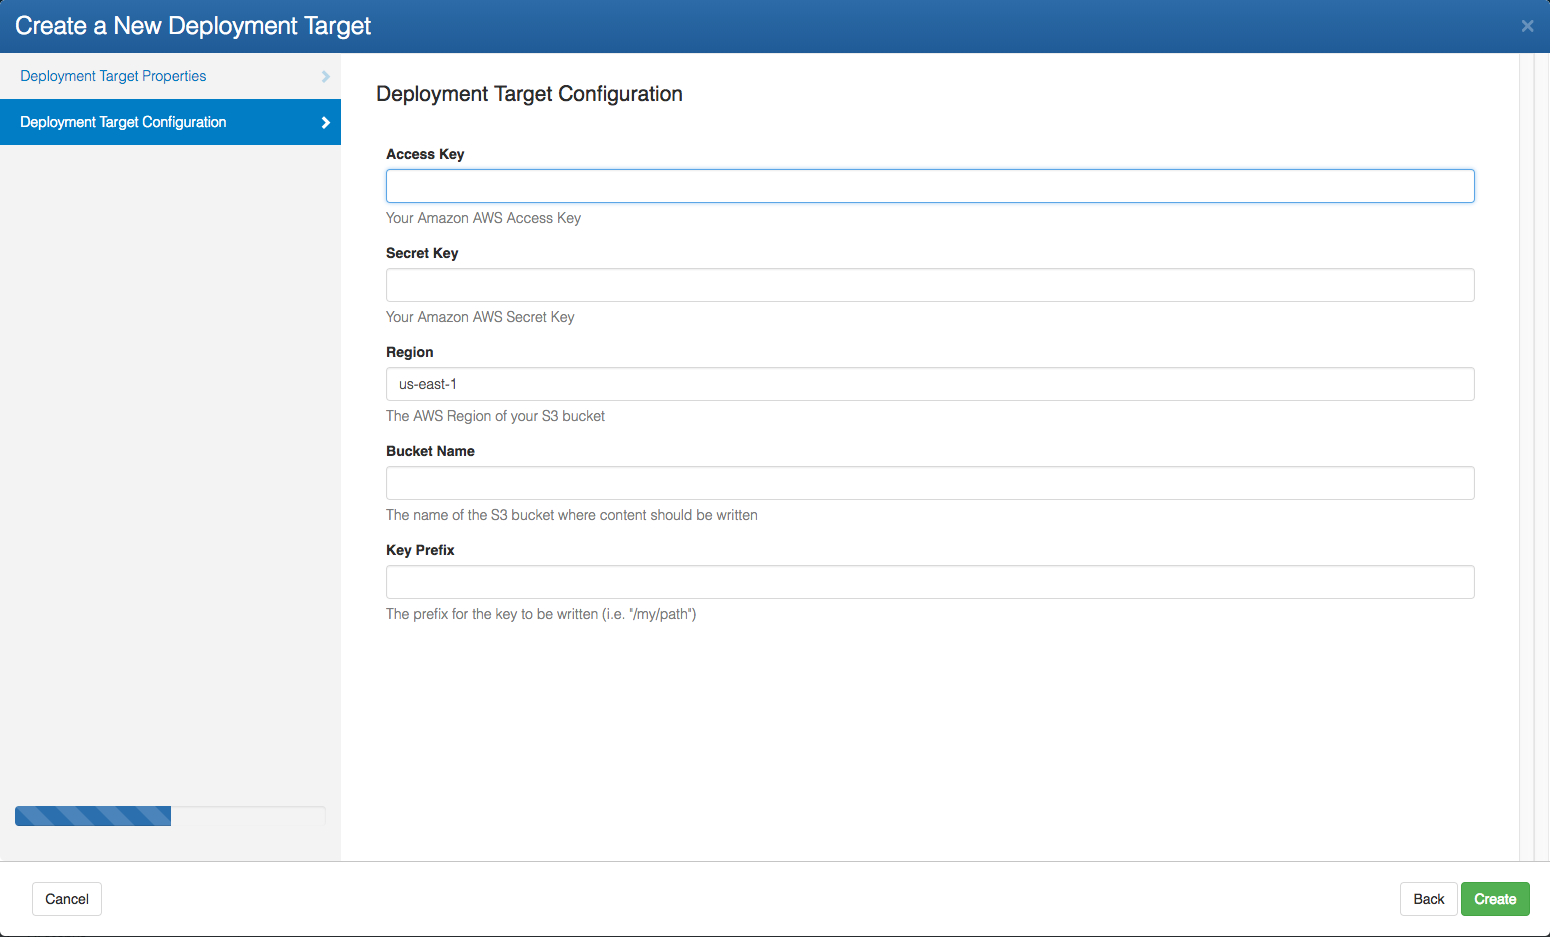
Following is an example to set-up a Deployment Target that uploads to Amazon S3 Bucket
Provide all the required information like the Access Key, Secret Key, Region and Bucket Name.
Step 3 : Enable Publishing for Authoring Project
To publish the content from Authoring project to Live Project :
Go to Authoring project
Go to Manage Project
Go to Publishing in the` Left Navigation Menu
Check Enable Publishing for this Project and Click on Save
This will automatically set up :
Lifecycle States
draft,approvedstatesAuthoring/Production preview endpoints
Add the simple Workflow Models for
PublishandUnpublishworkflows to the project.
For more information and to configure these settings, please go through our Publishing documentation.
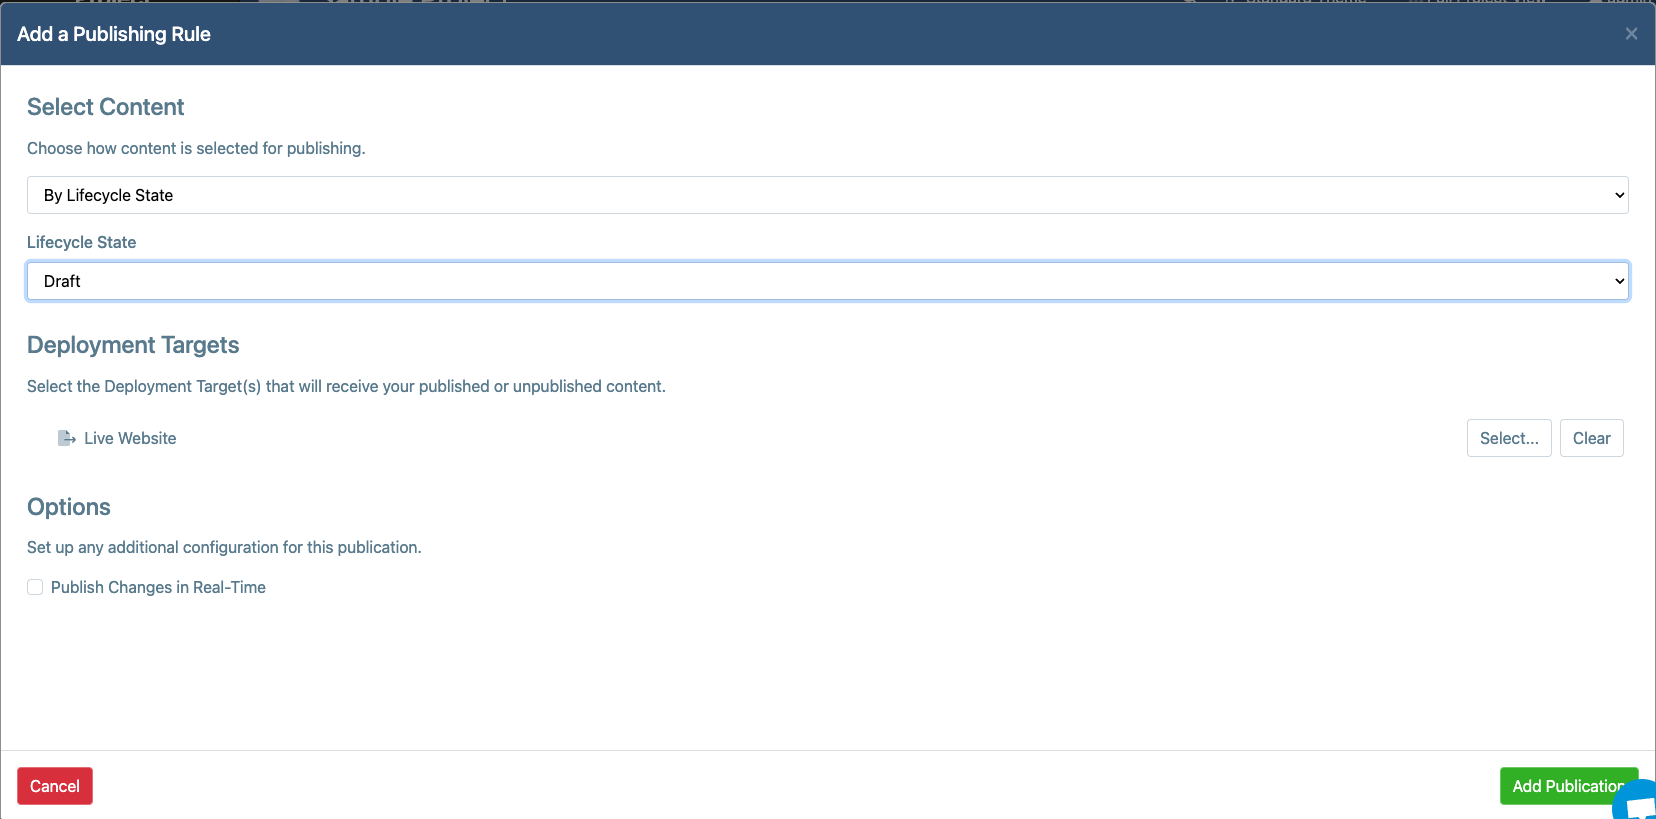
Step 4 : Add a Publication For Publish
This will tell the system that whenever content on “master” branch of Authoring project goes to Live state, it should be pushed to the Live Website target deployment i.e the Live Project.
In the Authoring Project, go to
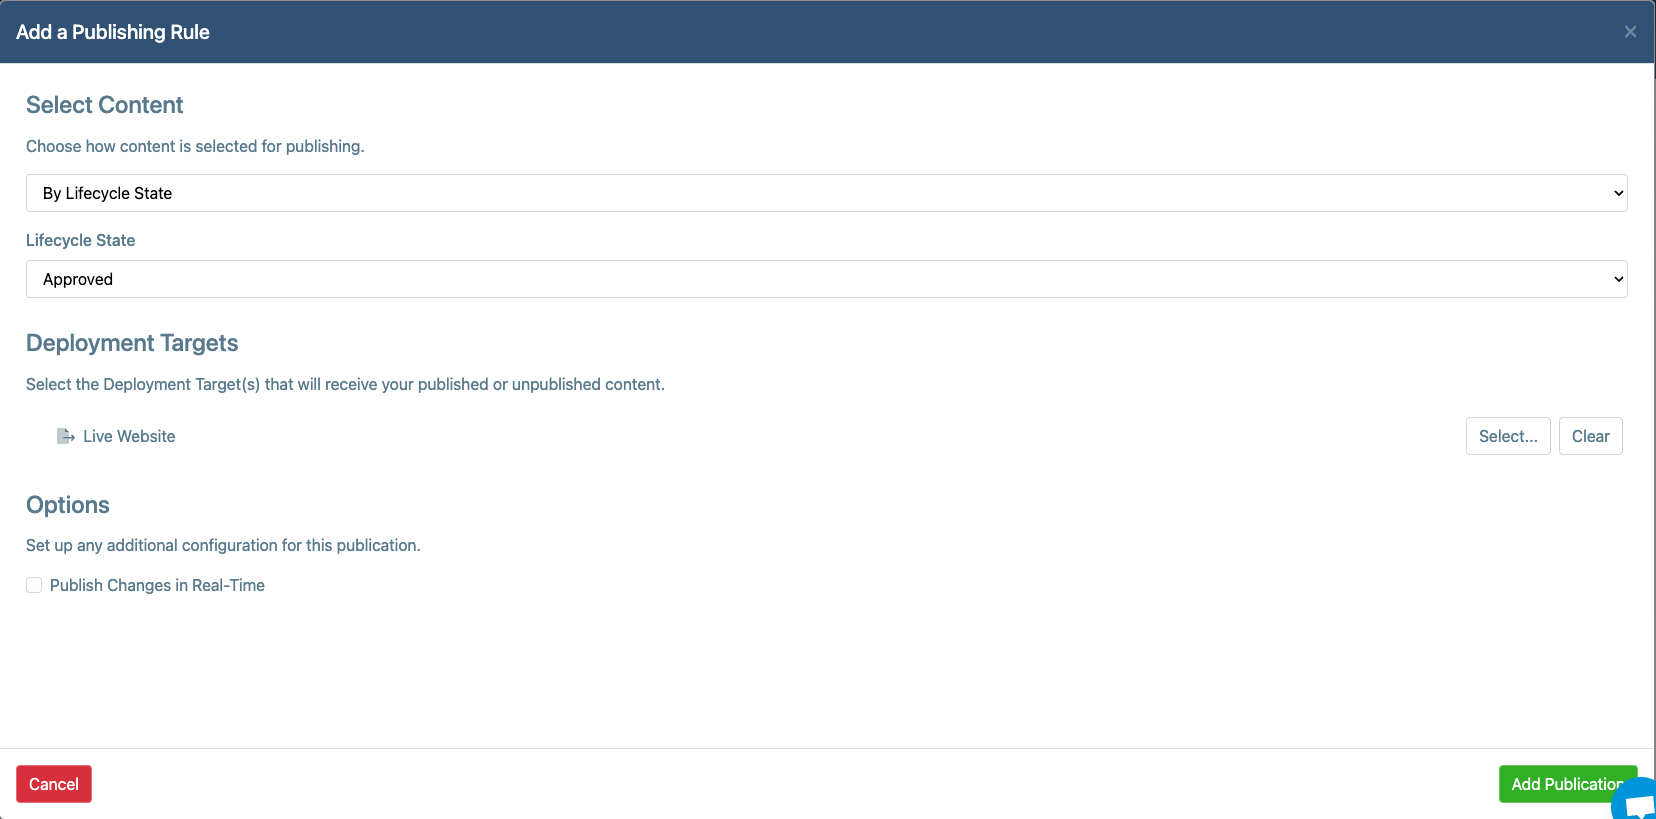
Manage Projectand select Publishing and then RulesClick on Add a Rule
Lifecycle State :
ApprovedDeployment Targets : Select
Live WebsiteDeployment TargetClick on Add Publication
Step 5 : Add a Publication For Unpublish
This will tell the system that whenever content on “master” branch of Authoring project goes to Archive state , it should be delete from the Live Website target deployment i.e the Live Project.
In the Authoring Project, go to
Manage Projectand select Publishing and then RulesClick on Add a Rule
State :
draftDeployment Targets : Select
Live WebsiteDeployment TargetClick on Add Publication
Publishing / Unpublishing Content from Authoring Project to the Live Project
You still have to run a Publish action or an Unpublish action to trigger the actual operation. If you're in an editorial workflow, then this is done at the end of the workflow as a convenience step.
Follow all the above steps to set-up Publishing for Authoring Project:
- Go back to the "Authoring" Project
- Click on any Content you wish to publish
- From Overview -> Actions -> Publish or Unpublish
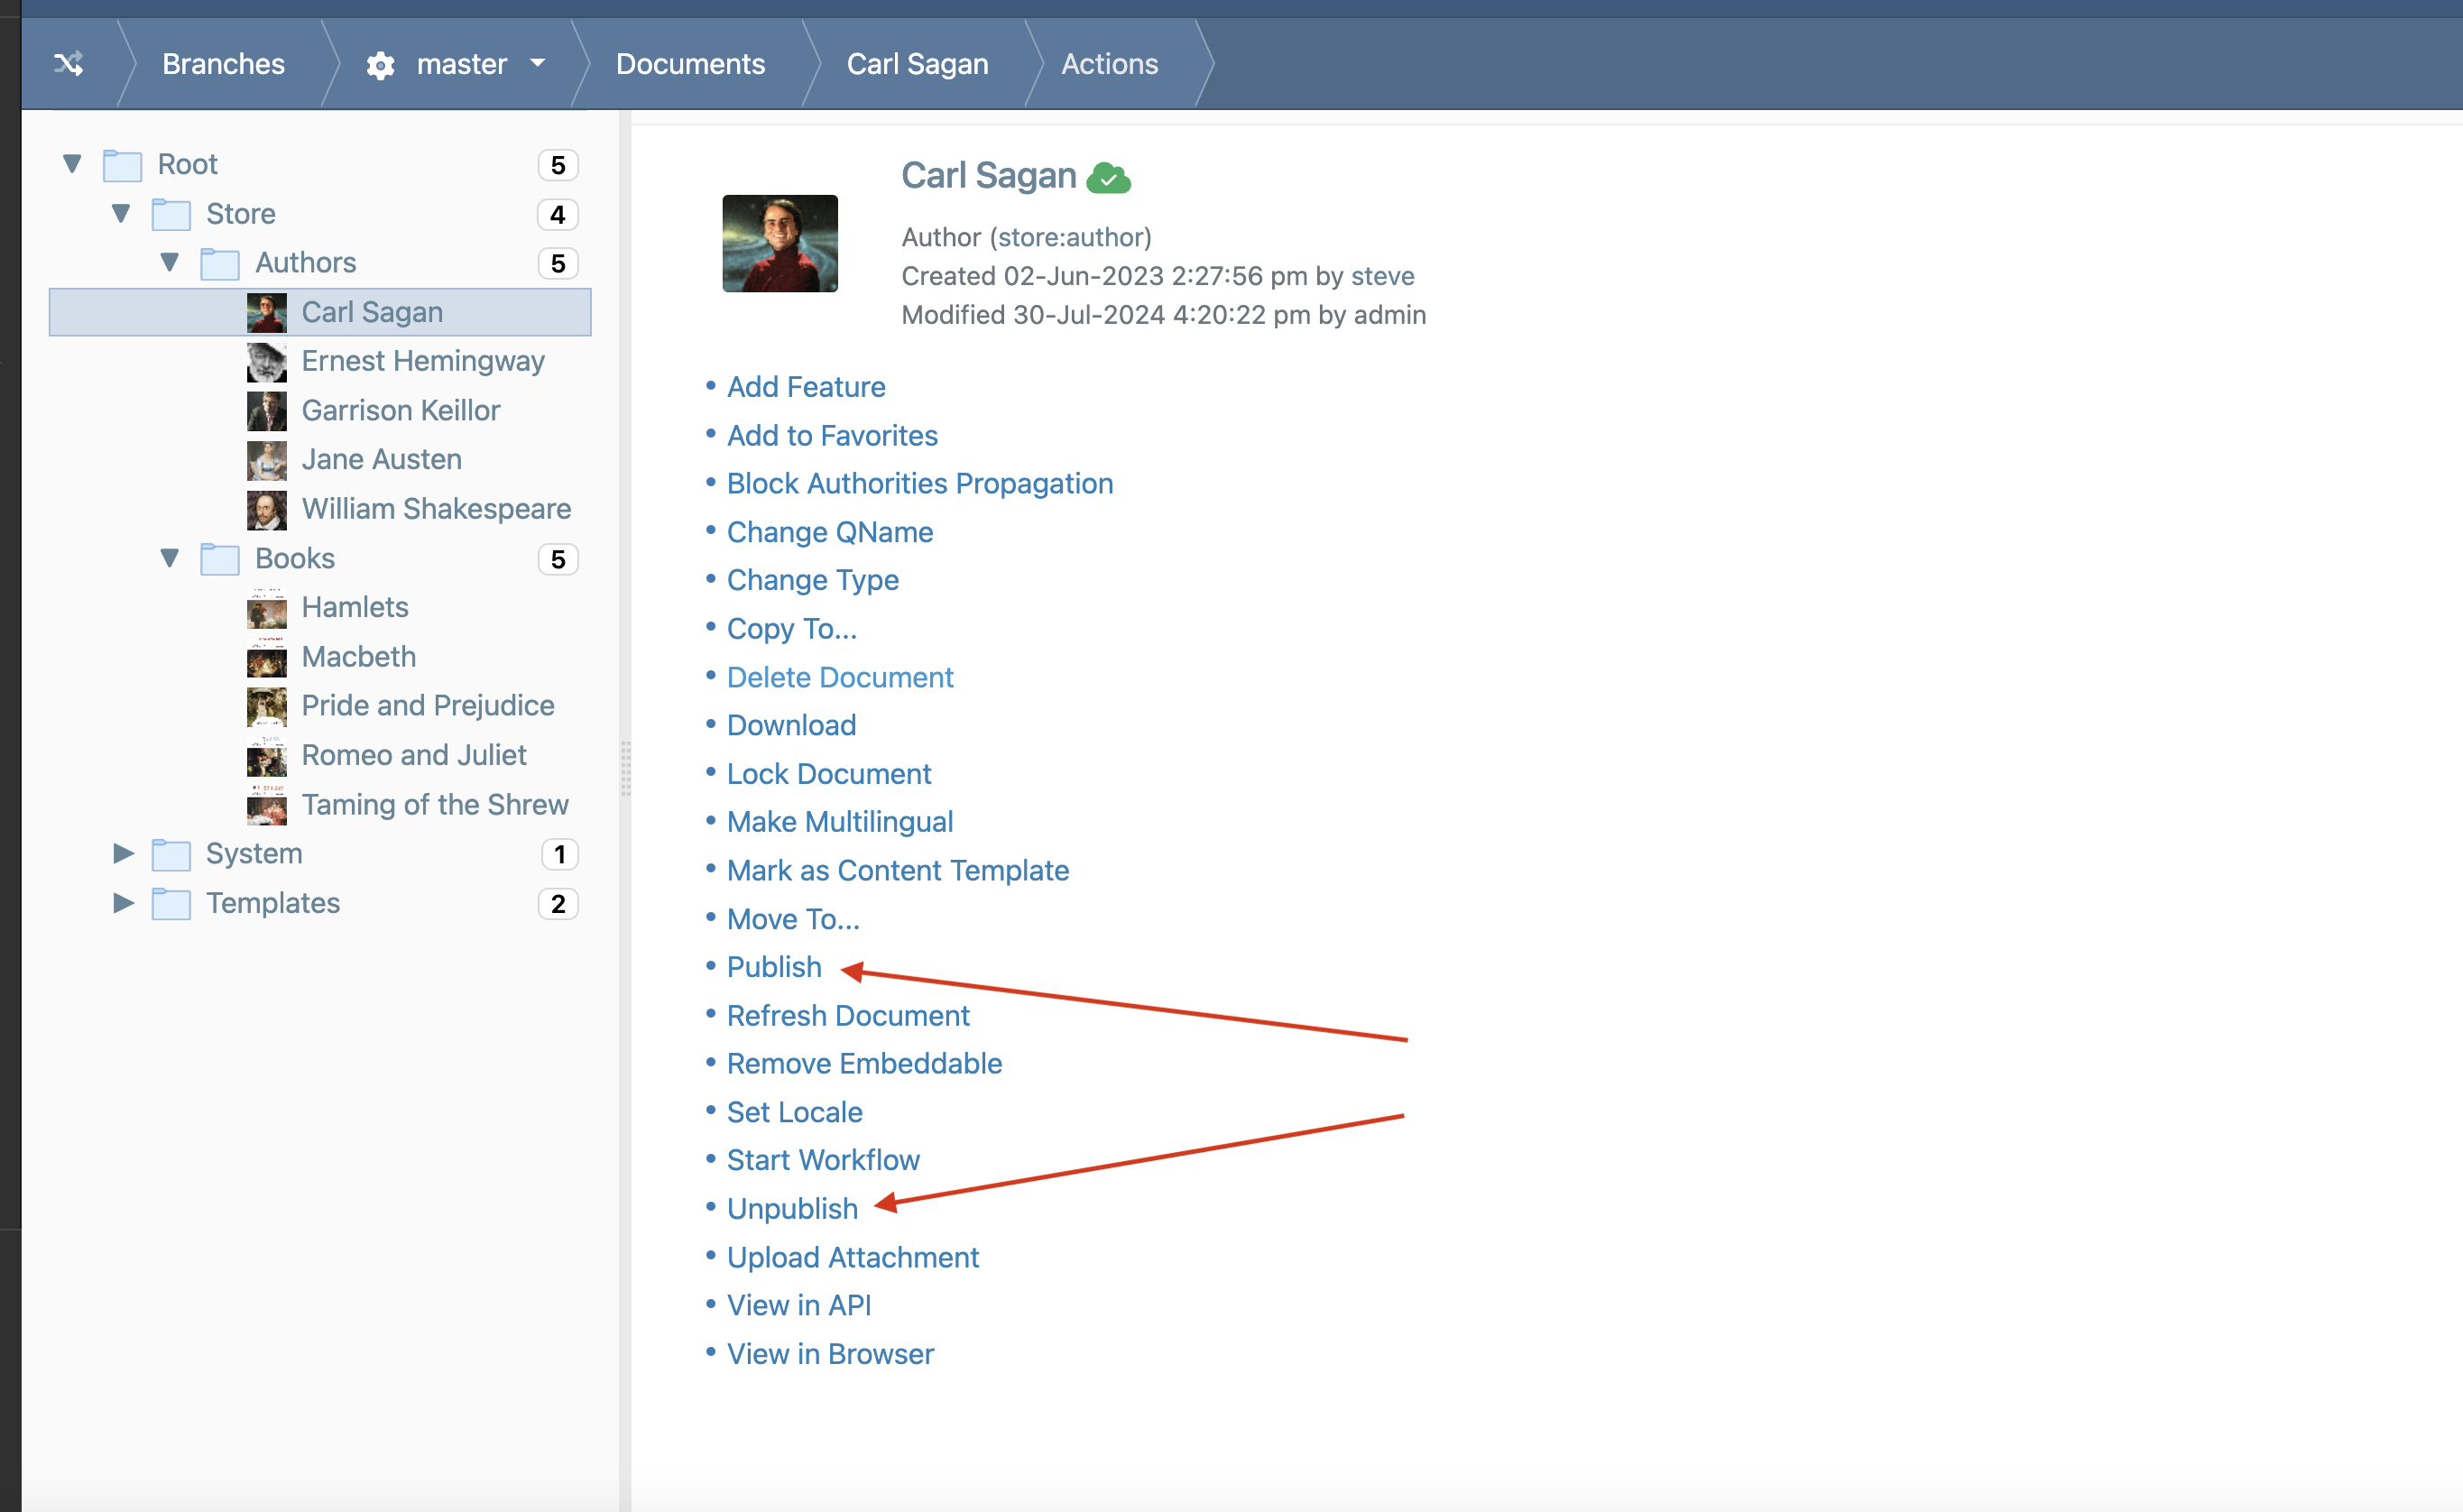
- To verify the content has been published to (or unpublished from) the Live Project, Go to Live Project, Go the published content and verify the content has been deployed.