Data Lists
Cloud CMS allows you to organize multiple content items into a single data list so that the full collection of items can be ordered, managed and worked on all at once. Collections of items organized into a data list additionally support internationalization (I18N), allowing you to flip between multiple locale-based views of the list while working on translations in any of the list's supported locales.
Under the hood, a data list is a node of type n:list. It has zero or more associations of type a:list_item to target nodes that can be of any custom schema. All members of a list share the same schema or definition.
Create a List
Since a Data List is a container around a custom content type, we might begin by defining a custom content type called my:article. See our documentation on Content Types for information on how to define custom content types.
Let's imagine that we have a custom content type my:article defined already and that it looks like this:
{
    "title": "Article",
    "type": "object",
    "properties": {
        "title": {
            "title": "Title",
            "type": "string"
        },
        "category": {
            "title": "Category",
            "type": "string"
        },
        "rating": {
            "title": "Rating",
            "type": "number"
        }
    },
    "_parent": "n:node"
}
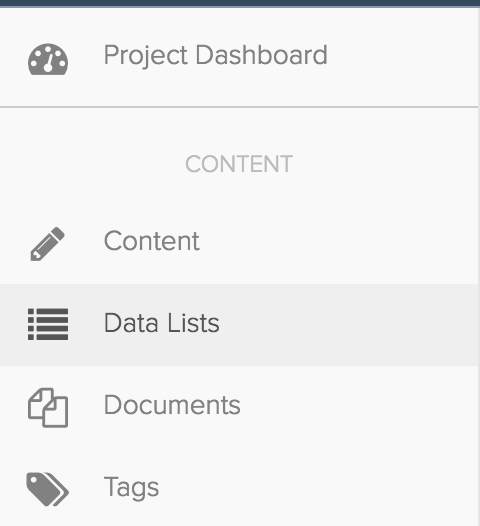
To create a Data List, start by going to the Project > Lists page.
Then click on Create Data List. A modal will pop up where you can define your new Data List.
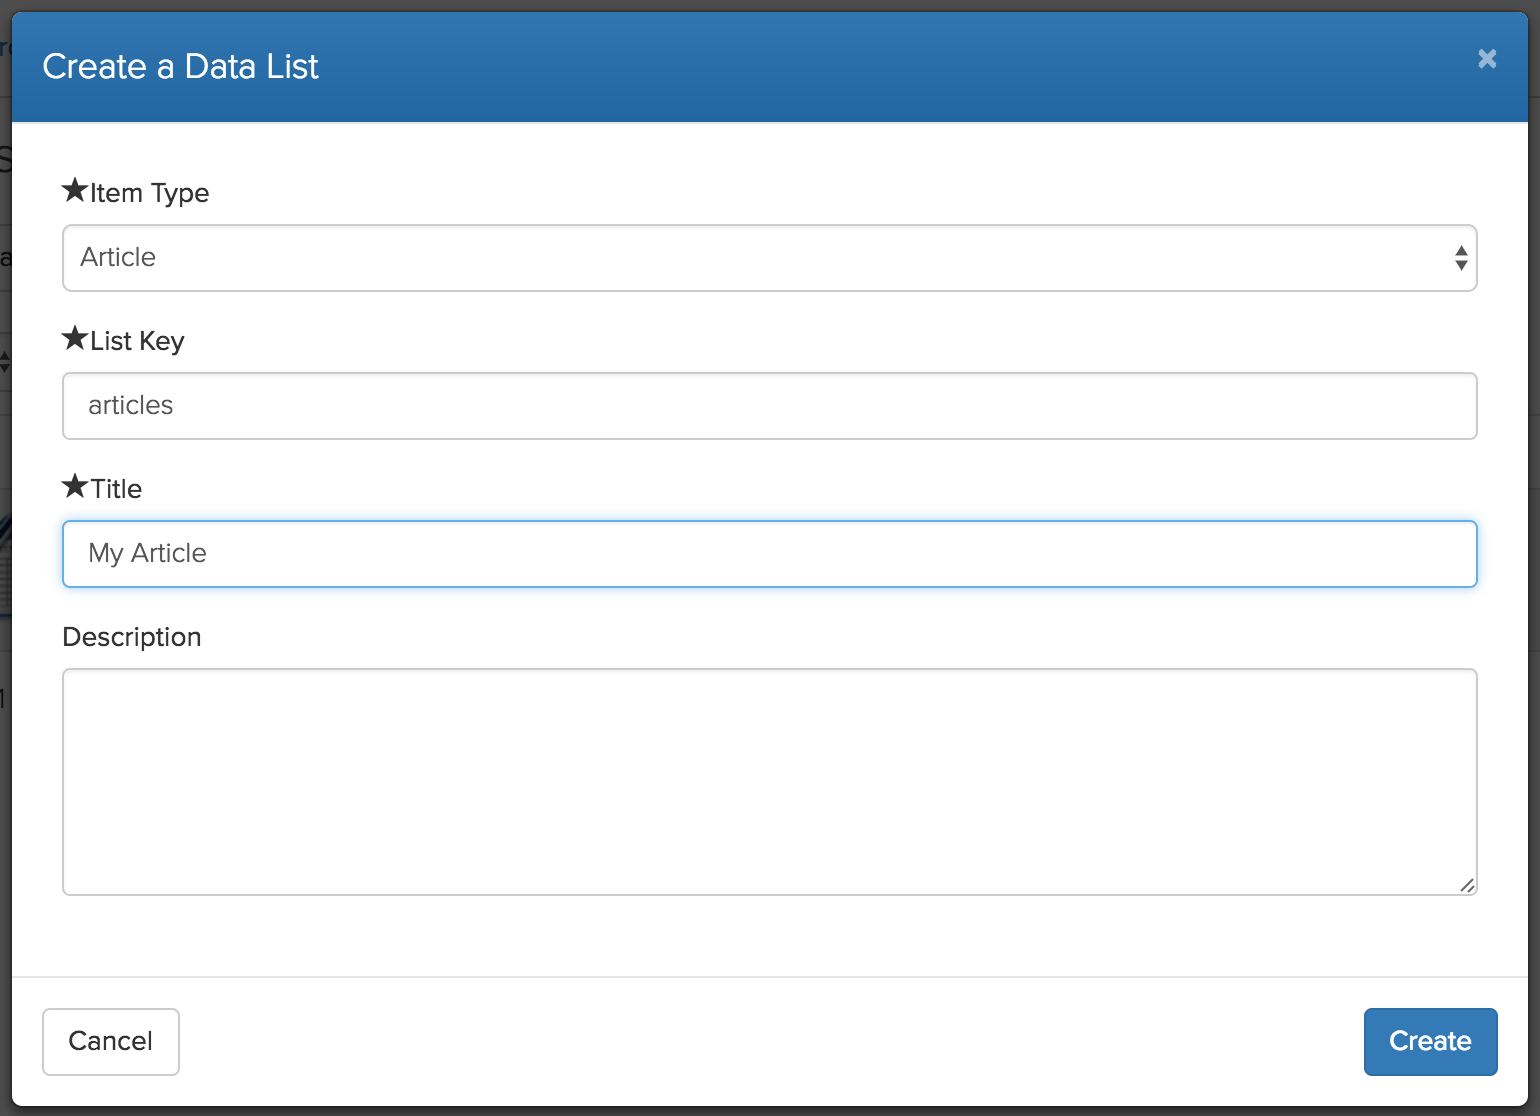
Fill in the details on the form. Specifically, we indicate that the Data List will contain Articles and that it will have a key with the value articles. You can use any key you want so long as there is only one data list per key in a given branch.
Click Create to create your data list.
Once the Data List is created, you will see it show up in the list of available Data Lists in your project branch.
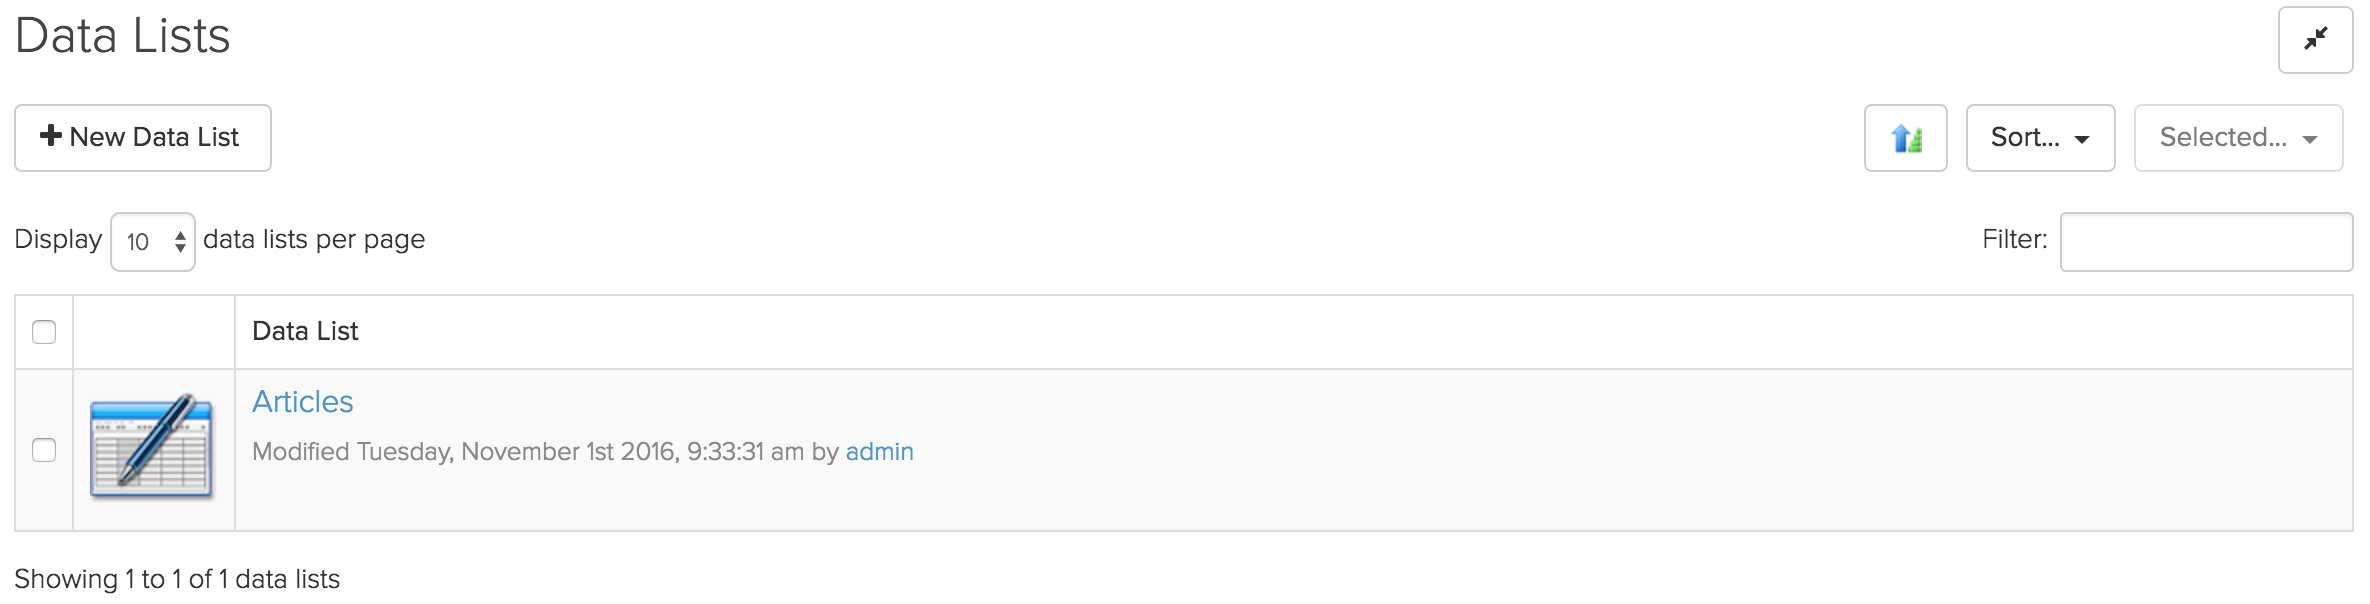
Click into it to navigate into your new Data List.
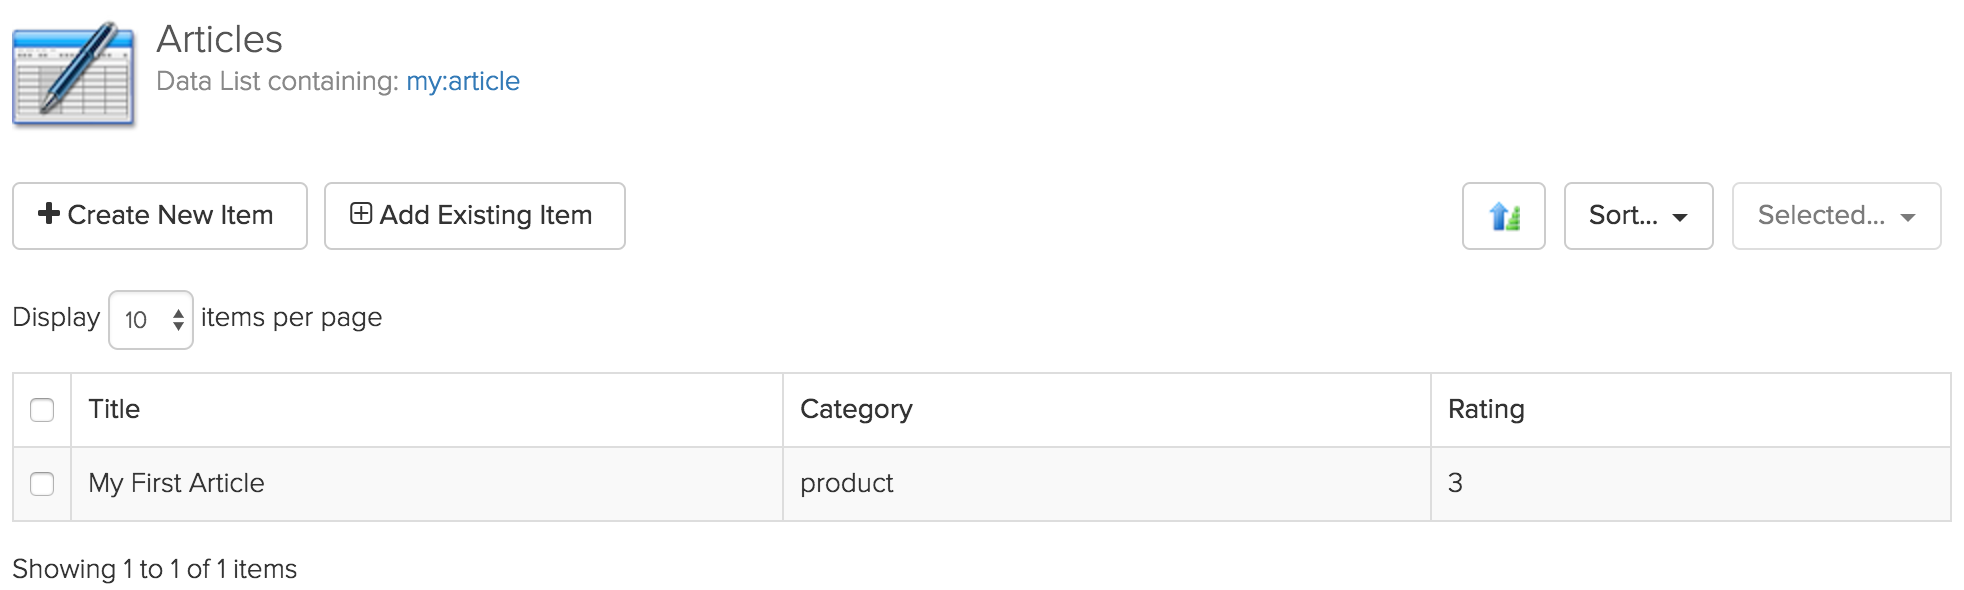
Add a List Item
Once you're looking at your new Data List, click on "List Items" in the sub-menu to view the items in your Data List. Not surprisingly, there won't get be any. That's okay, we can create some.
Click on "Create New Item" to create a new data list item. A modal dialog will pop up where you can enter the values for your Article.
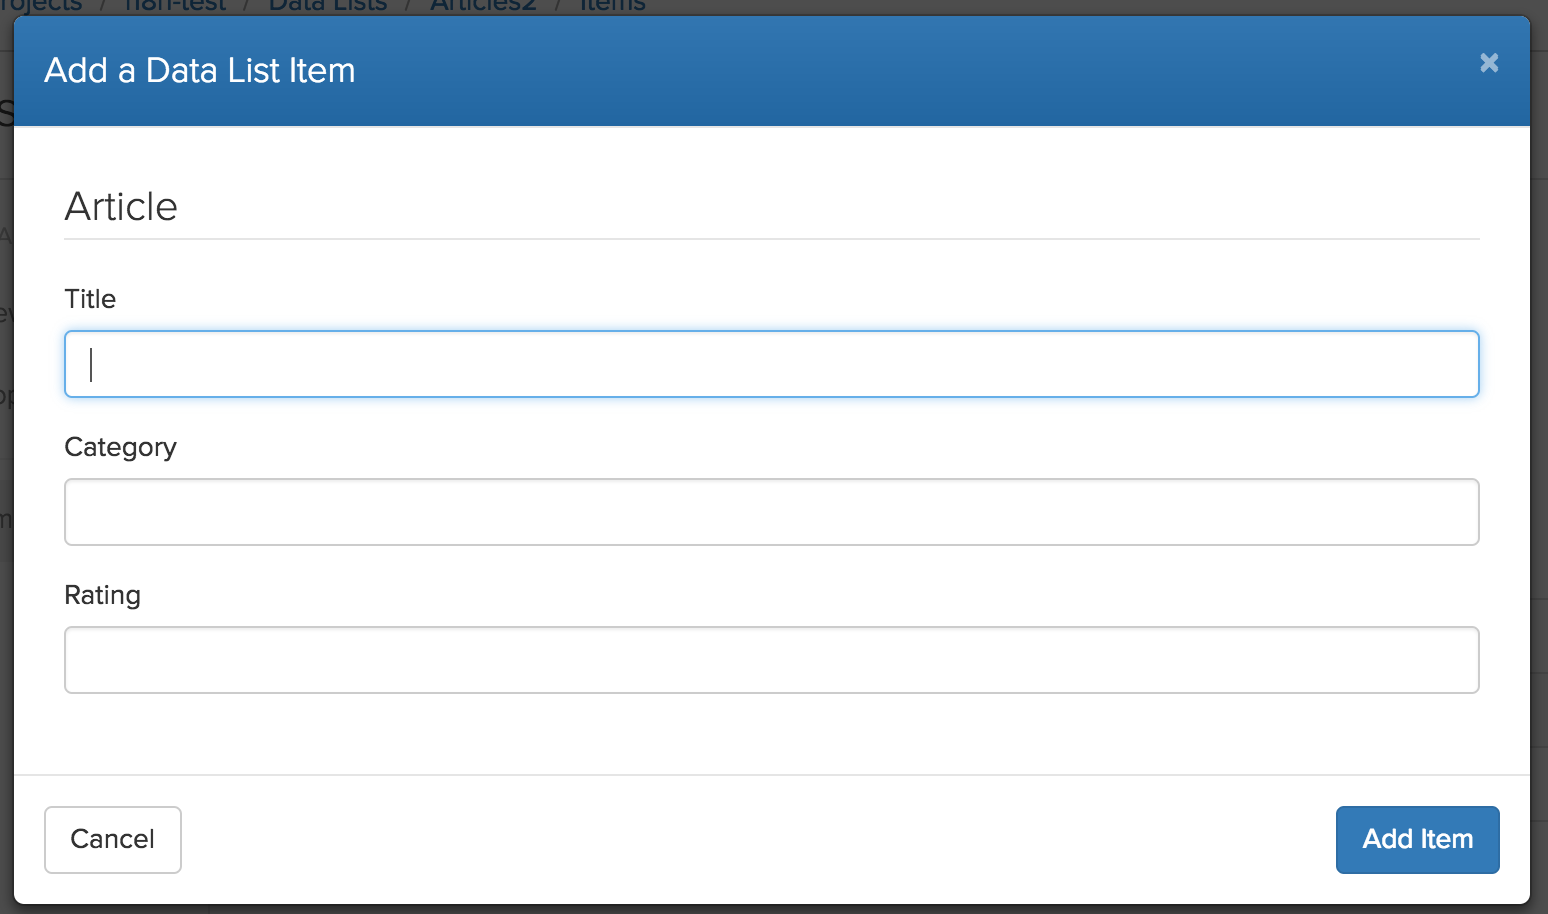
Click "Add Item" to add your new data item to the list.
Remove a List Item
To remove items from your Data List, select them using the checkbox on the left of each item. And then, go under "Selected..." and pick "Remove Data List Items".
You will be prompted for confirmation. Once you elect to proceed, the items will be removed from the list.
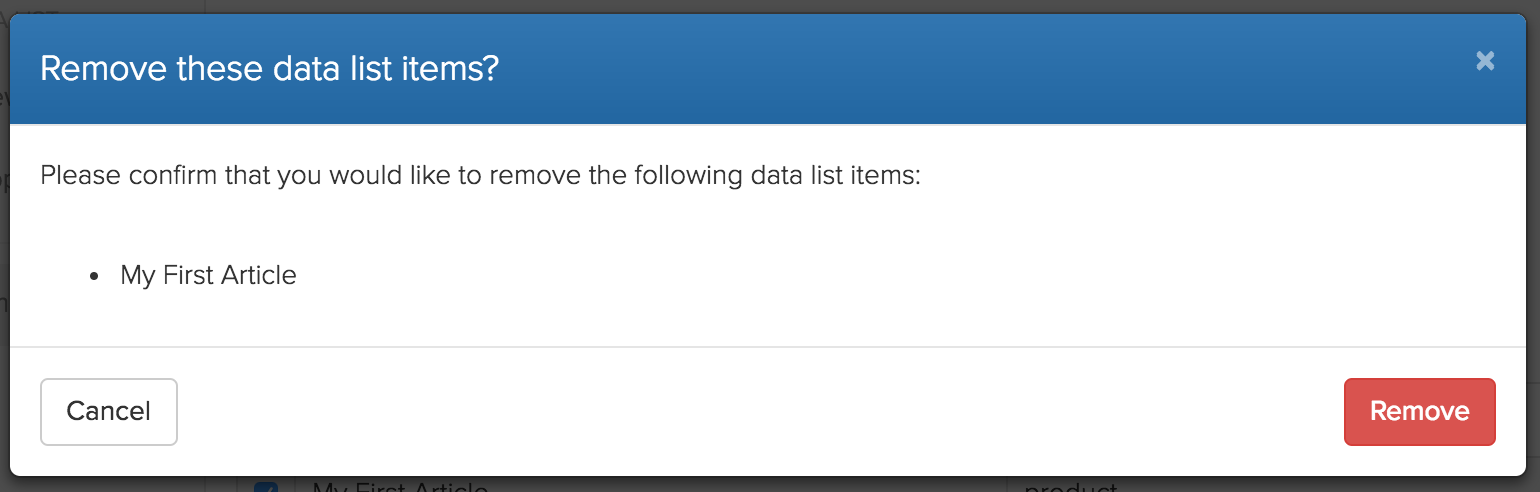
The items will not be deleted. Rather, they will simply be dissociated or unlinked from your data list. If you wish, you can re-add the item using hte "Add Existing Item" button as described below.
Add an Existing Item
Use the "Add an Existing Item" button to search for potential list items that could be added to your data list. This will present a picker that shows content instances in your project that are of the correct content type and which are not yet a member of your Data List.
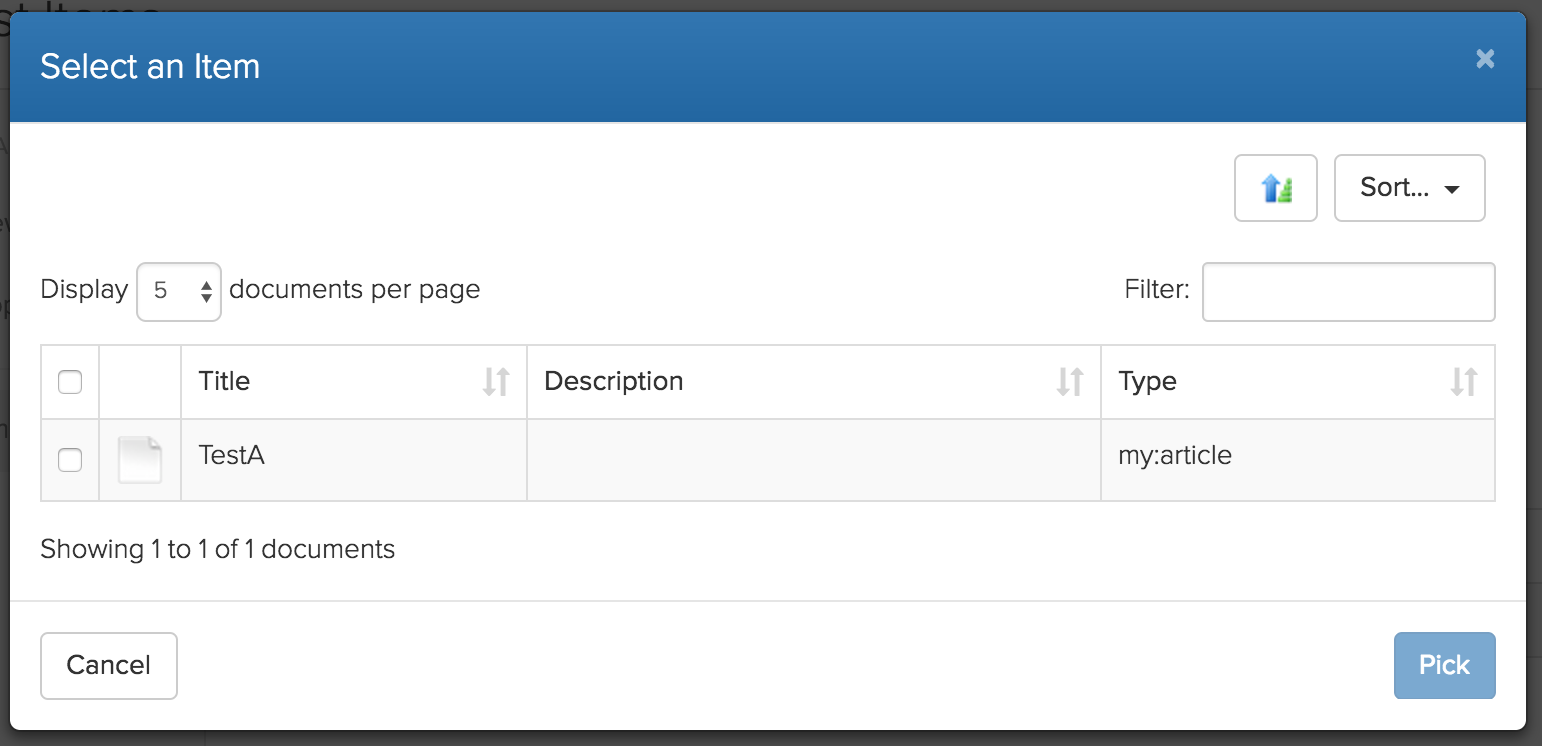
One restriction with Data Lists is that a content instance can only be a member of at most one list. As such, if a content instance is already a member of another list, you may receive a friendly notification to inform you that this is the case.
Multilingual Support
All Data Lists and indeed, all content in Cloud CMS, supports localization. To use this feature, you first tell Cloud CMS which locales you wish a data list to support. Cloud CMS will then automatically manage the user interface for working with translations for all of your Data List items across those locales.
To define the locales that your Data List should support, go the Edit Properties page and select the checkbox for "Support multiple locales".

Select the locales that you would like your Data List to support. If you've defined project-level locales, they wi appear in the drop down. Otherwise, you will be given a system list of locales.
Once you've picked your locales, click "Update" to save the changes to your Data List.
Adding a new Translation for your Data List item
Now that you've configured your Data List for multiple locales, you can work on your Data List items in the selected locales right from the "List Items" page.
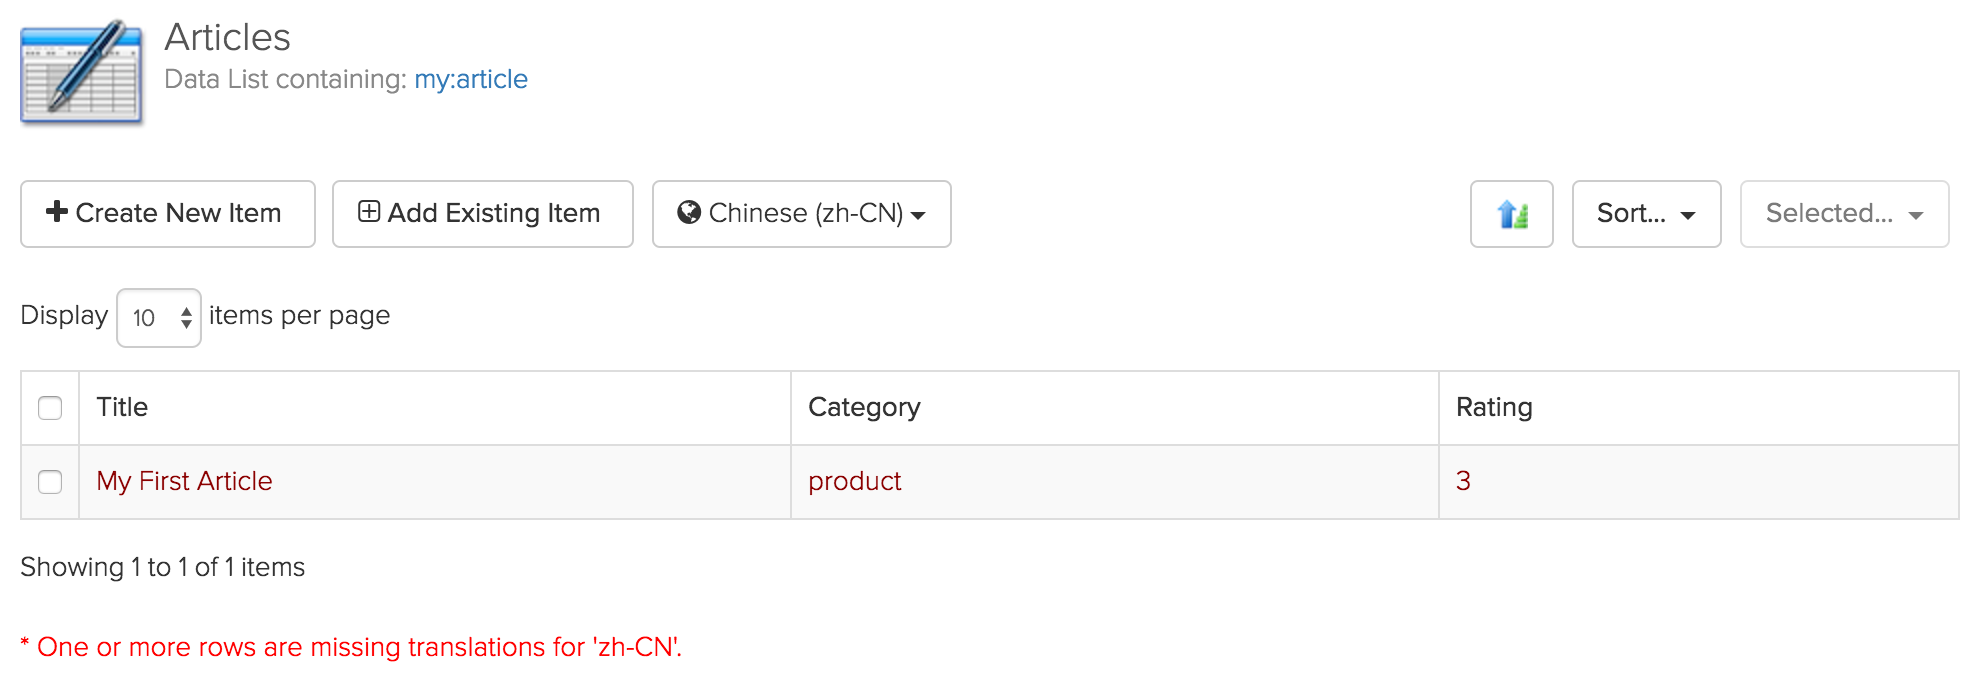
Click on "List Items" and you will see a "Select a Locale" drop down.
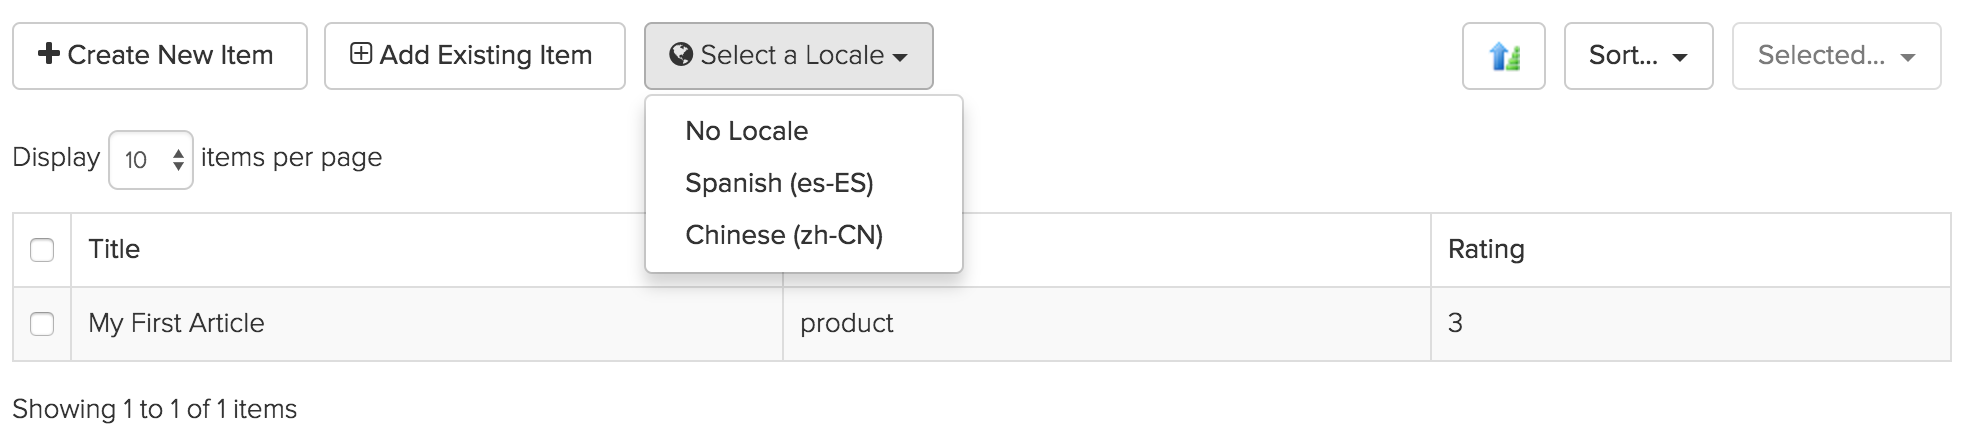
Select one of your locales and the list will show your data items with their translated values. If a translation doesn't yet exist, the item values will render in red as shown here
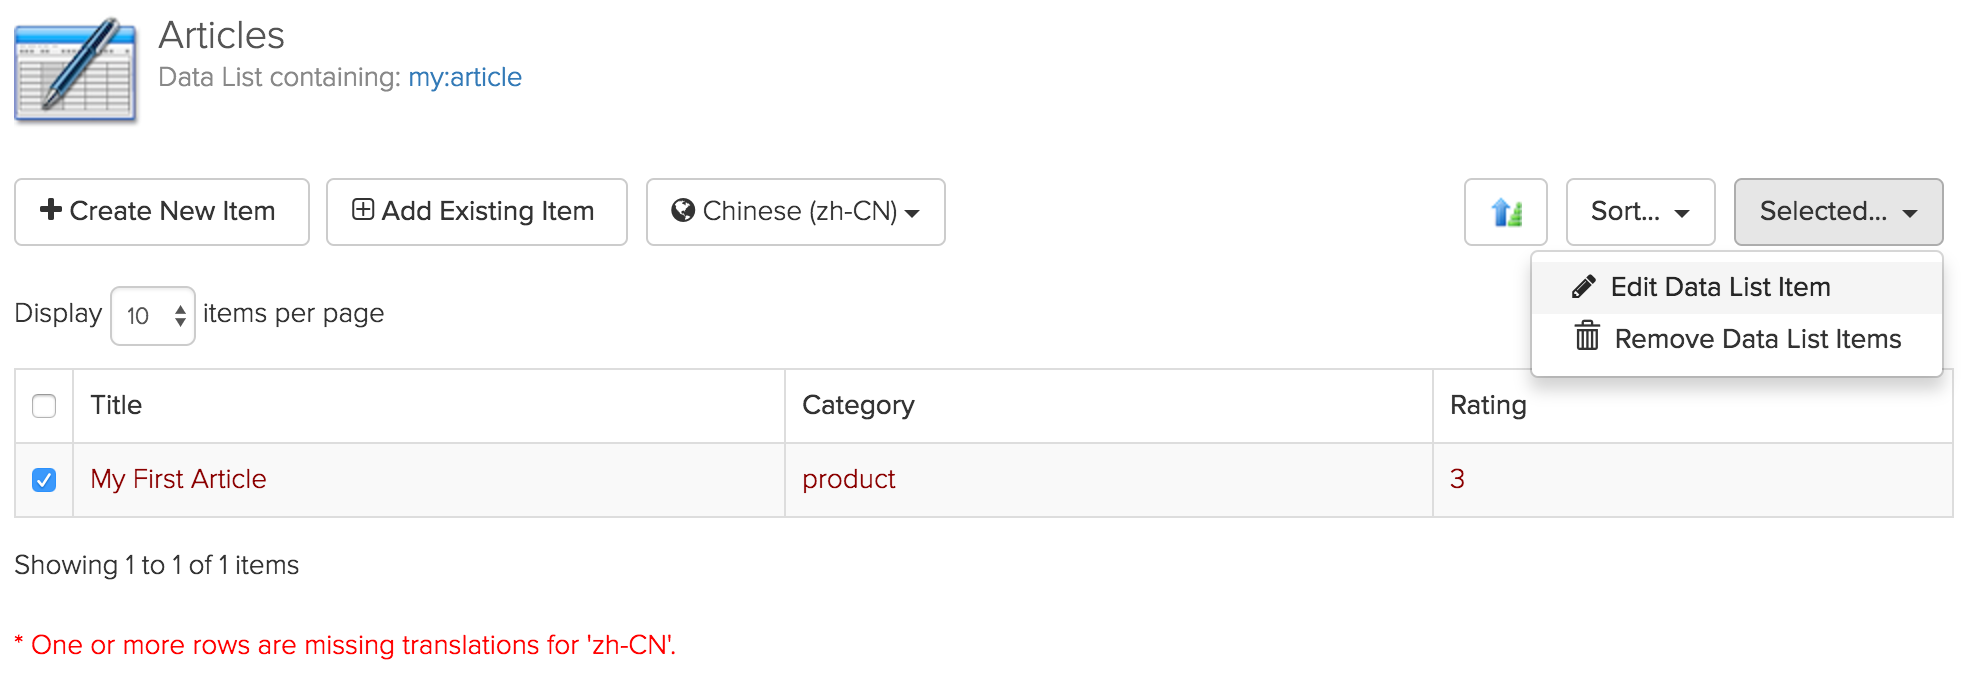
To add the missing translation, select the Edit Data List Item action.
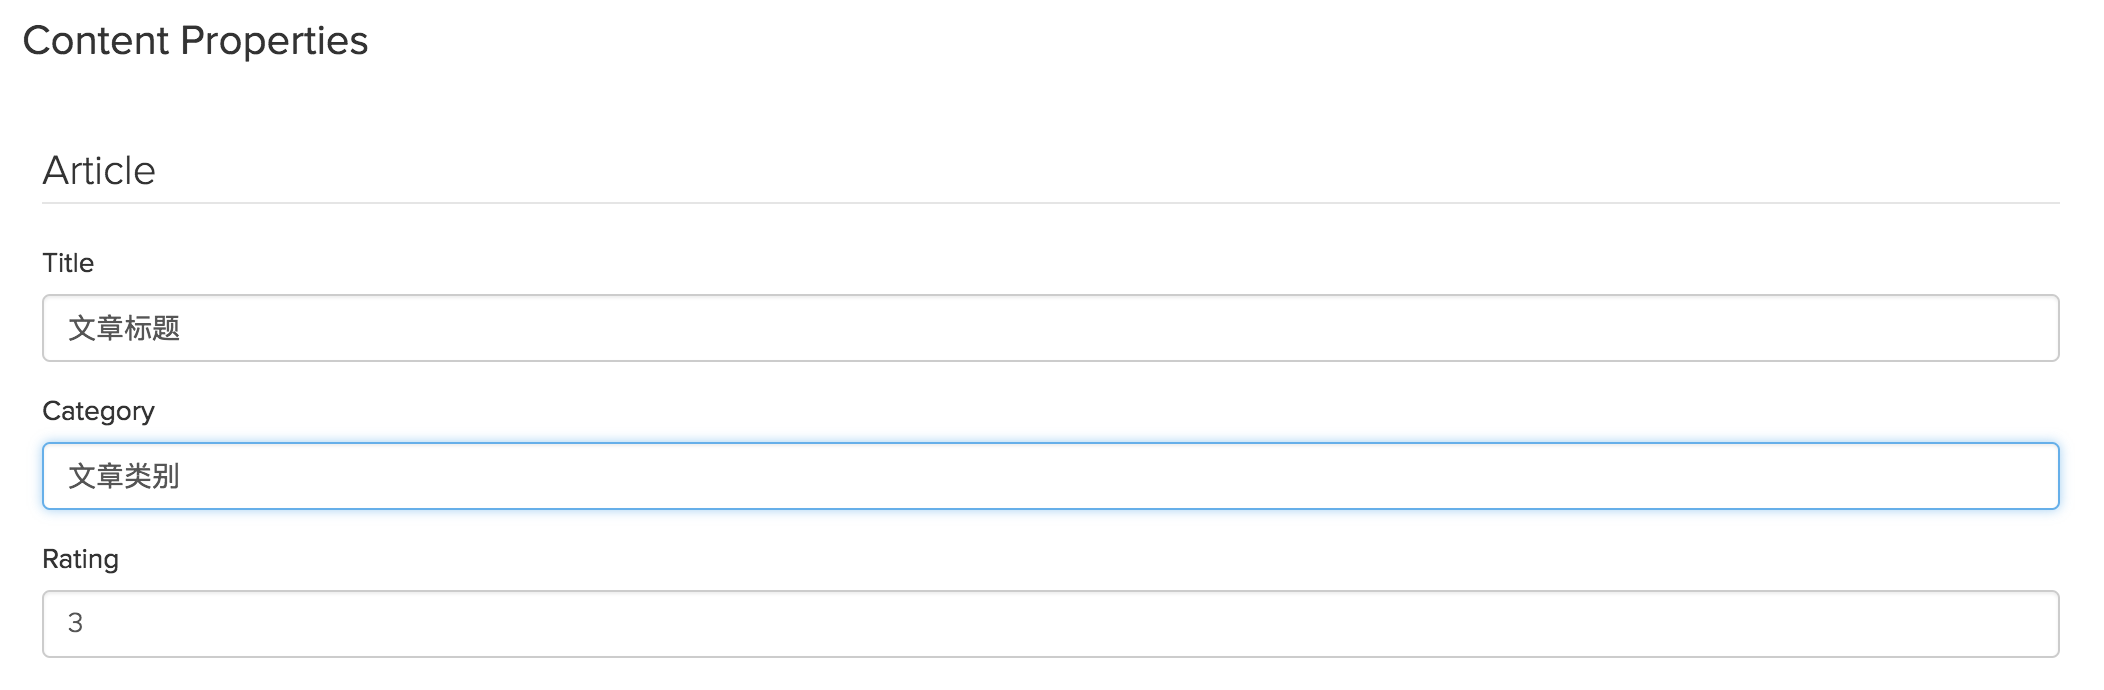
A modal will pop up where you can fill in the localized values.
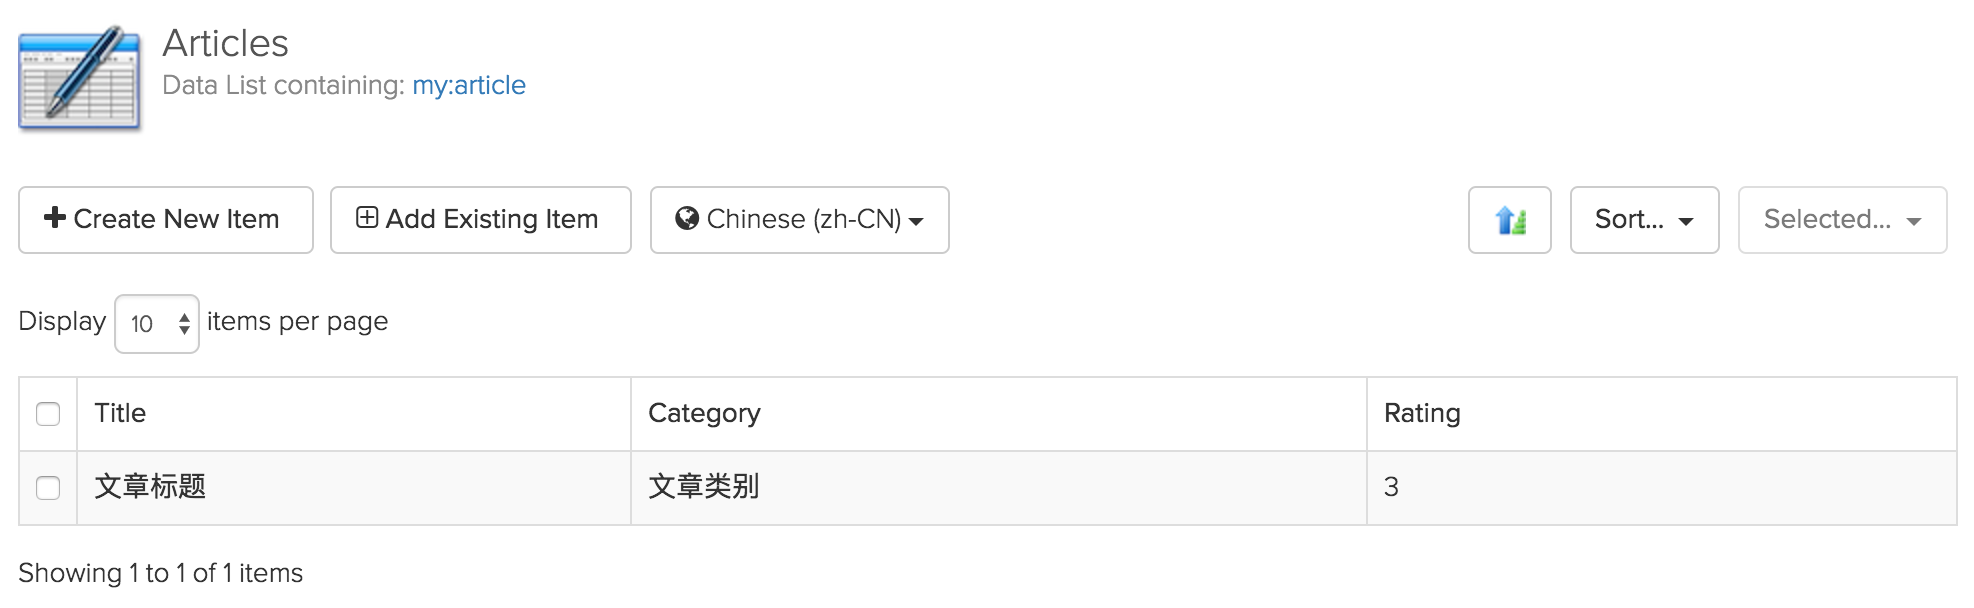
Click on Update to save your changes. The list will now render and your translated values will appear. Use the "Select a Locale" drop down to switch between different locales of your list to see different localized values appear.
Removing a Translation
To remove a Data List item's translation, select the locale in the "Select a Locale" drop down. You'll see the localized values in the list. Select one of them using the checkbox on the left-hand side and then pick "Delete Translations" in the "Selected..." menu.
A modal will pop up letting you confirm that you'd like to delete the translation.
Removing a Data List Item
To remove a Data List item altogether, select the "Remove Data List Items" action in the "Selected..." menu.
If your Data List supports multiple locales, first pick "No Locale" from the "Select a Locale" drop down so that you're working against Data List rather than a translation.