Image Editor
With the CloudCMS you can edit your images using our Image-Editor. To use the Image Editor and see all the cool things you can do with your Images:
- Go to your Image
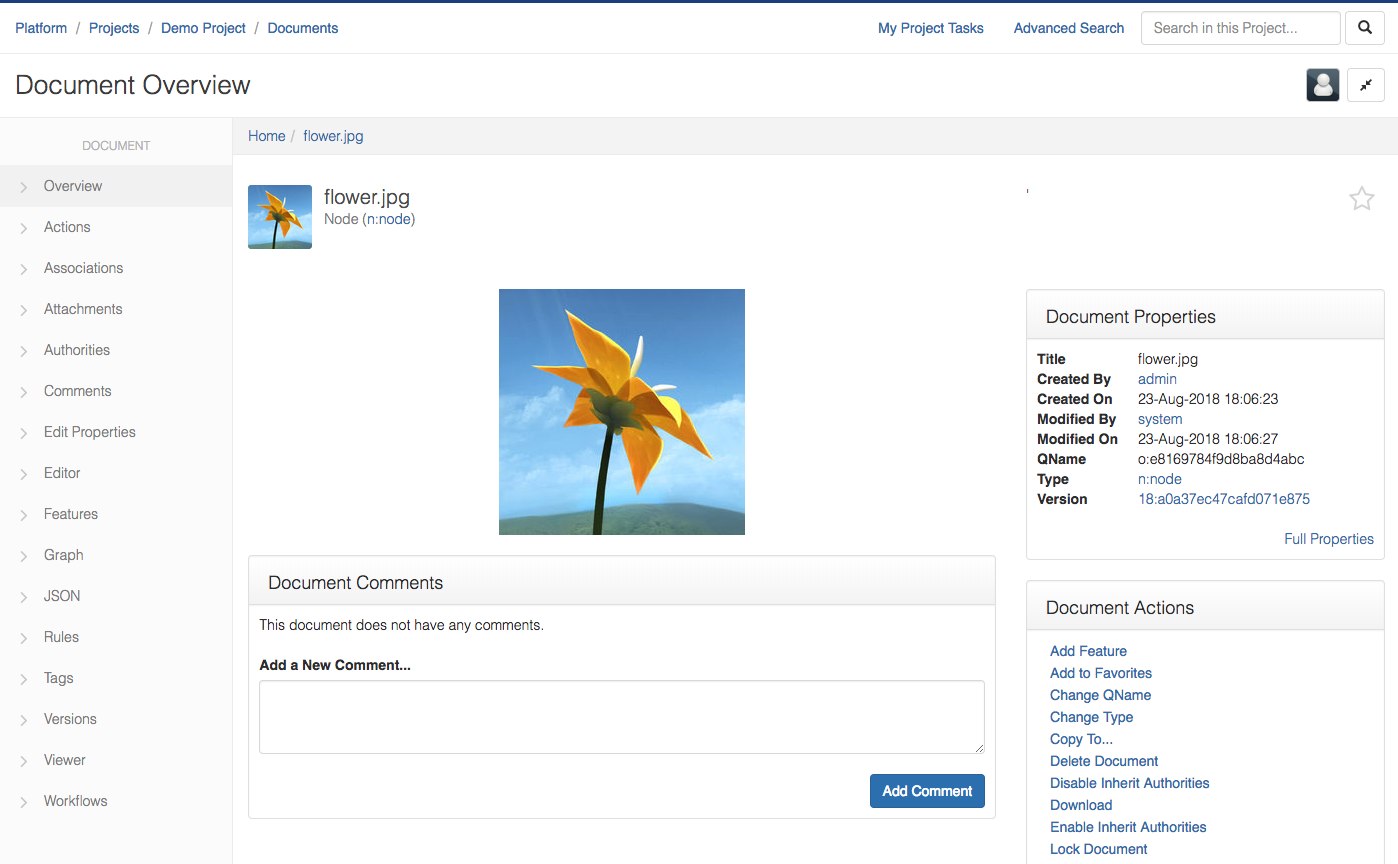
- From the
Left Navigation Menu, Click on Editor Page
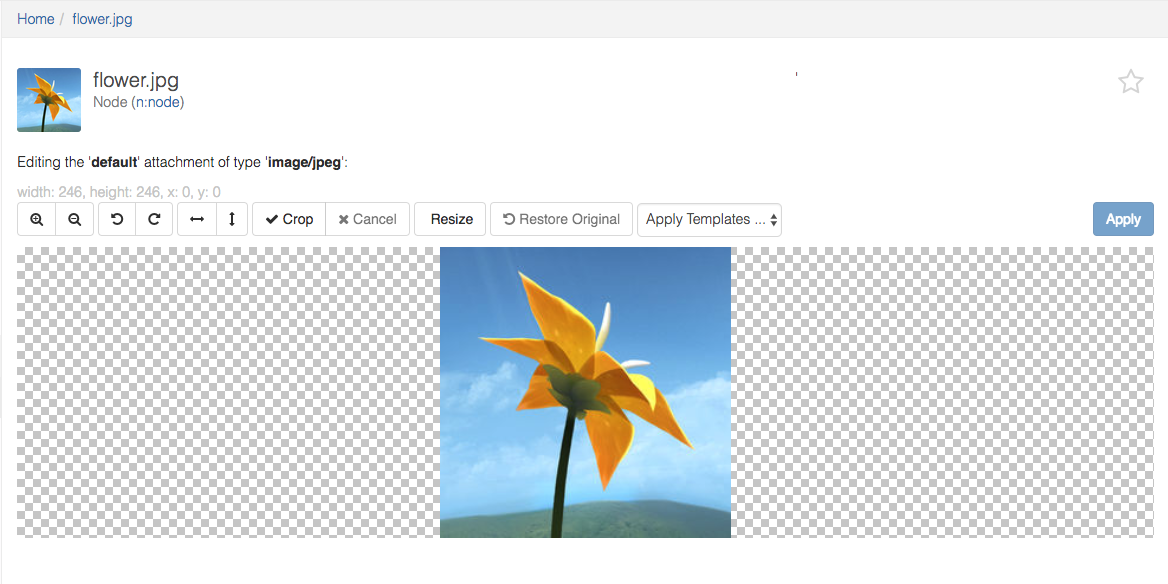
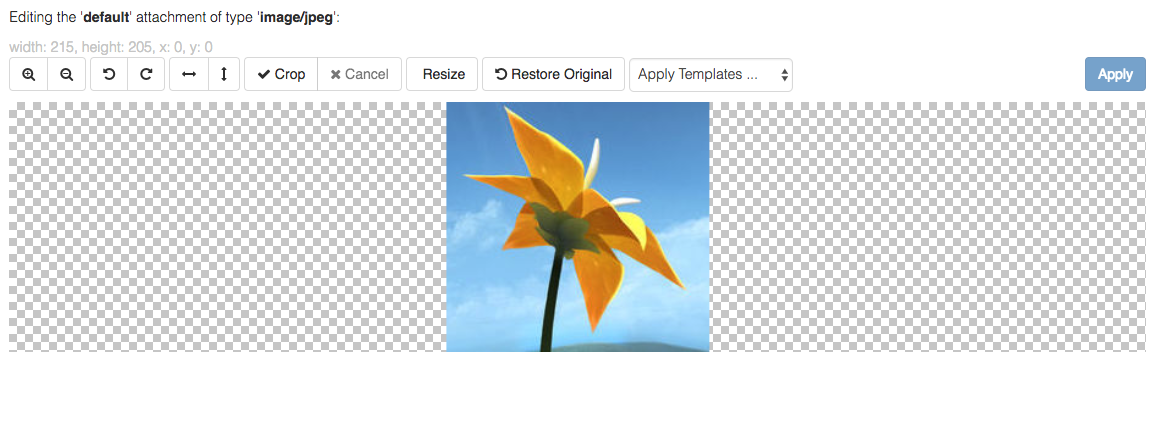
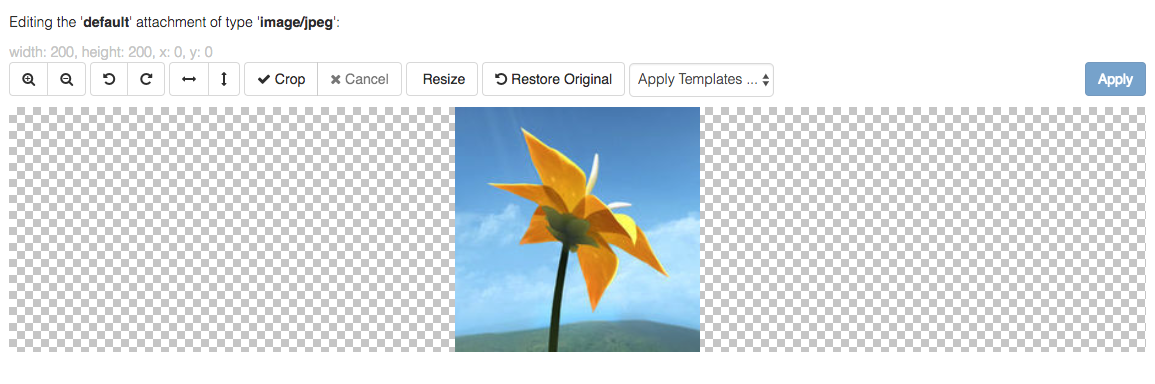
You can see all the Editor Options that you can perform on this Image. You can see the dimensions like the width and the height of the original image just above the options :

Zoom-in and Zoom-out
You can Zoom-in or Zoom-out using the first button group as follows:

Rotate Left or Rotate Right
You can Zoom-in or Zoom-out using the second button group as follows:

It performs rotation of 90 degrees left or right depending on the button clicked.
Flip Vertical or Flip Horizontal
You can Flip Vertically or Flip Horizontally using the third button group as follows:

Crop
The next button group lets you crop the image. You can see all the dimension values changing in real-time while you crop like the Width and Height to make it easier for you to crop the Image of a particular dimension and also indicates its X and Y co-ordinates.

Clicking, on the Crop button enables the Cancel button. You can hit Cancel, if you decide to not crop the image.
Resize
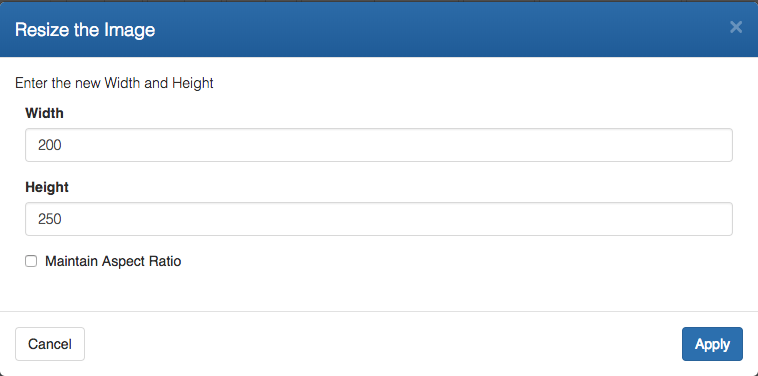
Resize button lets you resize to a Particular Width and Height, if you know the dimensions you want to resize the image to.
The Aspect Ratio of the image is maintained unless you wish to change it. For example, the image we are using in this example is of dimension 246 x 246 ( Width x Height ), which means the Aspect Ratio of this image is 1:1. If you click on Resize and Type in 200 in the Width field, since the Maintain Aspect Ratio is enabled by default, it automatically sets the Height field as 200.
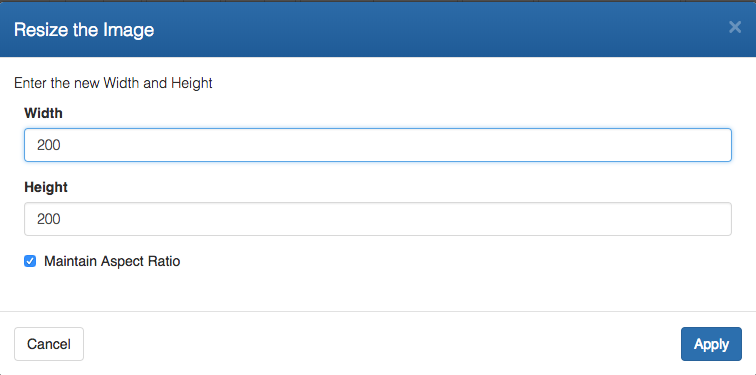
If you wish the Resize button to not Maintain Aspect Ratio, uncheck the checkbox Maintain Aspect Ratio and enter the values of Width and Height as you like as follows:
Then, click on Apply to save the changes.
Restore Original
If no changes are made to the image, this Button will be disabled.
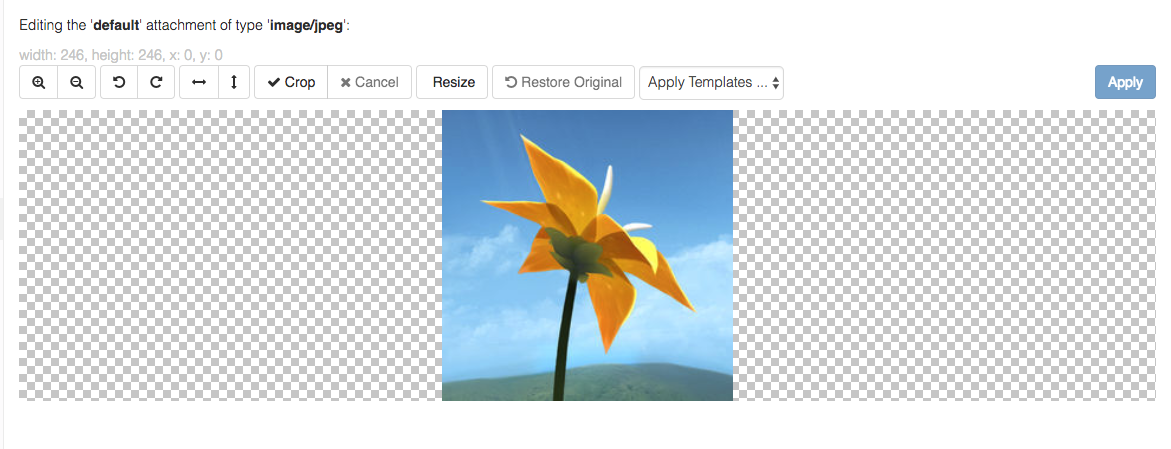
This button will be enabled if there are any changes made to the image and will let you go back to the original state of the image.
Here is an example of the image resized to 200 x 200 :
- Click on Restore Original :
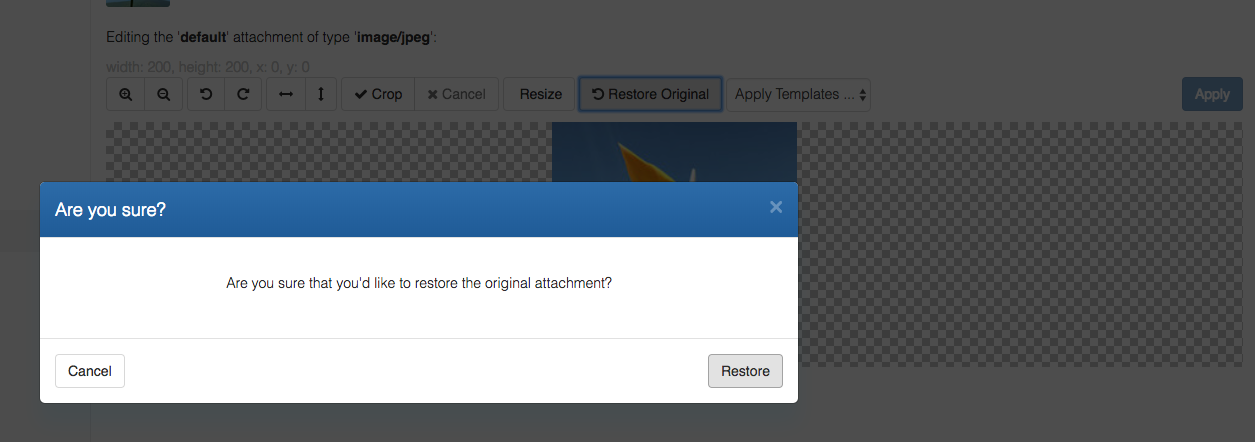
- Click on Restore :
Apply Templates
The Final Button is a dropdown called Apply Templates which will let you choose a template from a list of editor templates which will basically be cropping templates already created by you with some specific Crop Width and Crop Height.

If you have no templates added to your Image-editor, you will have no item shown in this list. You need to first create Image Editor Templates to show up in this list.
To Create an Image Editor Template :
Go to
Manage ProjectUnder
Configure ProjectLeft Navigation Menu, Click on EditorUnder
EditorsMenu, Click on Image
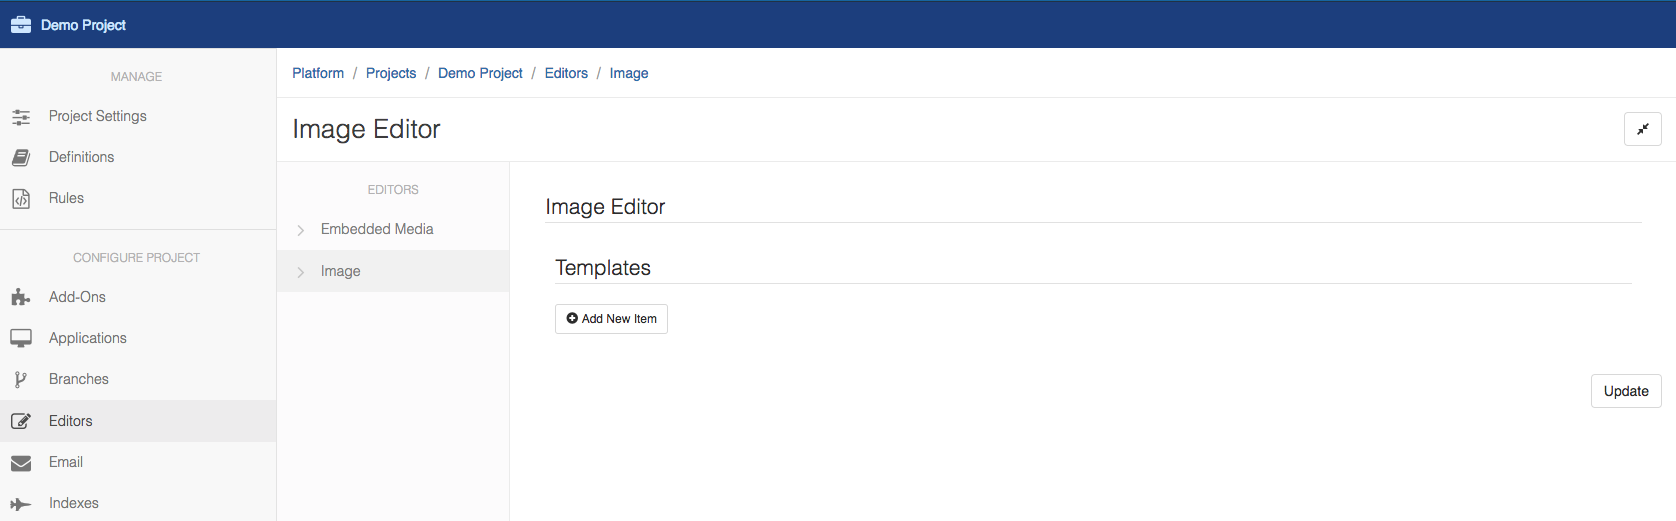
Click on Add new Item
Enter a Template Name
Enter Crop Width which should be valid number, preferably an Integer
Enter Crop Height which should also be valid number, preferably an Integer
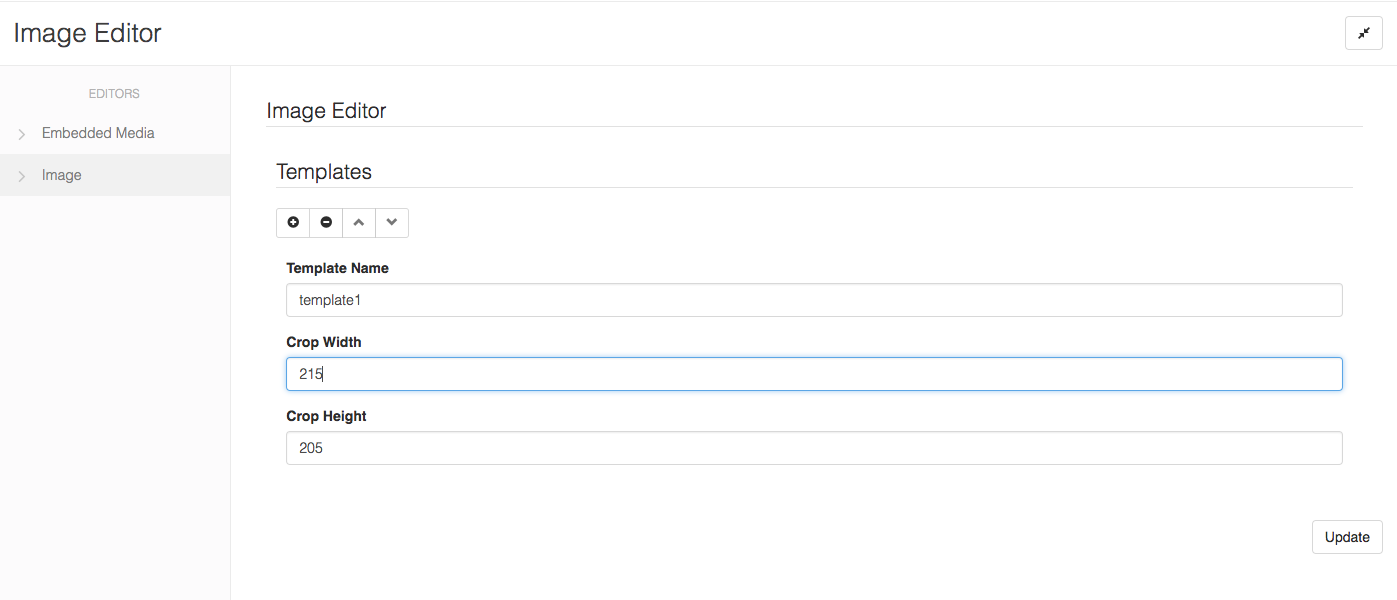
- Click on Update
To Choose this Template in the editor now:
Go to the Editor again
Click on Apply Templates
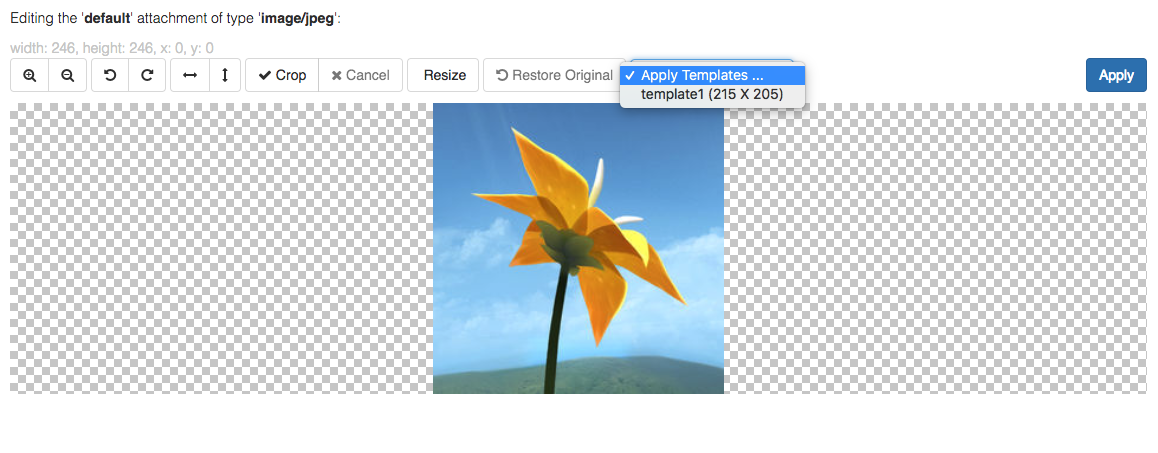
Click on template1
You will the the Cropped out part with the template dimensions. You can now drag it and decide the position like the
xandyco-ordinates of where you want to crop the Image.
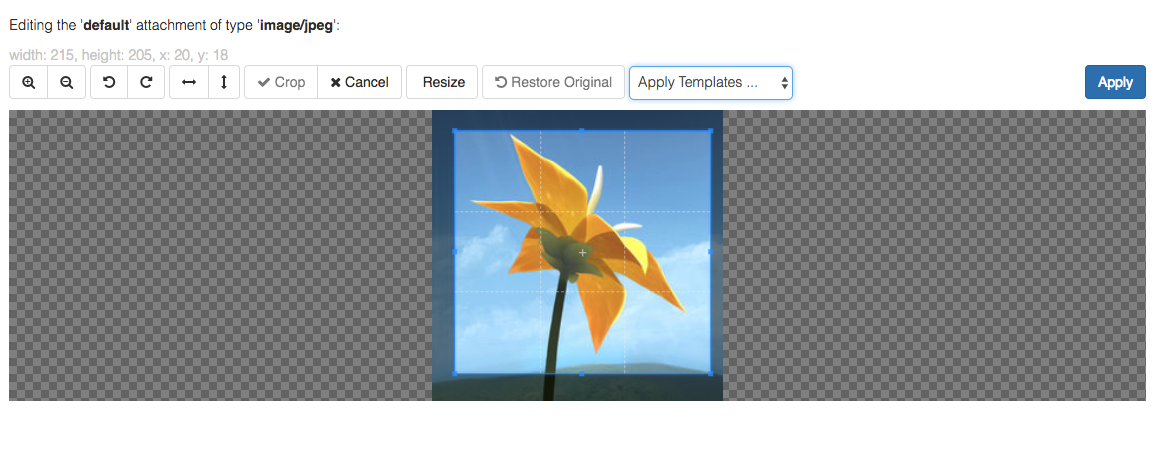
- Click Apply