Multilingual
When applied to a node, this indicates that you wish to have the contents of this node support multilingual behavior and translated content. This node then serves as the "master node" for translation support. Master nodes have a:has_translation associations to translation nodes that hold copies of the content (JSON and any attachments) in the target locale
Marking a node as f:multilingual does not automatically produce translations for you. However, once marked, the Cloud CMS user interface will provide the facilities you need to do this sort of thing.
Nodes that are marked as f:multilingual will be localized upon retrieval. If you request a master node via the Cloud CMS API and request a Chinese locale, for example zh-CN, the content returned by the API will be in Chinese.
Glossary
Master Document and Translated Document -- Documents that (will) have multiple translated versions associated with them are Master Documents. For example, your content editor, John, created an article in English. Then he asked others to translate the article into Chinese and Spanish. John can take the original English version as the Master Document, and other versions as its Translated Documents.
Multilingual (f:multilingual) -- Multilingual is a mandatory feature for Master Documents. In the example above, John needs to apply multilingual feature on the English article to associate it with other translations.
Locale (f:locale) -- Locale indicates the locale of the audience that the document is presented to. You can set locale for any document, but it's a mandatory feature for translated documents.
Set Locale
Configure Available Locales for a Project
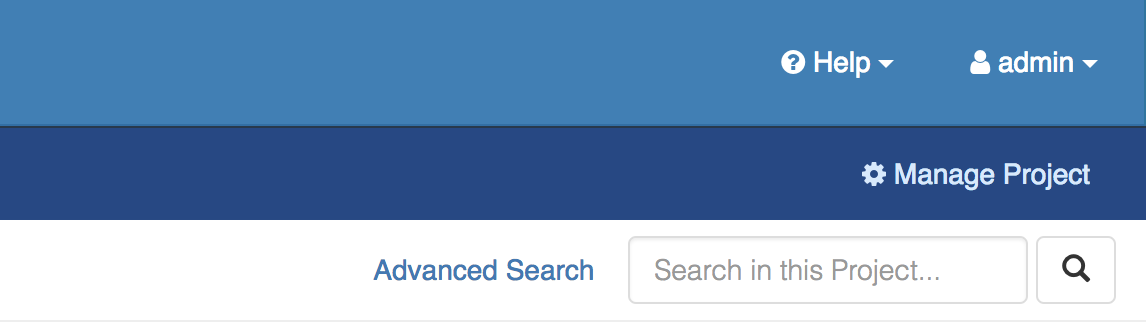
To configure locales for a project, click "Manage Project" near the top right corner
Find "Supported Locales" in "Project Settings", and add locales that this project supports
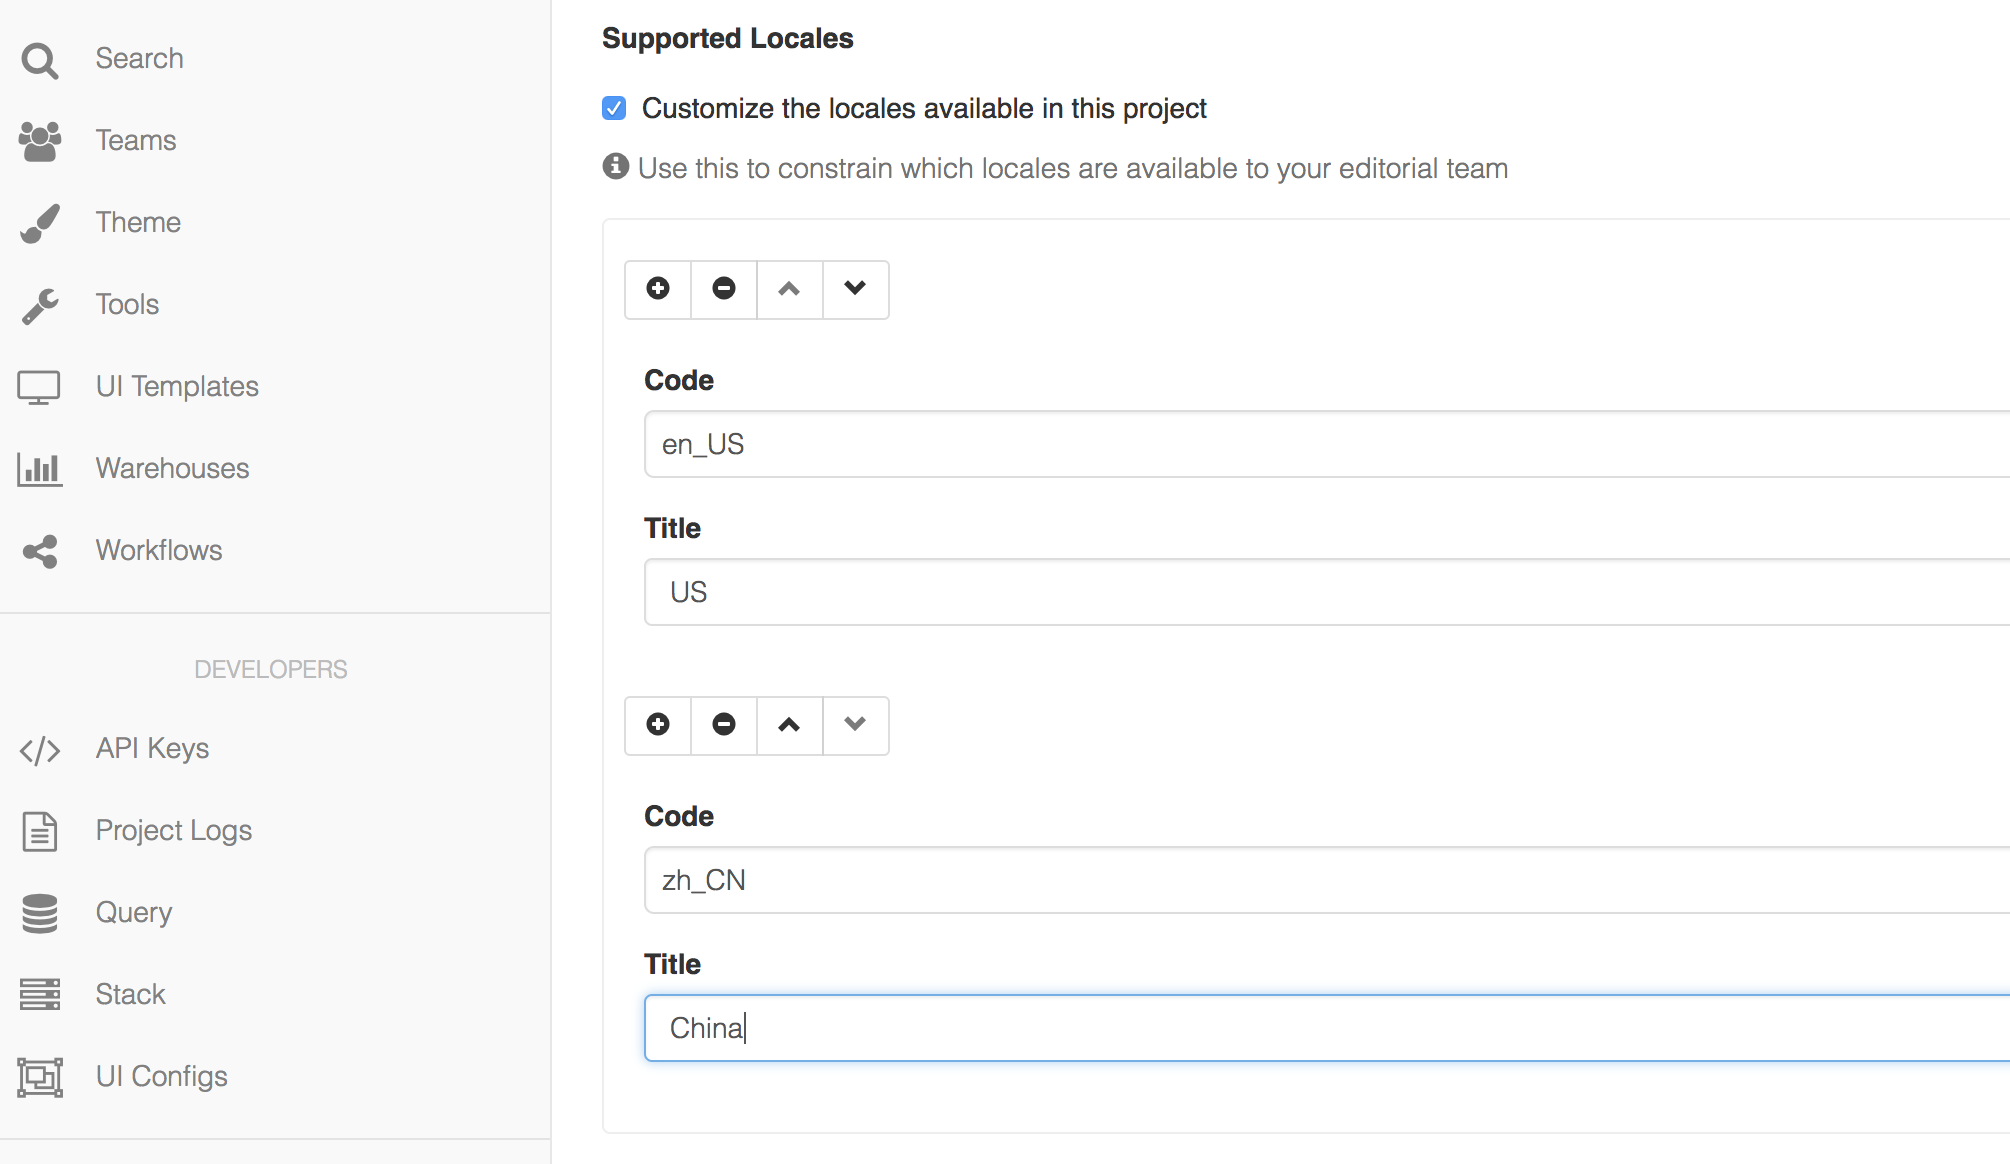
Click "Update" to save changes.
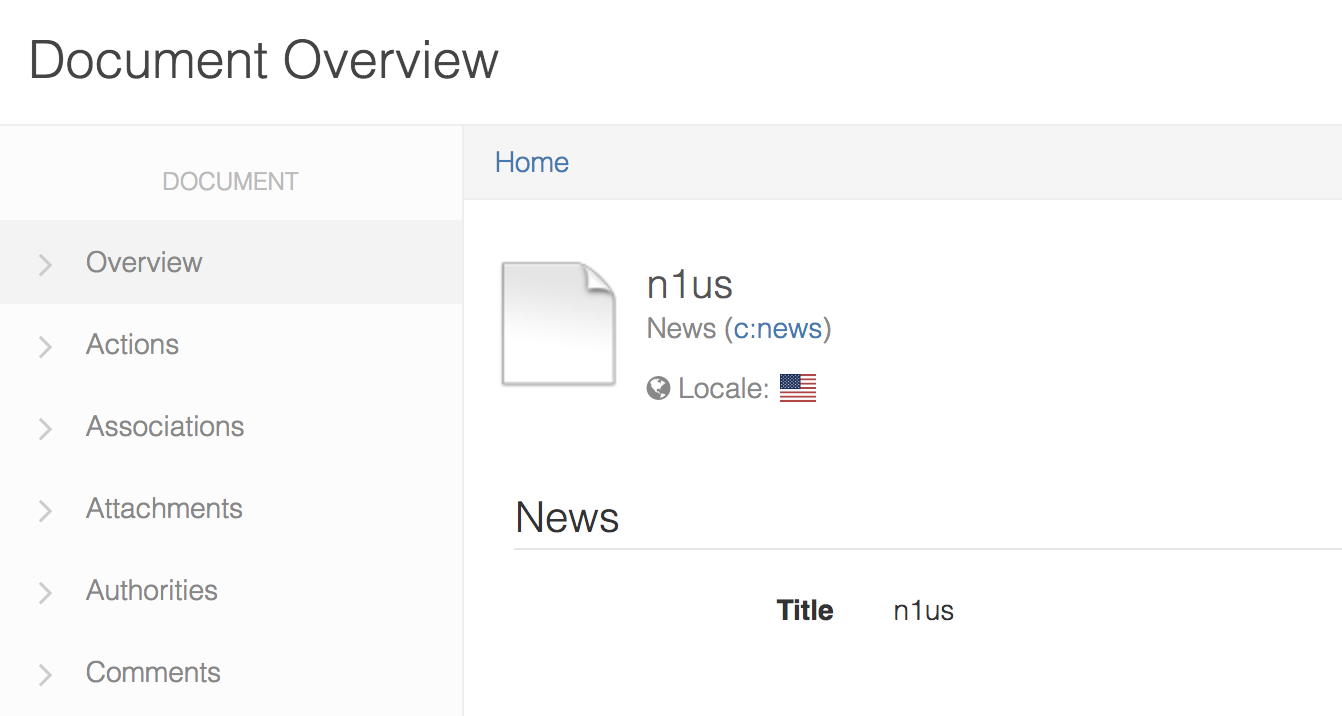
Set Locale for a Document
Click "Set Locale" from the list of "Document Actions" on the right. Choose the locale of the document from the dropdown list.
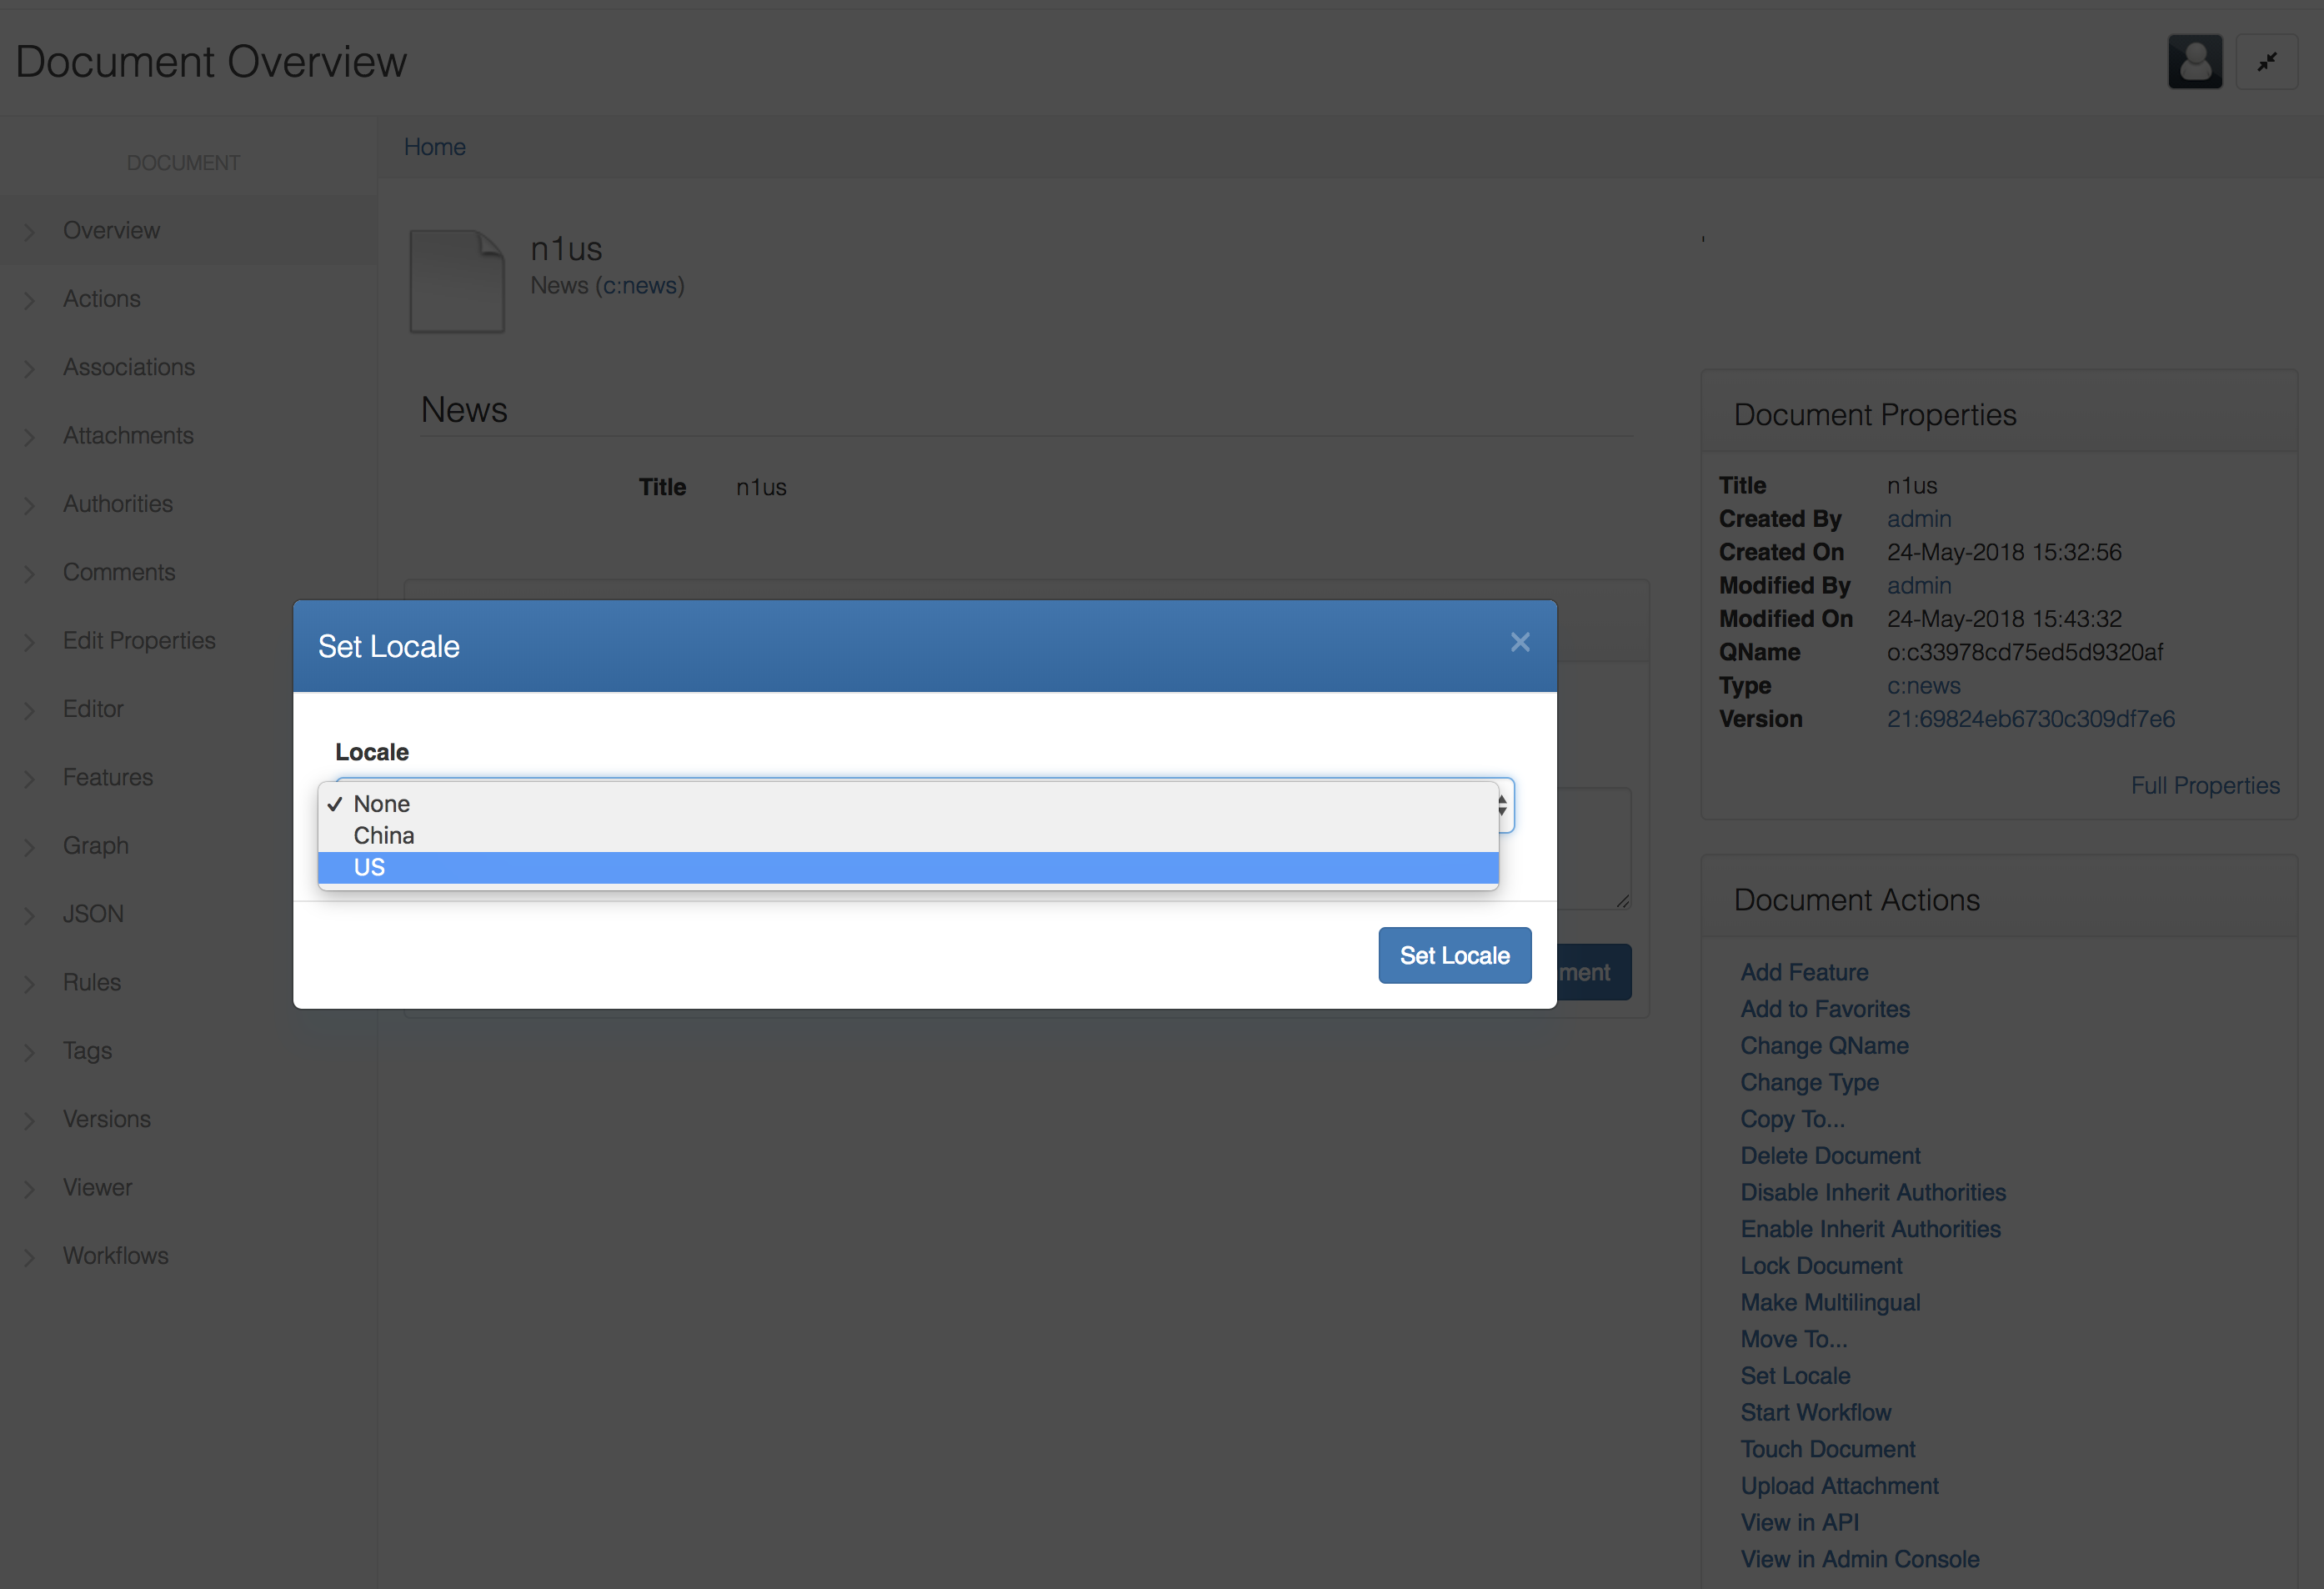
Then you will see a flag icon next to the document thumbnail :)
Apply the multilingual feature
There are two ways to apply the multilingual feature to a document.
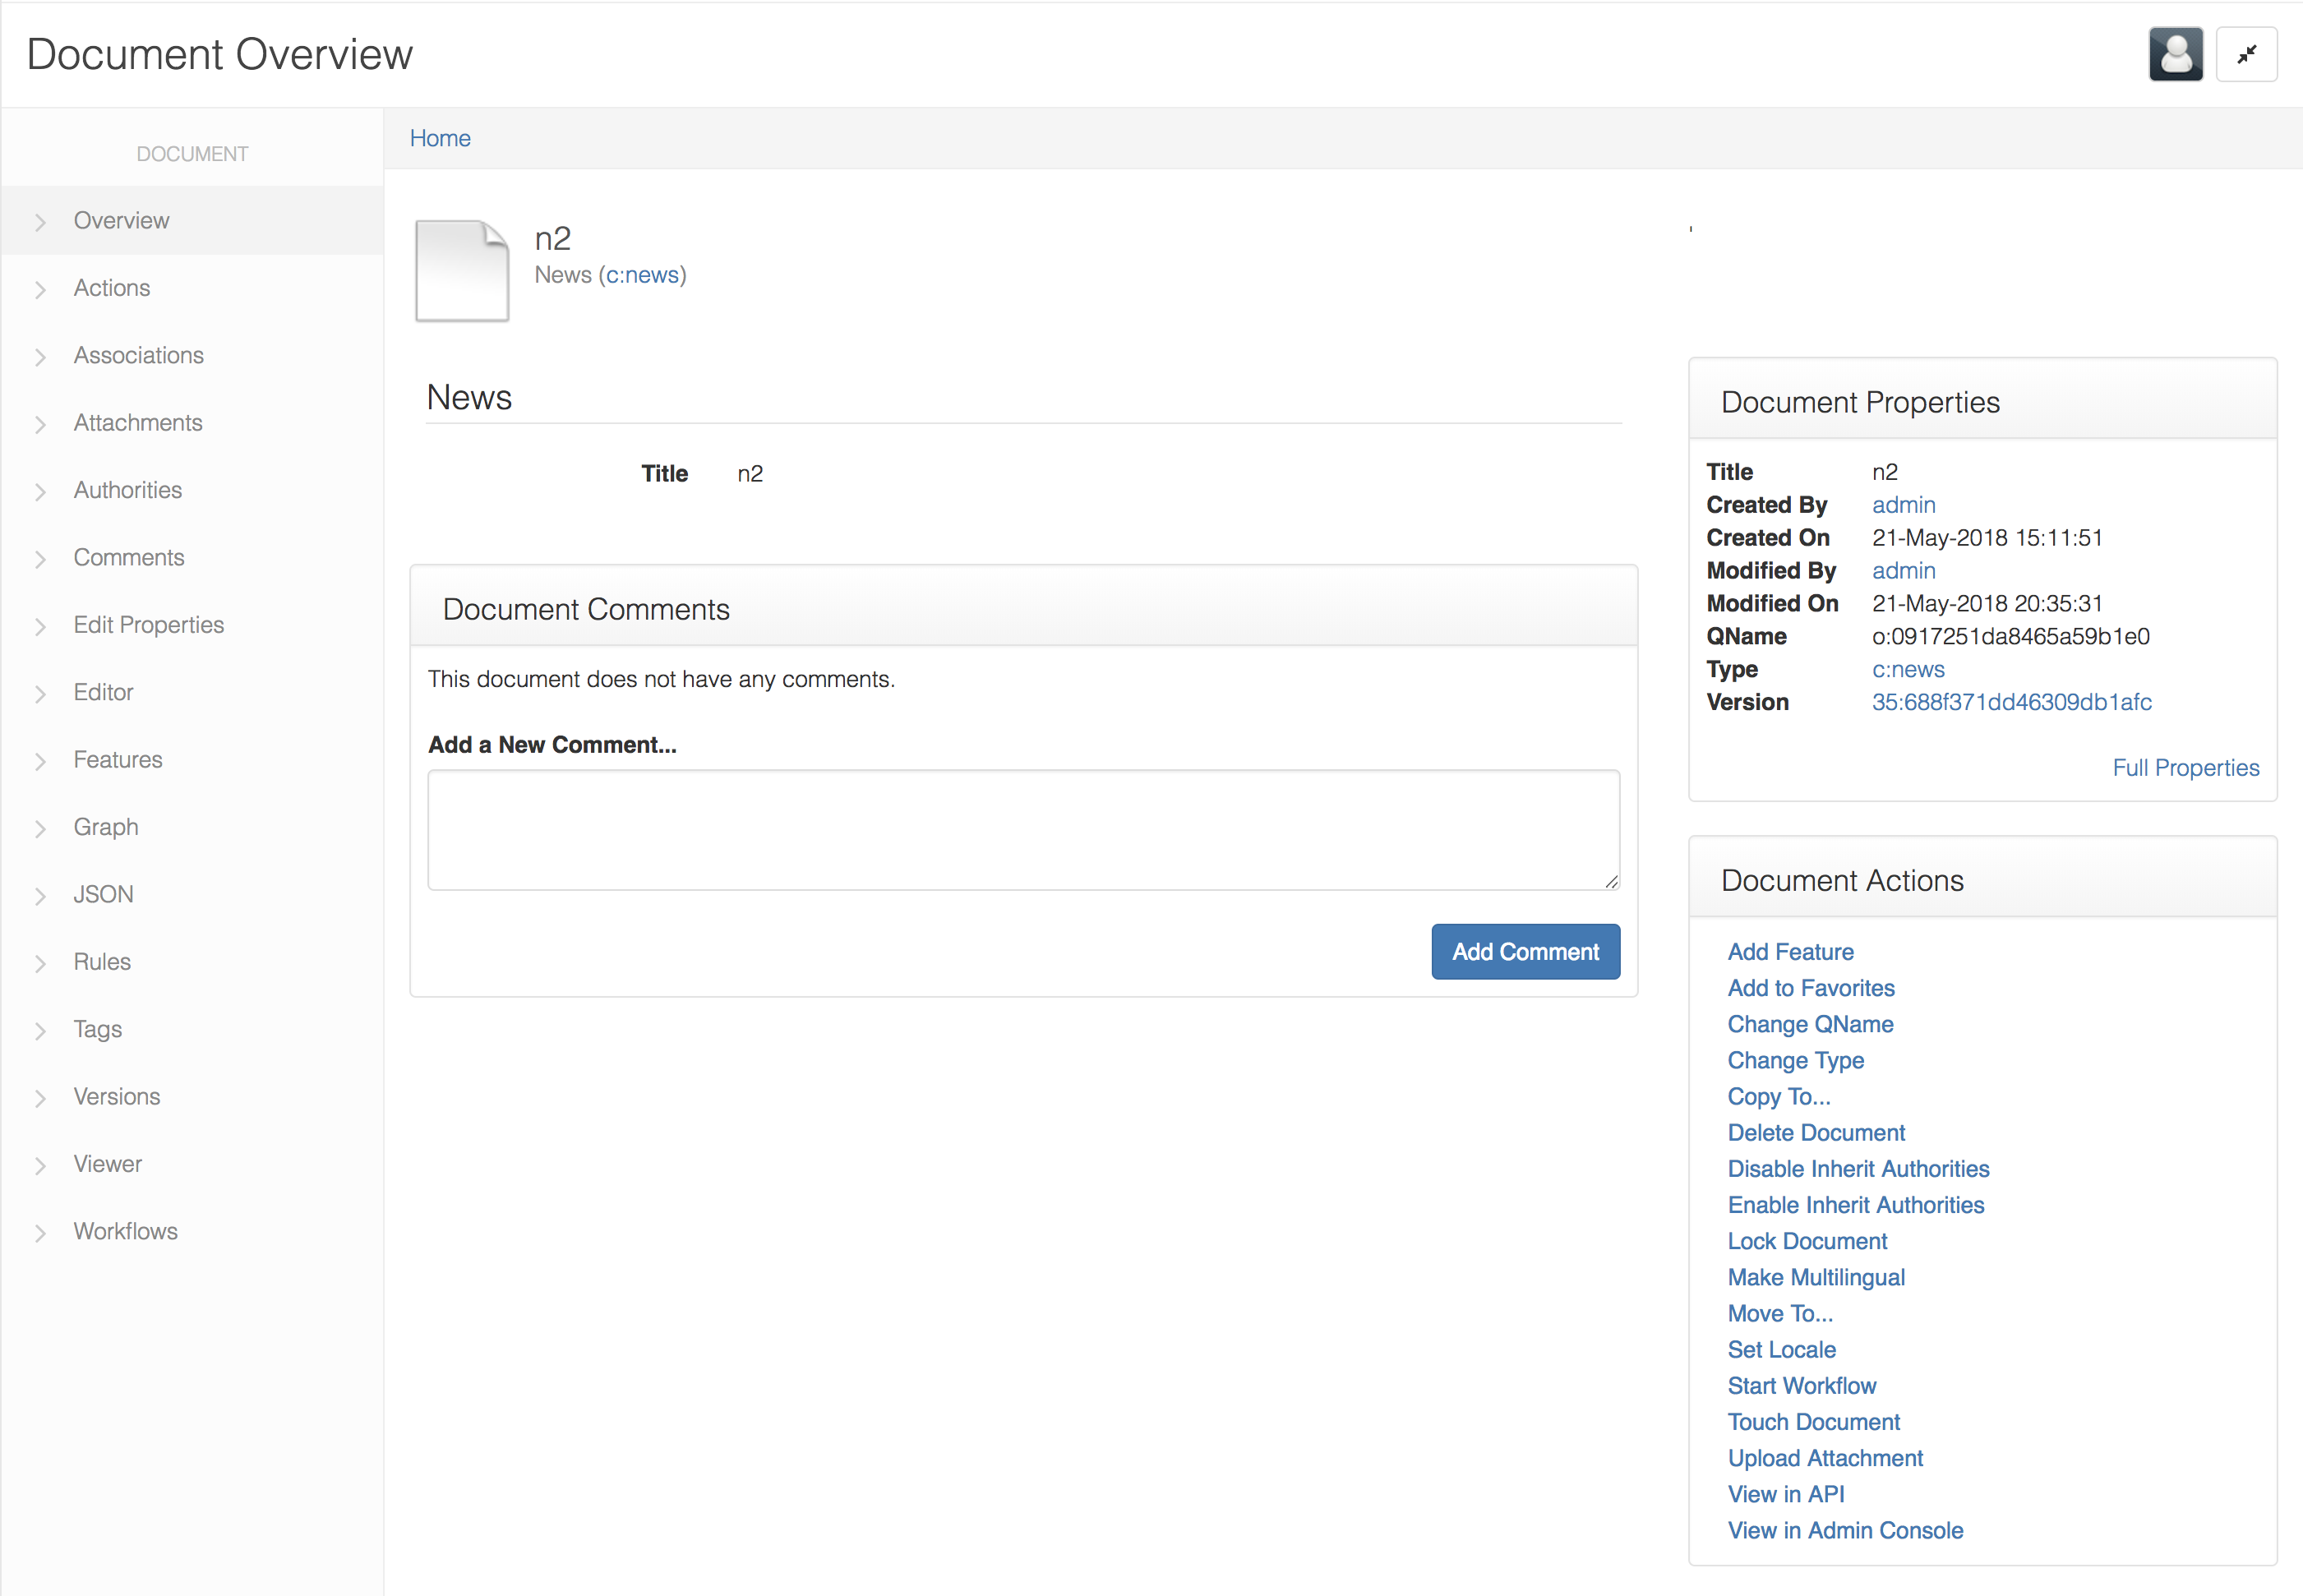
From Document Overview
Click "Make Multilingual" from the list of "Document Actions" on the right.
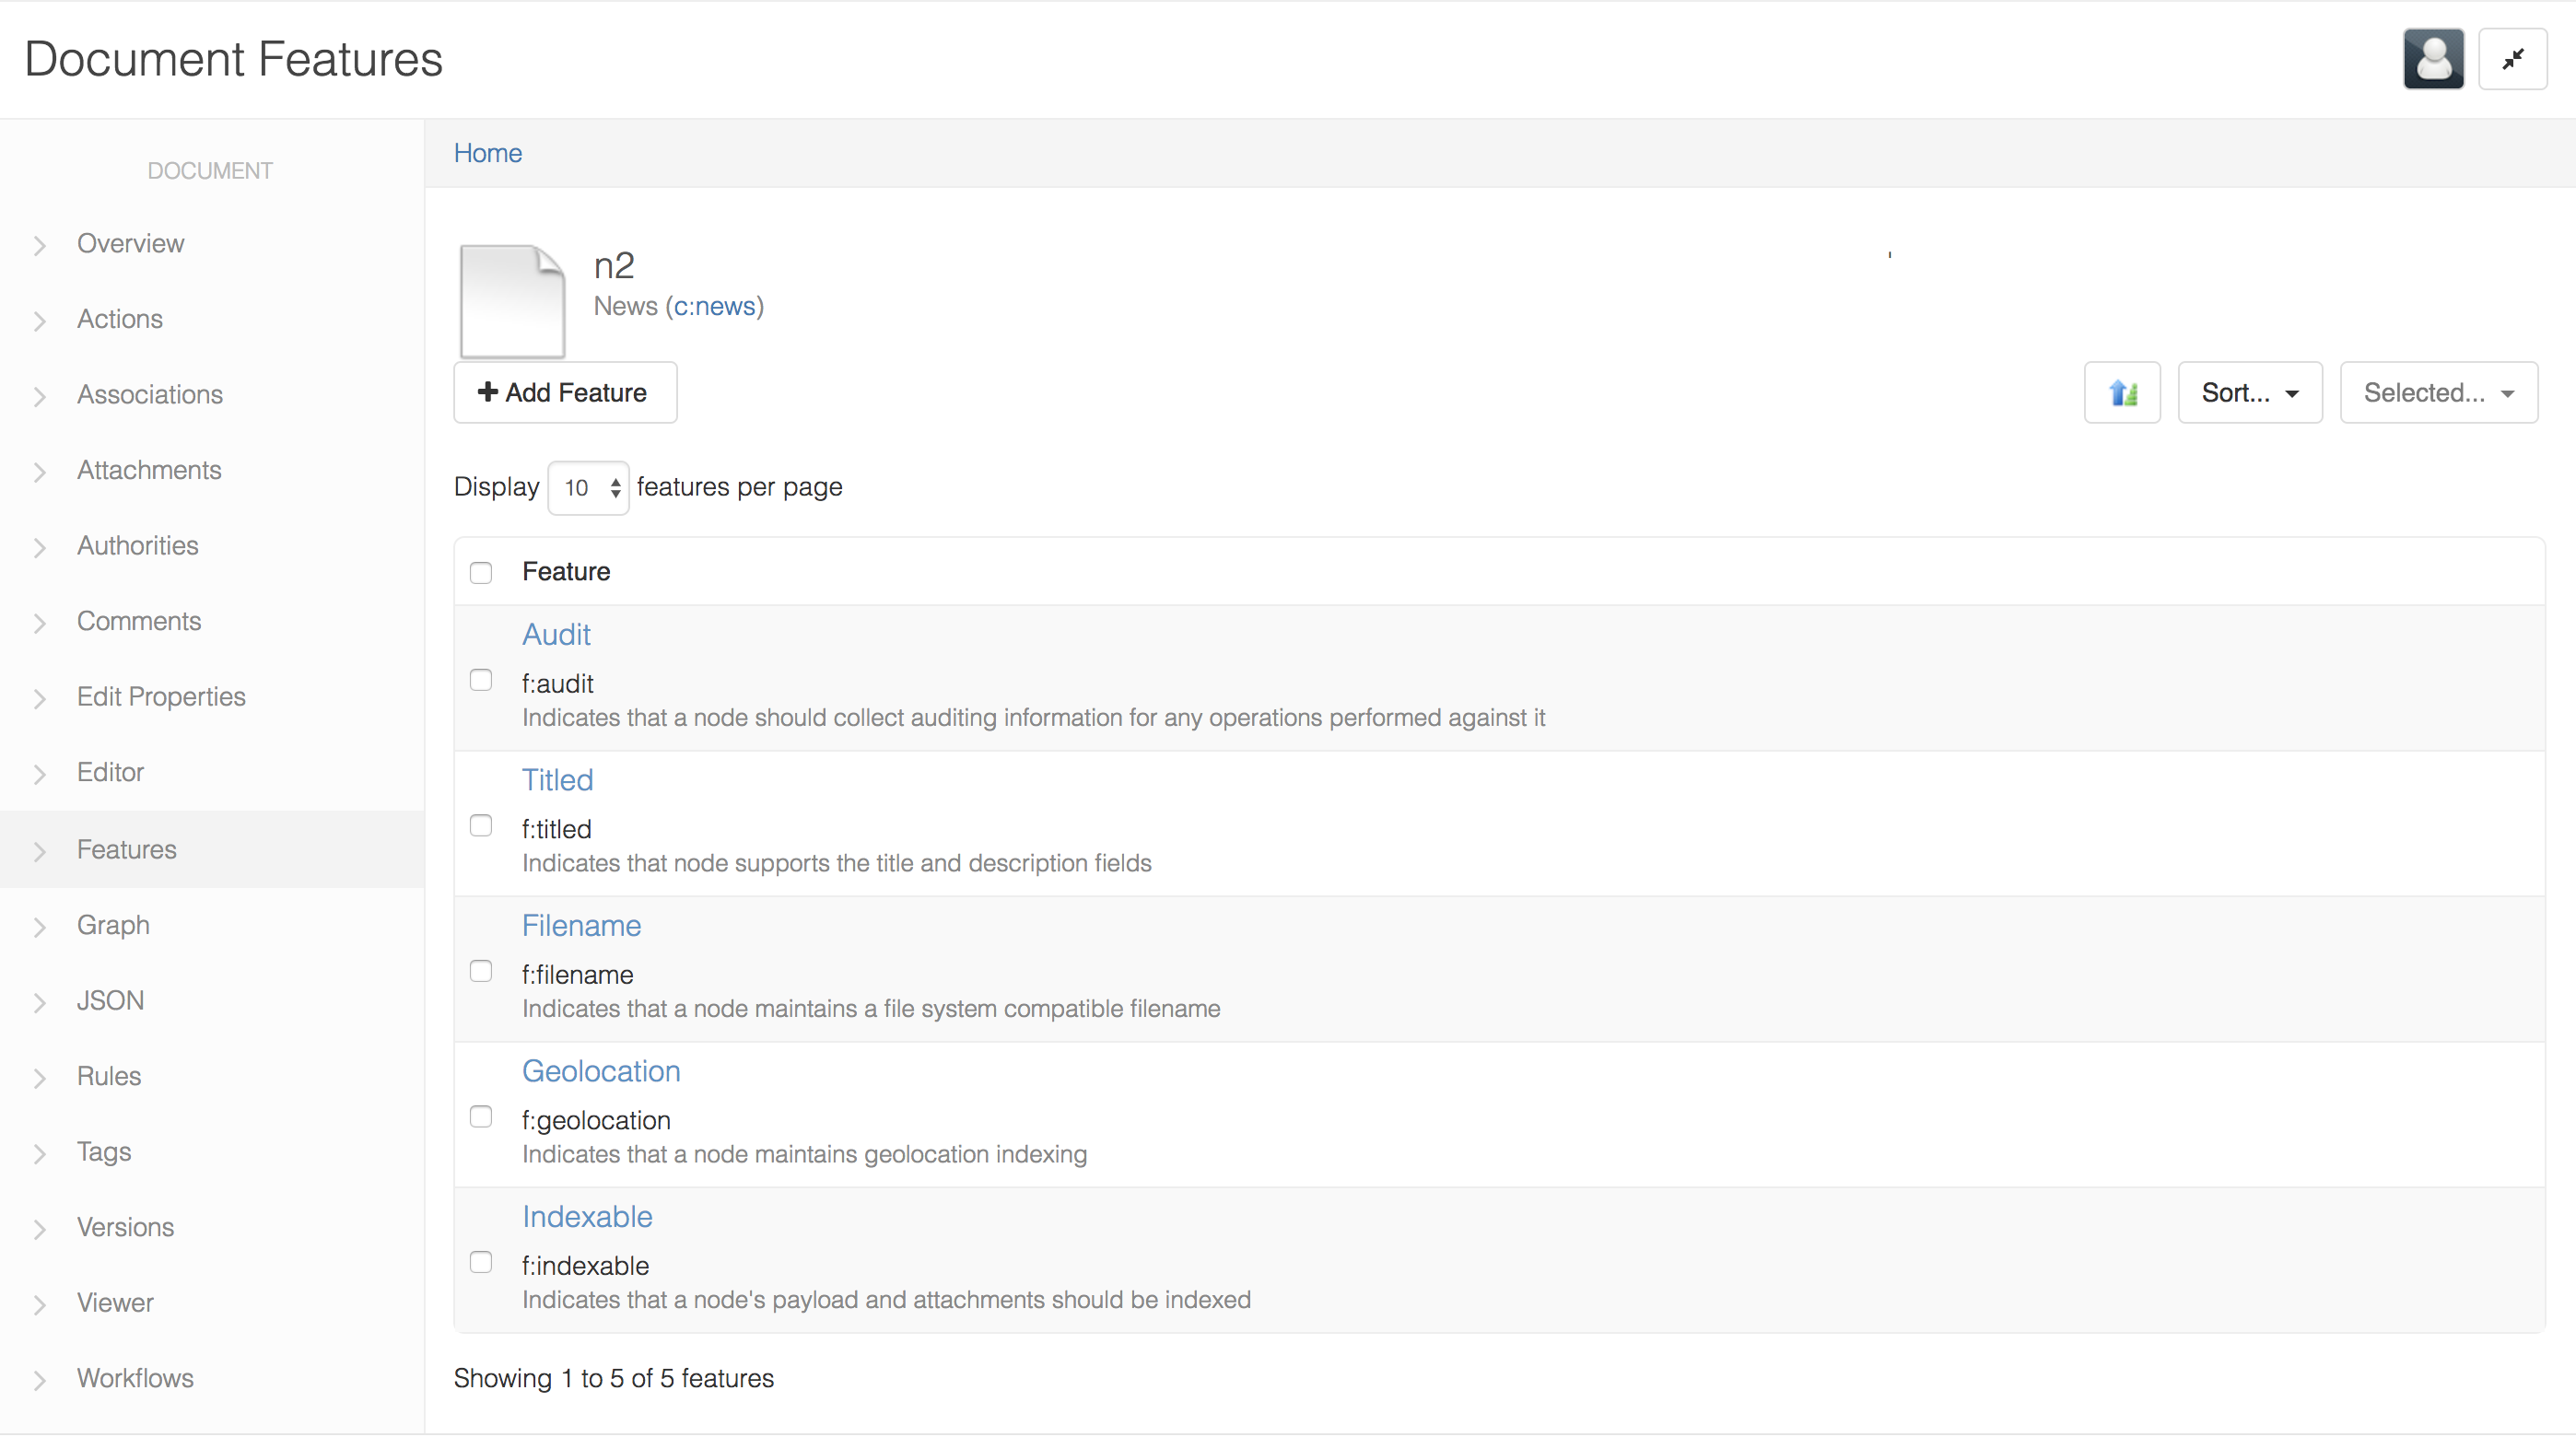
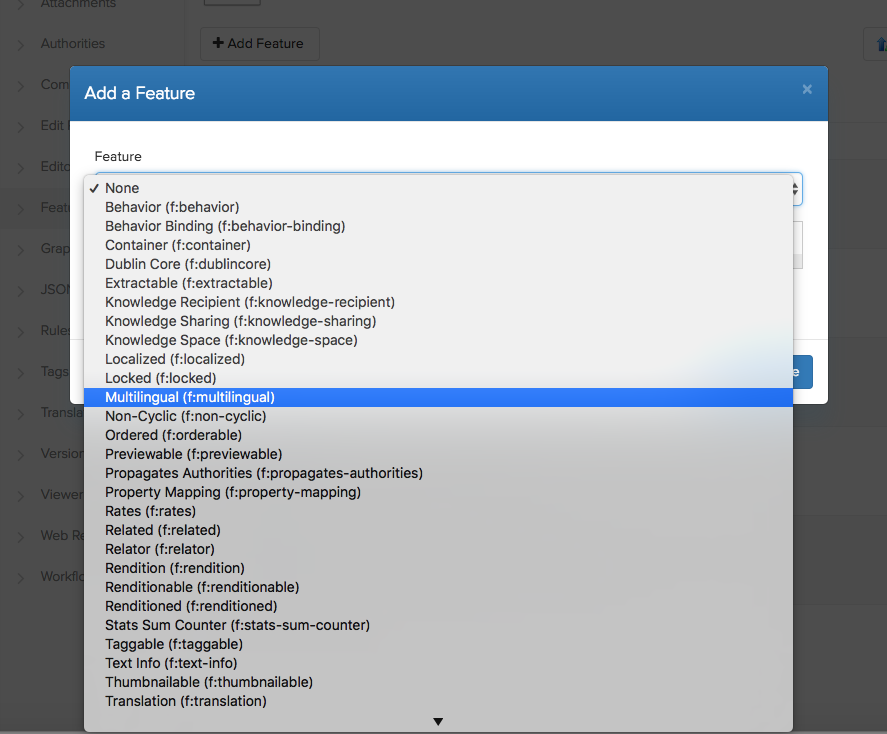
From Document Features
Click "Add Feature" and select "Multilingual(f:multilingual)" from the dropdown list.
Result: On the Document Overview there is now a Translations option in the left nav.
Add a translation
From a master document
Once you mark a document as multilingual, the document becomes a "master document" and it now supports translations. You can add an existing translated documents to it, or create a new translation document for it.
Add an existing translated document
To add a translated document to it, click "Add Translated Document" in "Document Actions" on the right. The form below has an optional field "Locale", which is the locale(language) of the translated document, and a mandatory field "Document".

Click "Select..." and you will see a wizard as below: pick a translated document for this master document from here.
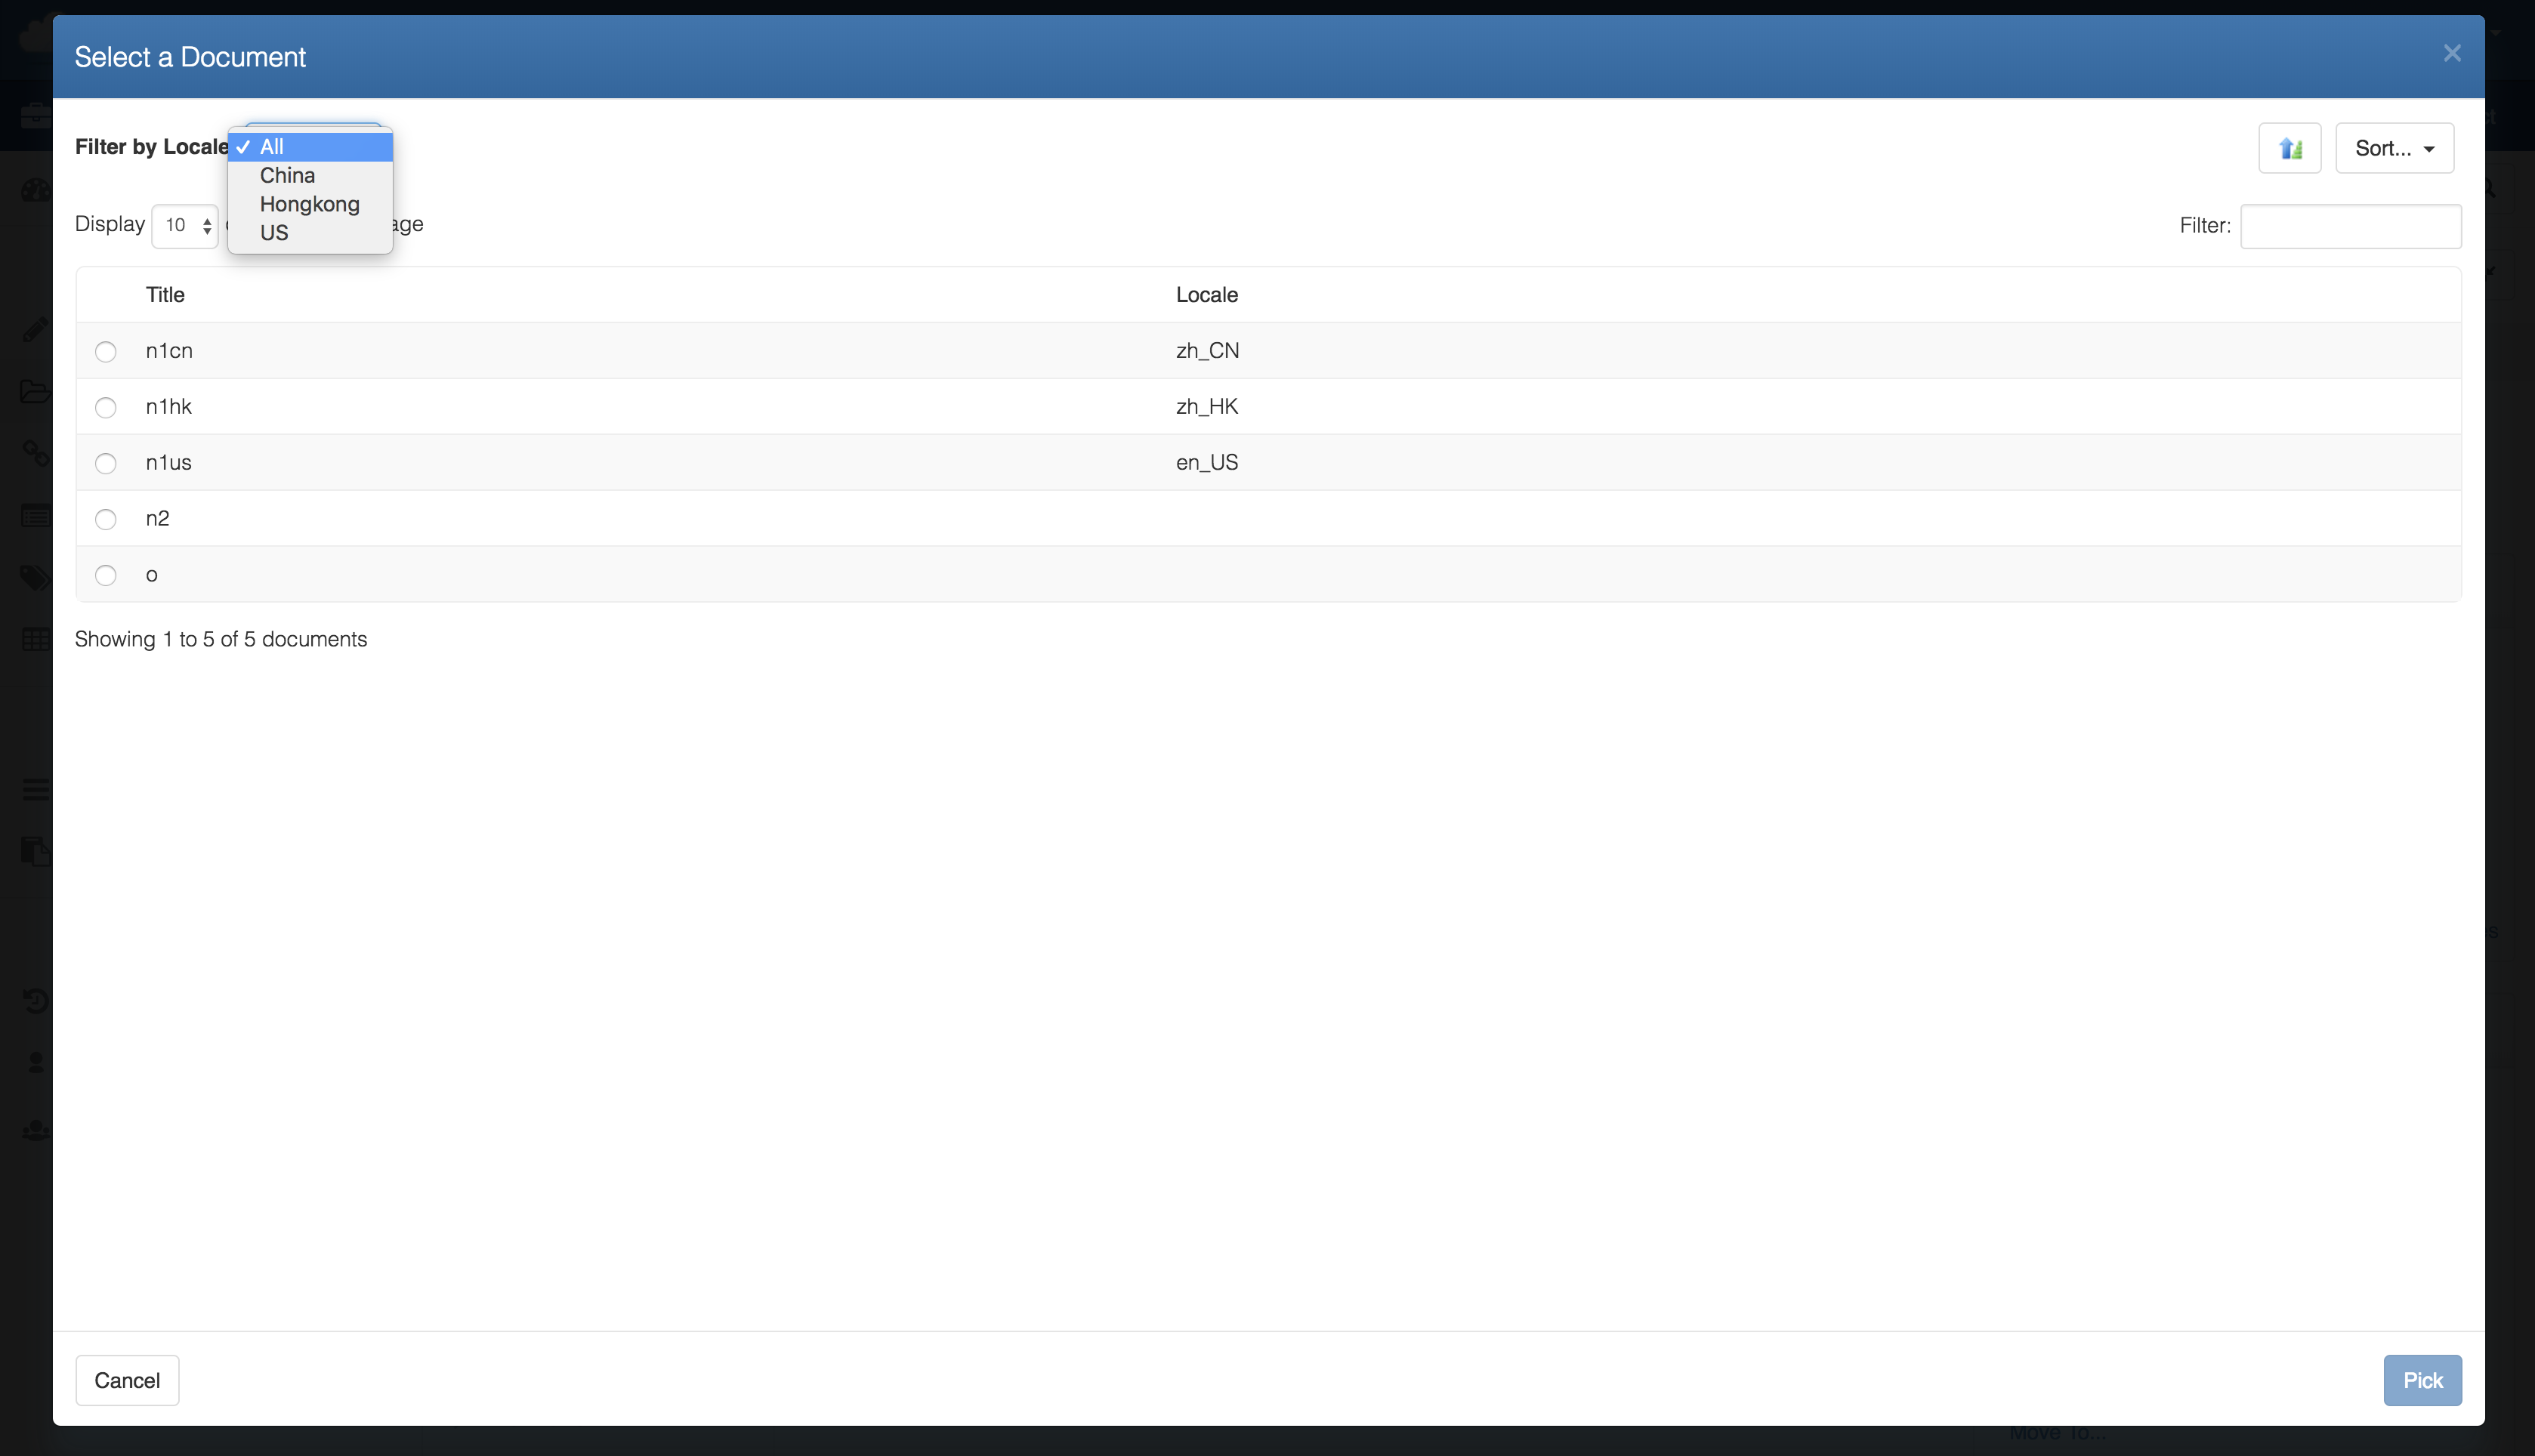
Notice that some documents in the list do not have their locale, that means the locale for that document is unset, so if you choose one of them as a translated document, make sure that you select a locale after picking it. Otherwise, if you choose a translated document that already has a locale, there's no need to pick a locale for it.
Create a new translation document
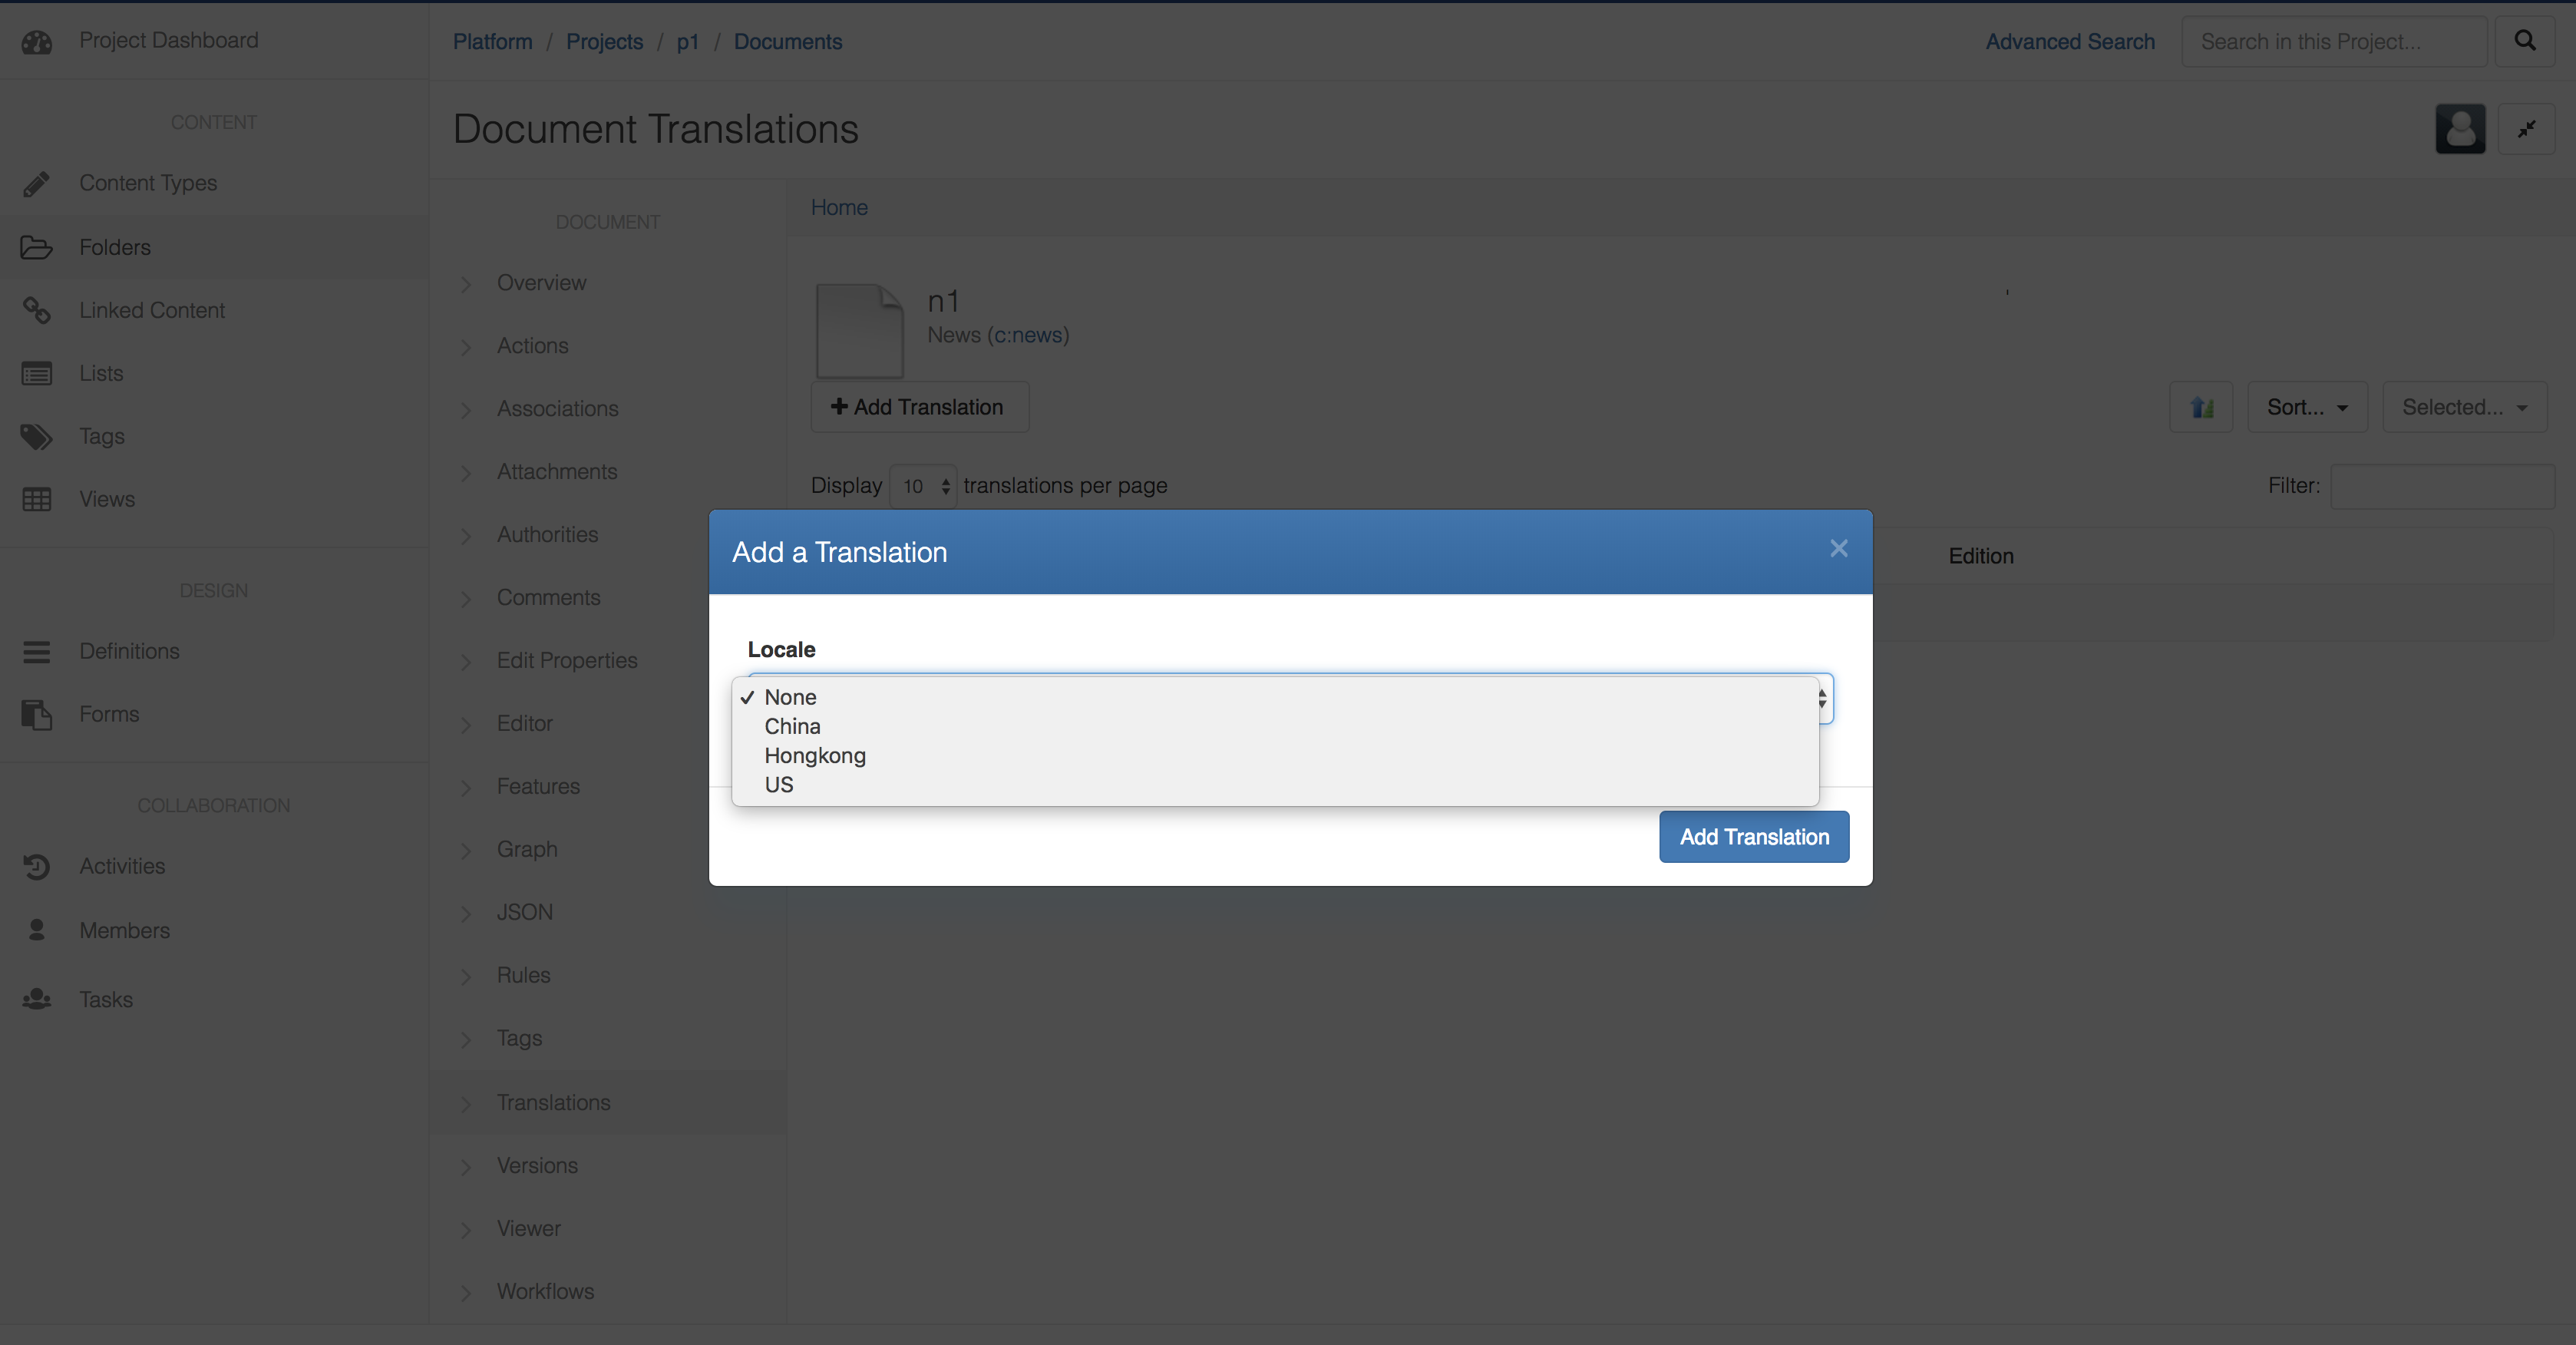
Click "Translations" in the left navigation of the document, click "Add Translation", and pick a locale of the translation you are going to create. Once it's created, you now have an associated node for the locale with the same content as the original content node. You can now edit the content of the new translation node. As an example: this can be seem in a short demo video (no sound): https://www.youtube.com/watch?v=9z144r7ToWU
From a translated document
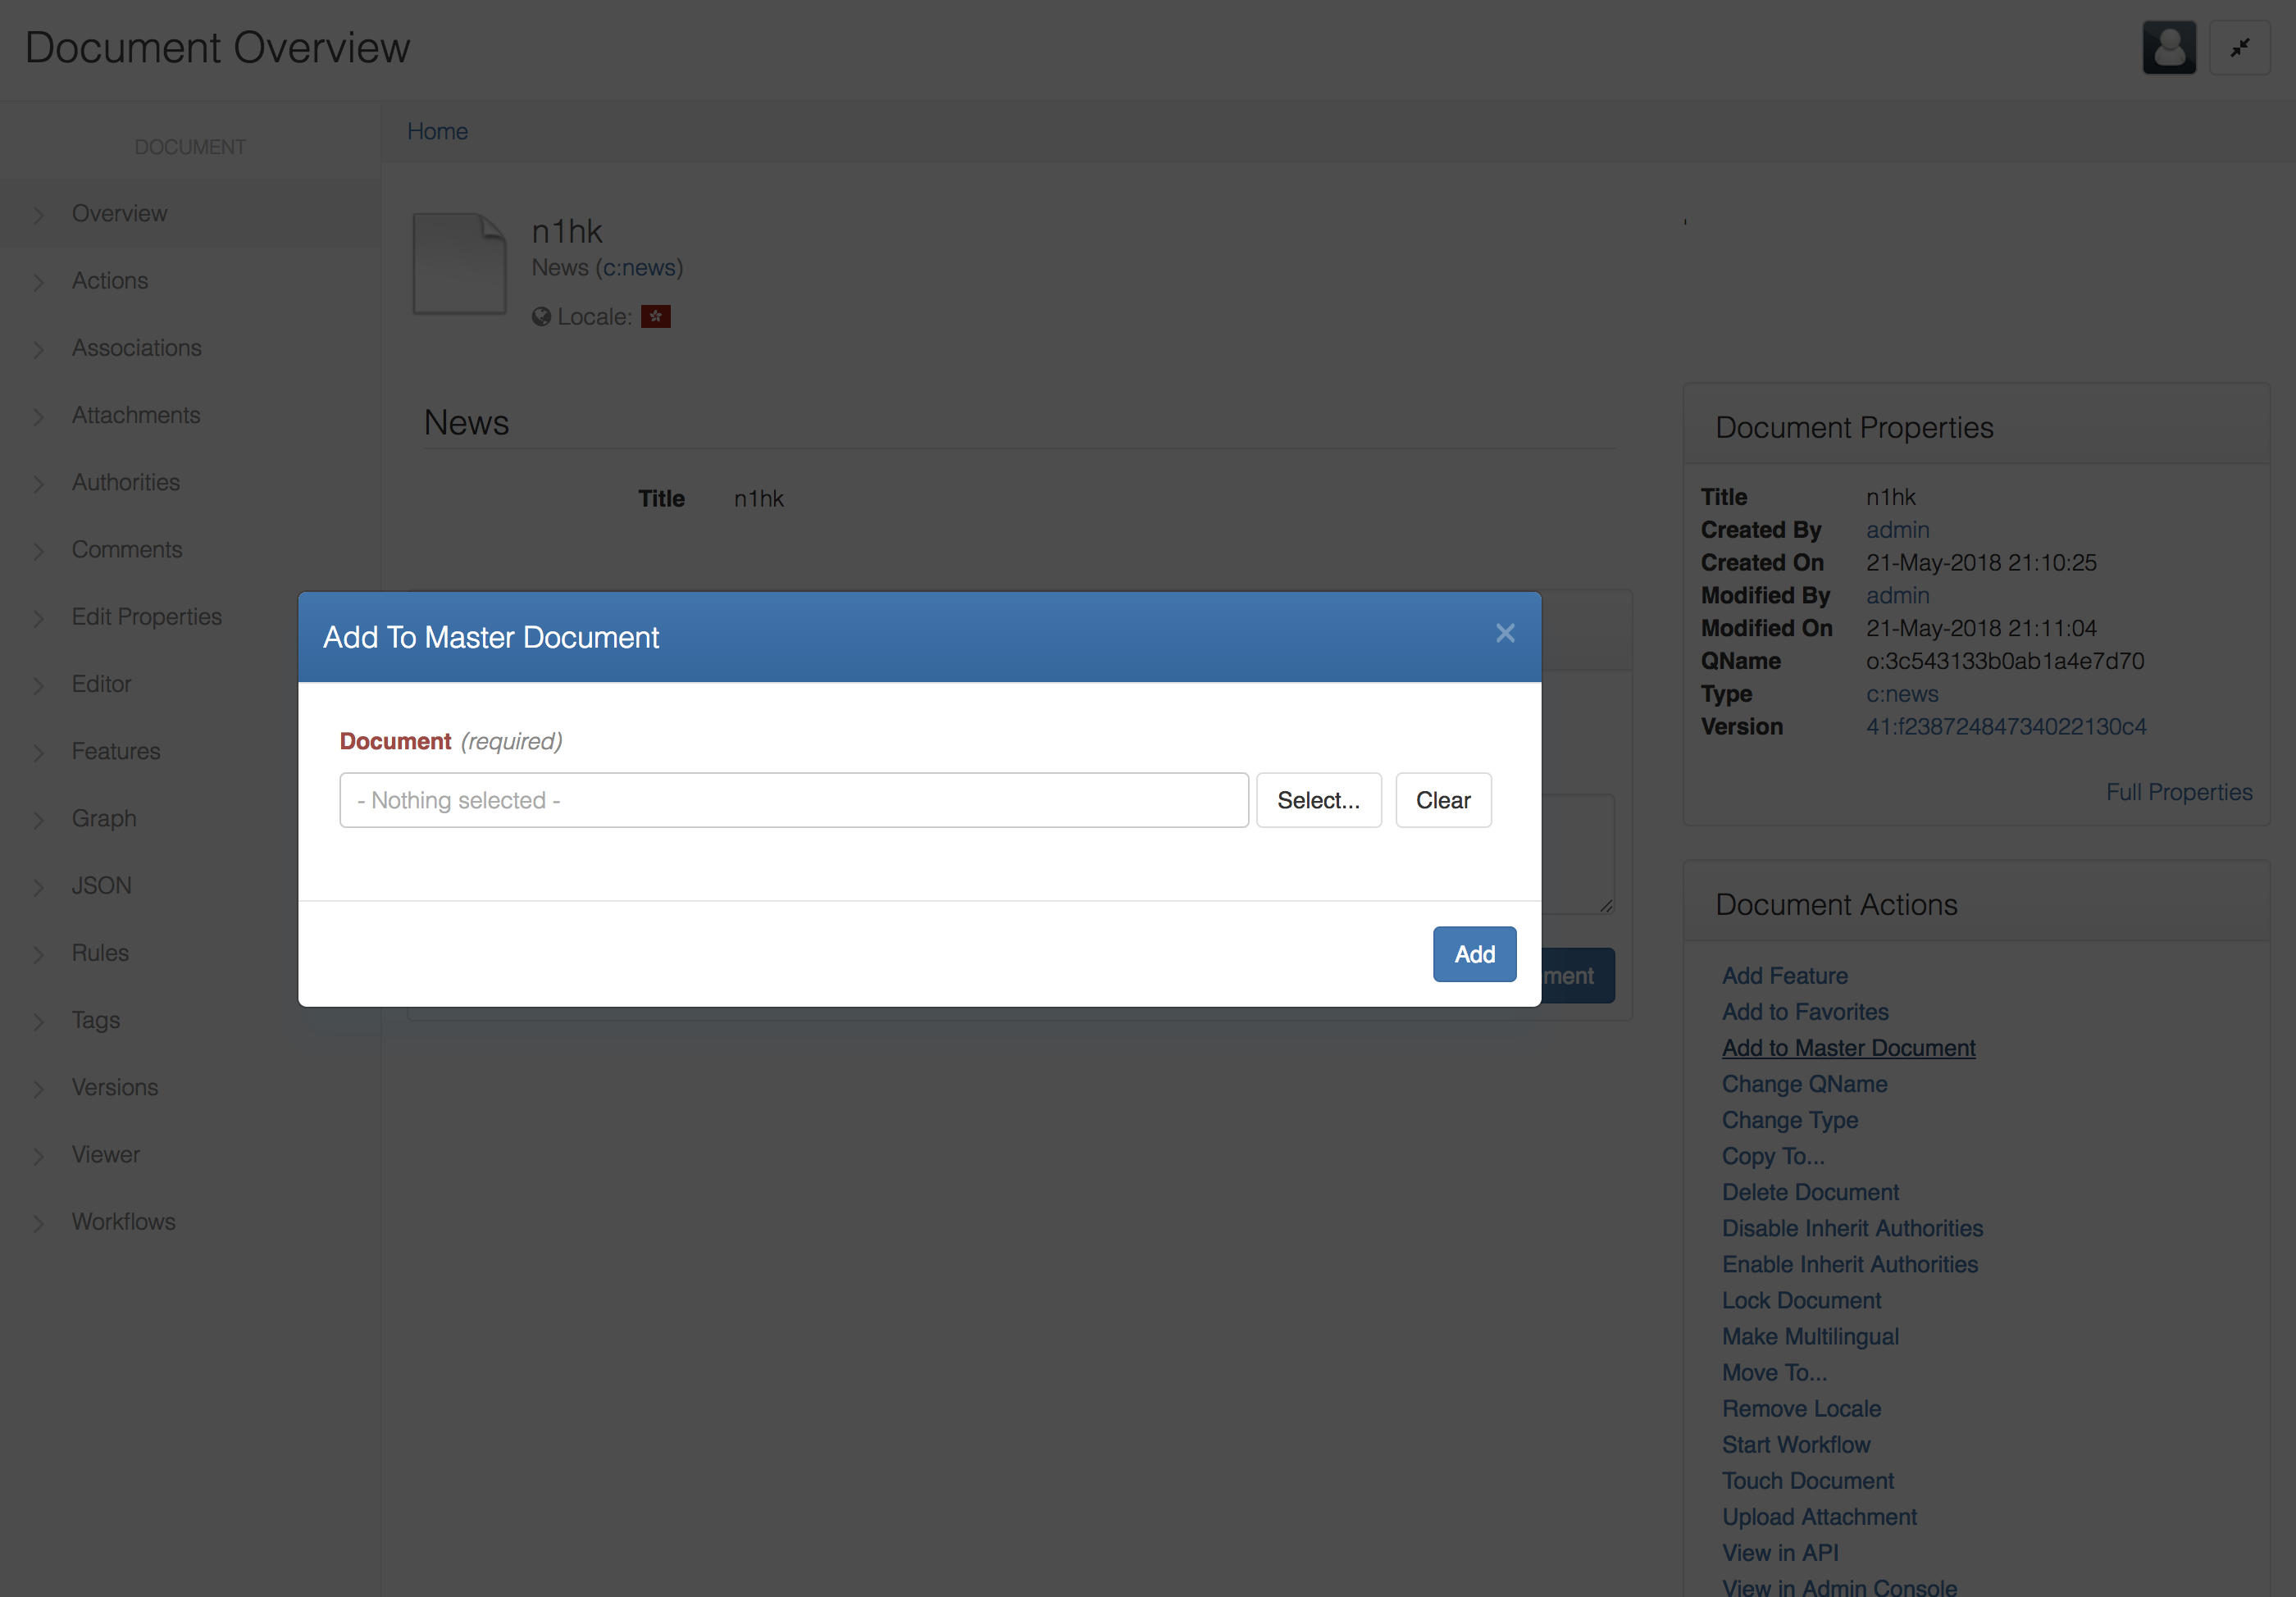
Click "Add to Master Document" in "Document Actions" on the right. You will see a window pop up as below. Click "Select..." and pick a document as the master document of this translation.