Export a Project
Projects can be exported for purposes of backup and restore or for use in creating future projects that are templated copies of the exports. In this way, you can make backups or take snapshots of your projects at moments in time.
Exported projects are stored as Archives in a Cloud CMS Vault. They can be maintained in that vault, allowing you to edit the metadata and publish the archive so as to make it available to other users on the platform. Archives can also be downloaded from Cloud CMS for offline storage. They can also be uploaded to on-premise or alternate data center Cloud CMS installations, allowing to copy and move projects across firewalls.
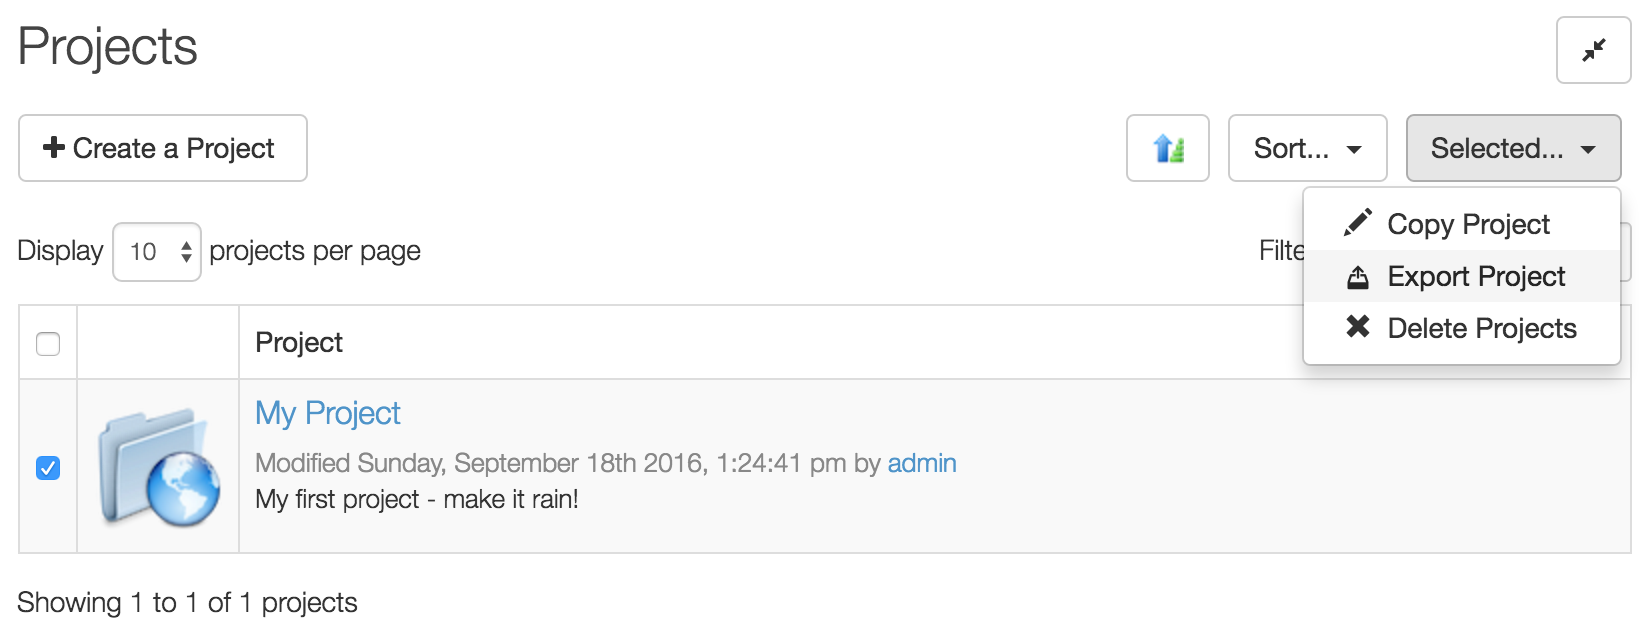
To export a project, find the Project you wish to export in the list of Projects, select it by clicking on the checkbox on the left-hand side.
Then click on the Selected... dropdown and pick "Export Project":
This will bring up the Export Project dialog.

The export process will produce an Archive stored in a vault. This dialog page lets you specify the properties of that archive. Every archive should have a title and also three keys that identify it (group, artifact and version):
title- self explanatory, some kind of meaningful (i.e. "Backup of My Project")group- usually the organization name, defaults to your tenant domain nameartifact- usually the name of the thing being exported, defaults to your project IDversion- a version of the thing being exported, defaults to a timestamp in the formatMMDDYYYY-HHmmss
These values will be populated for you in so far as it is possible. Make sure to fill out Title and optionally Description as well.
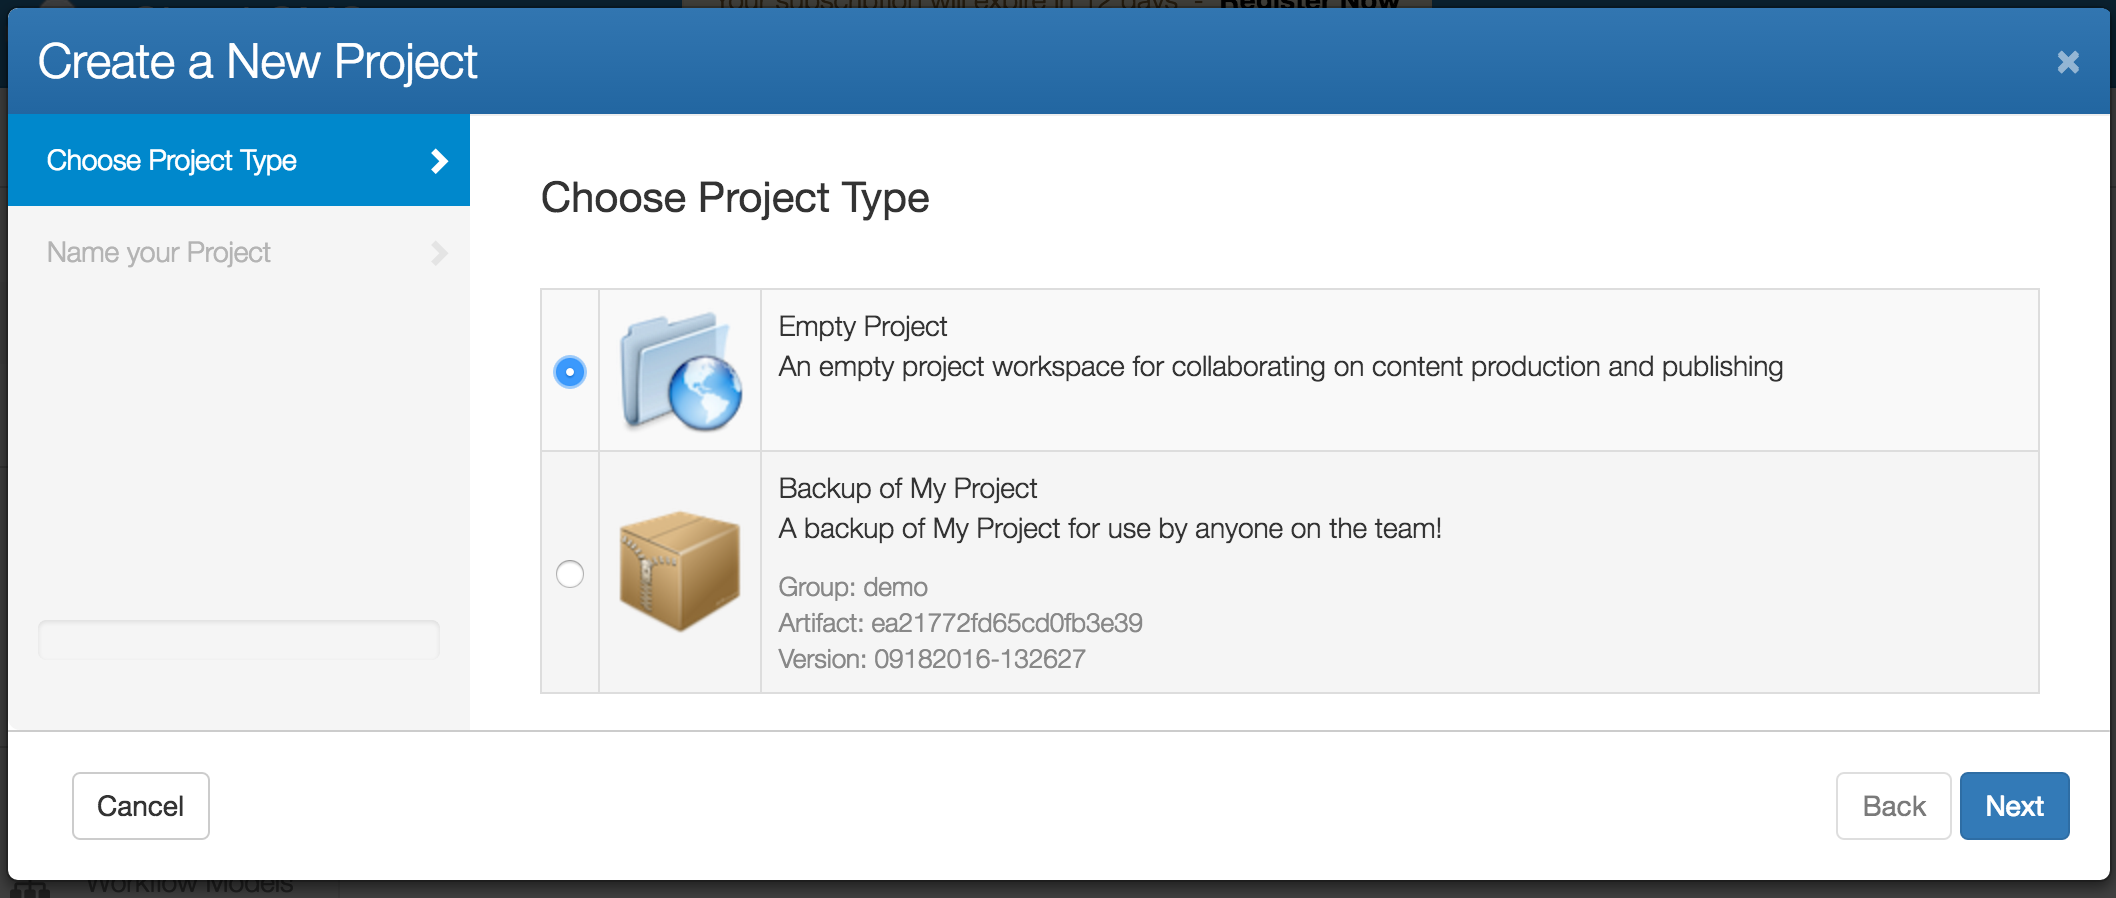
You may opt to mark the generated Archive as Published. Published Archives are made available to other users on your content platform. This will make the Archive available within the Create Project Wizard so that other users can quickly stamp out copies of new Projects using your Archive as a base or template.
In addition, you will be able to pick the Vault that the Archive will be created within. By default, the "primary" Vault is auto-selected for you. Most of the time, this is what you will want to use. However, Cloud CMS, being as extensible and kind as it is, does allow you to create additional vaults and there may be times where you choose to store into one of those. It's up to you.
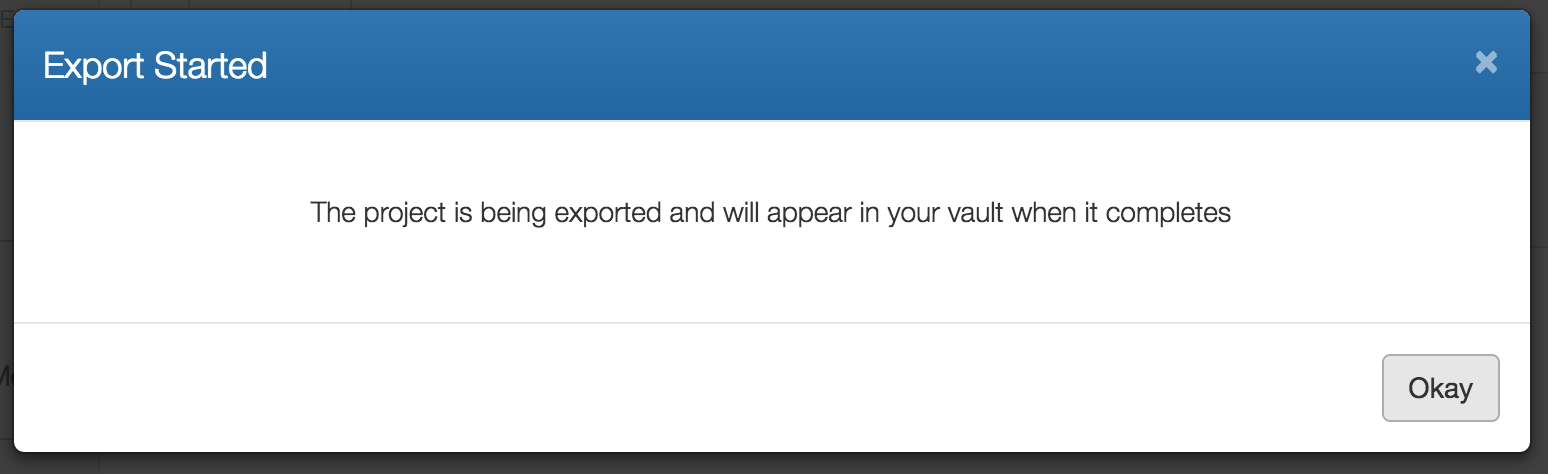
Then click Export.
Your Project will be exported in the background. This may take awhile depending on the size of your Project since Cloud CMS needs to gather all of your datastores, objects and binary attachments into the export.
When all is said and done, you will have a new Archive available in your Vault.
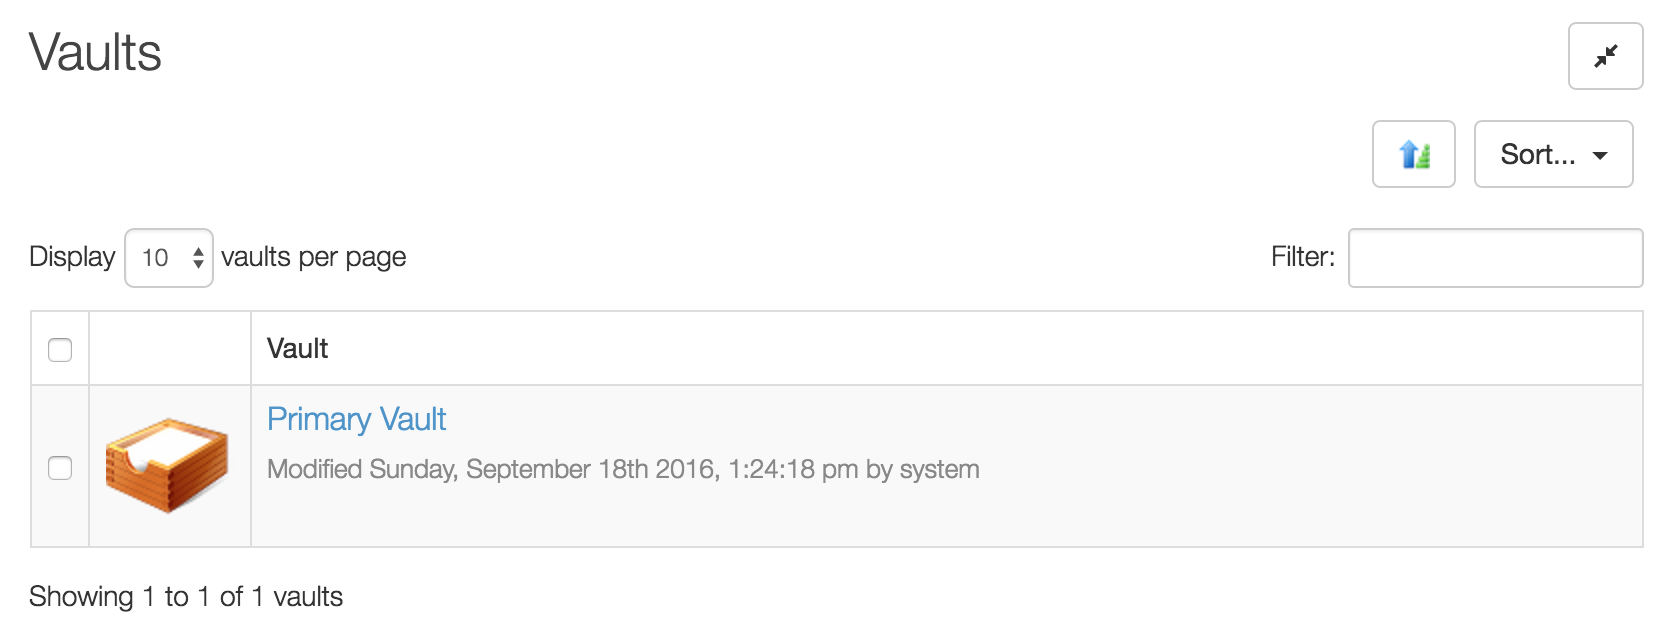
To view this archive, go to Platform > Vaults.

And then click on Primary Vault. Or, if you exported to a different Vault, then select that one.
Click on Archives and you will see a list of the Archives available in the Vault. When your Archive has completed exporting, you will see it in the list. If you've waited awhile and it still doesn't appear, you may want to check your tenant logs for mention of an error.
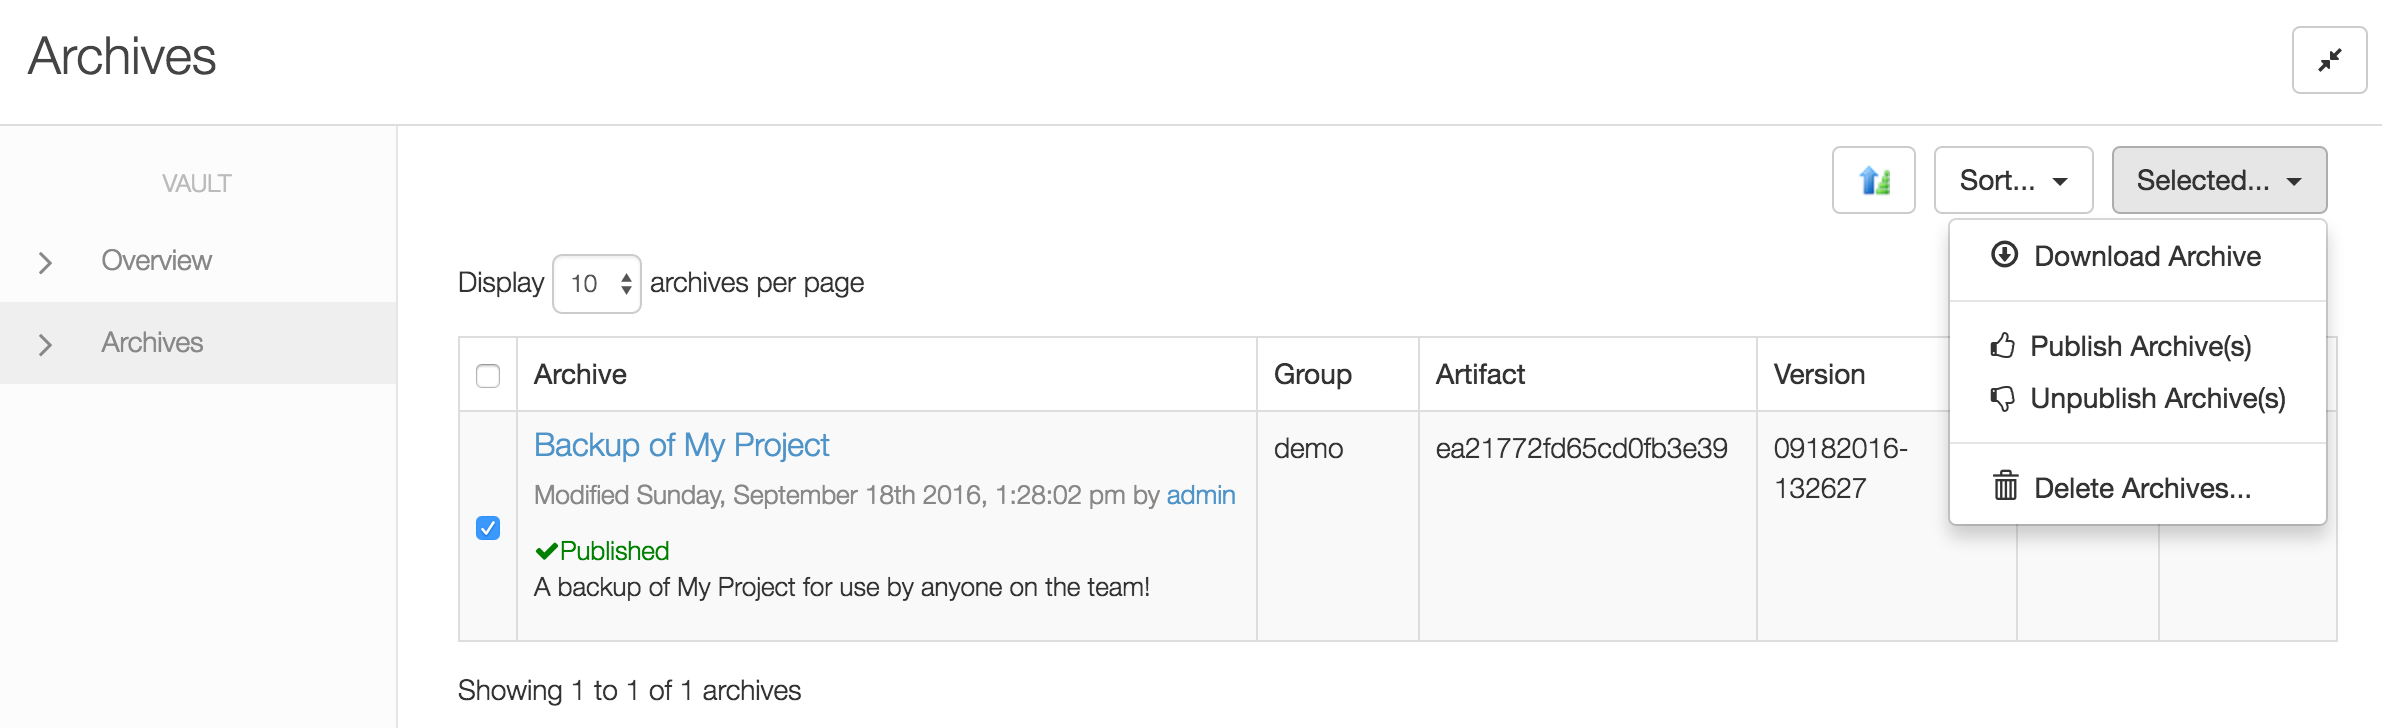
The Archives list allows you to Download your Archive as well as Publish, Unpublish or Delete it. Clicking into an Archive will allow you to view details of the Archive and also edit metadata about it.
Bear in mind that Archives are permissioned objects just like anything else in Cloud CMS. As such, you will need to have sufficient rights to make changes, view properties and more before working with Archives directly within a Vault.