Create a Project
You can create as many projects as you would like within Cloud CMS. Each project provides a collaborate space for your team. You use this collaboration space to:
- Work on content together
- Design your content schema, properties and forms
- Invite users into teams and assign roles and responsibilities
- Approve content and make it available on your web site or mobile app
And much more.
There are multiple ways to create a project. For example, you can:
- Create a Project from scratch -Create a Project using a Project Template
Let's walk through these.
Create a Project from Scratch
To create a Project from scratch, start by going to your platform and clicking on the Projects link on the left-hand menu.
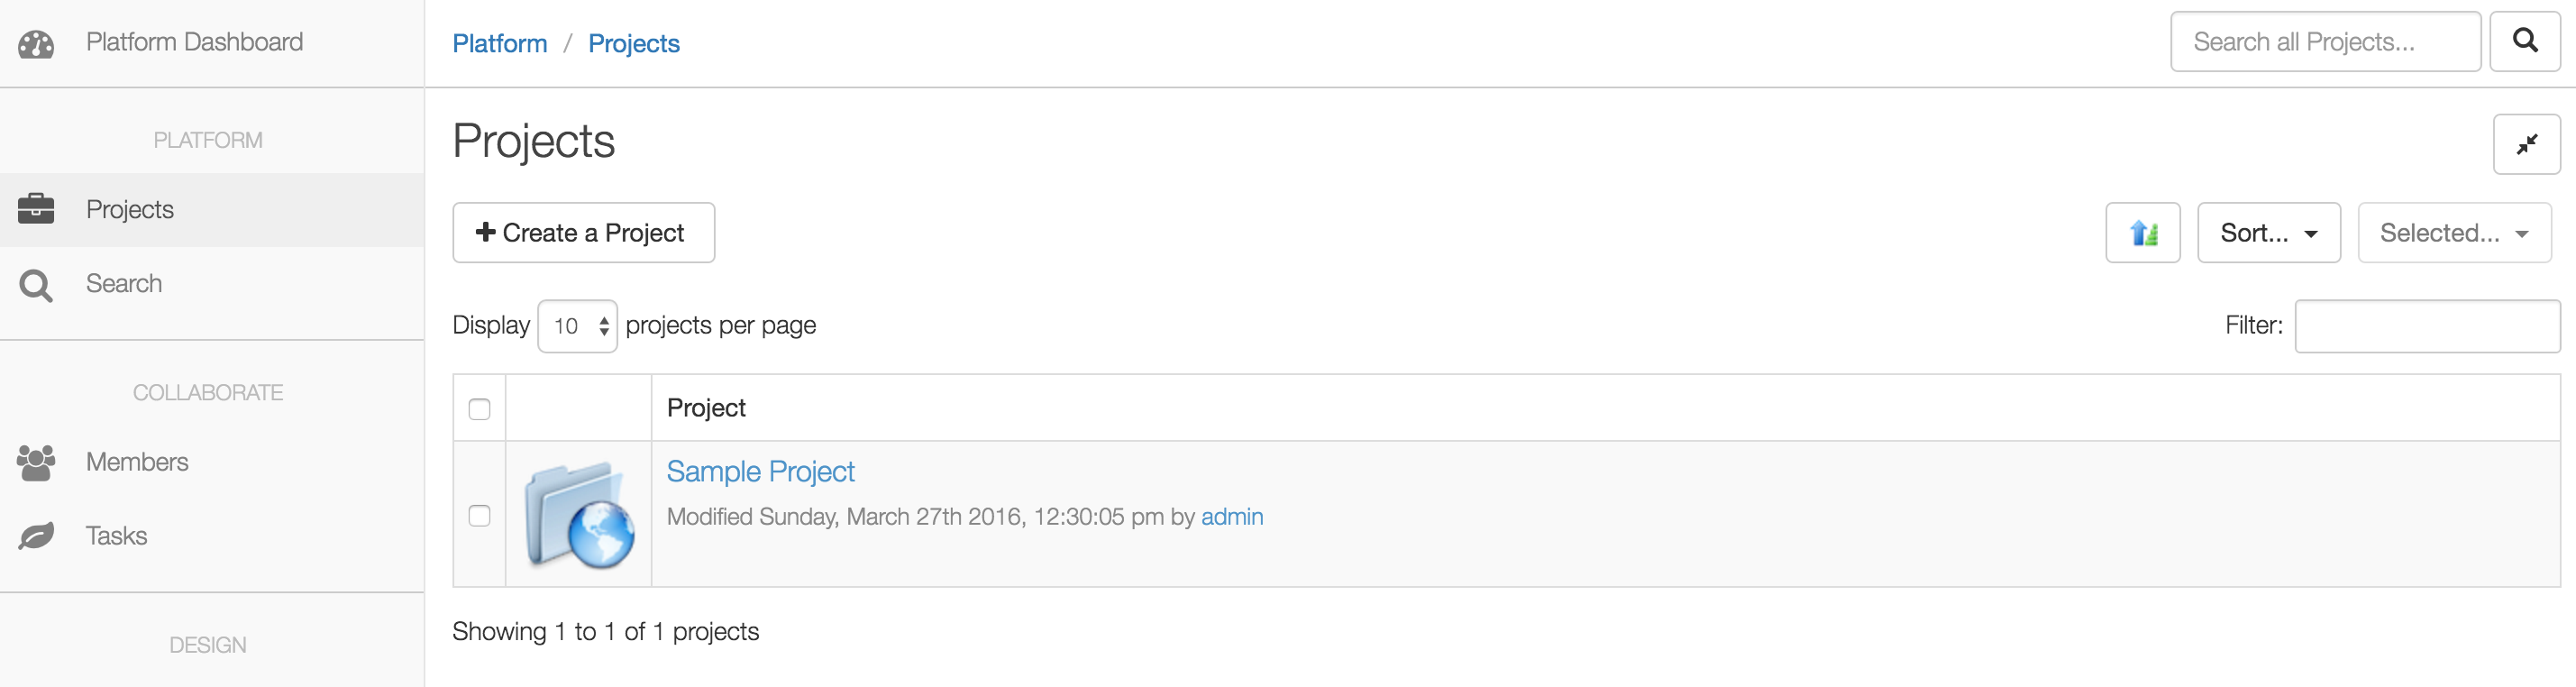
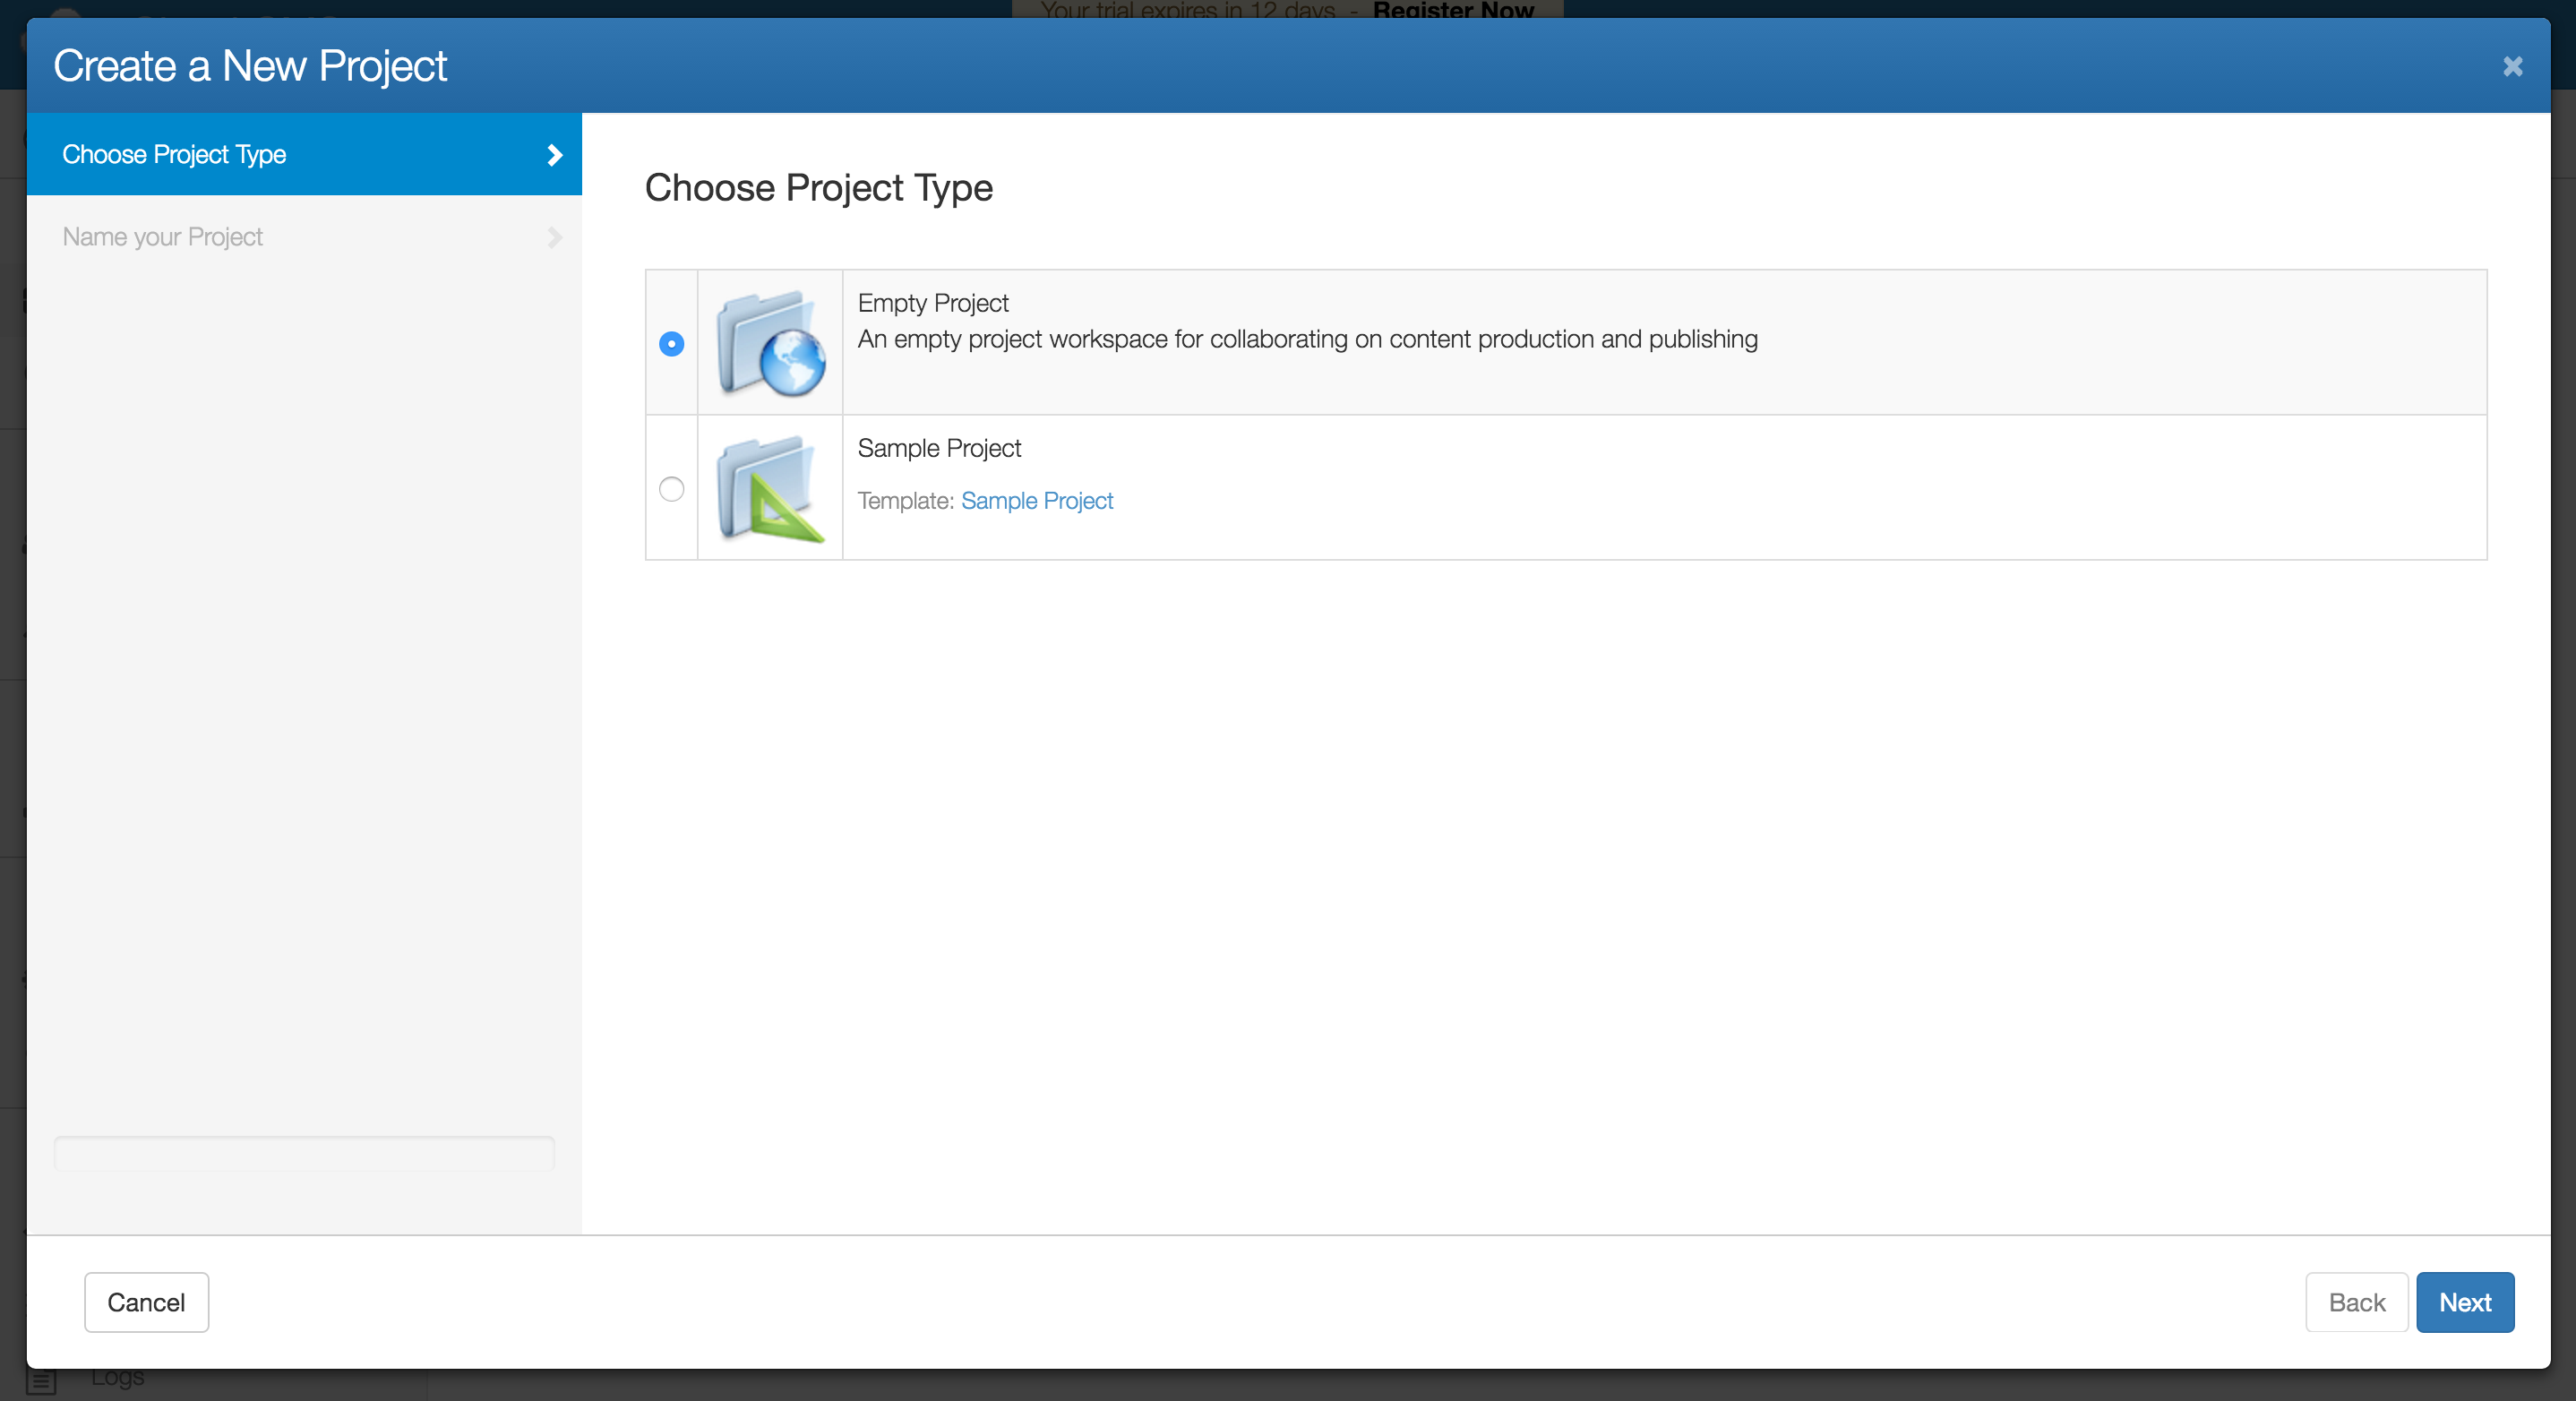
And then click on Create Project. This brings up the Project Creation Wizard.
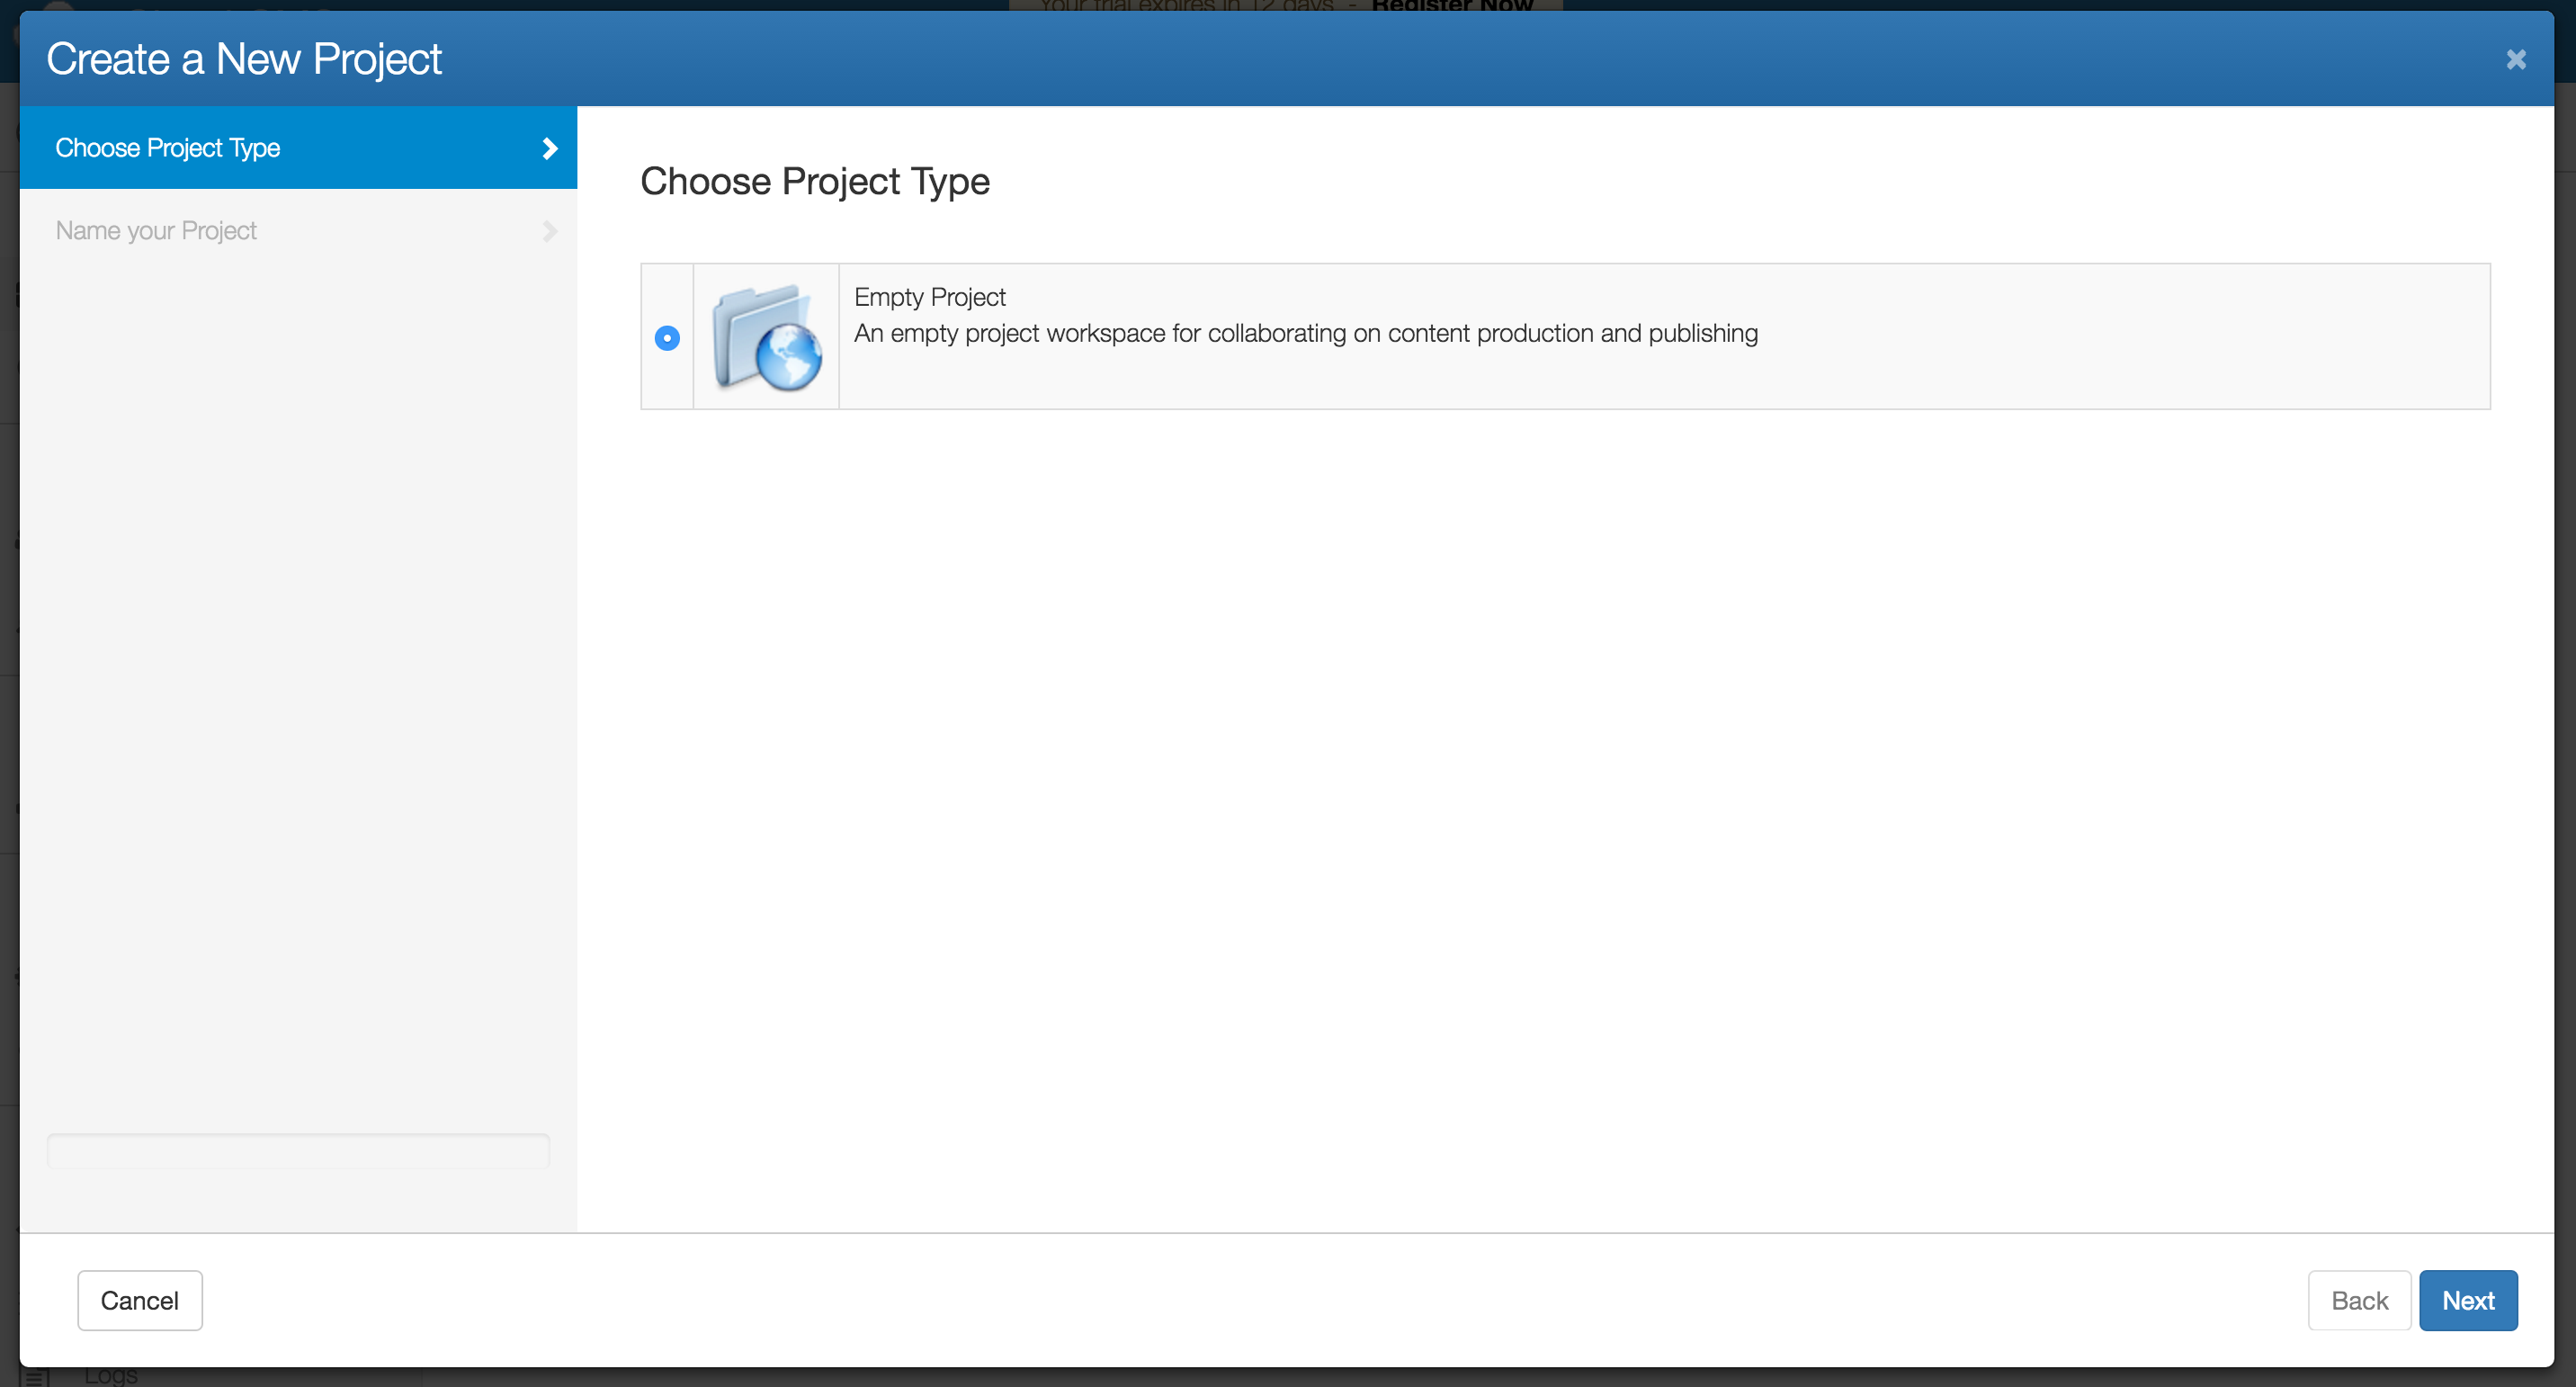
Make sure Empty Project is selected and click Next. Then give your project a Name and a Description.
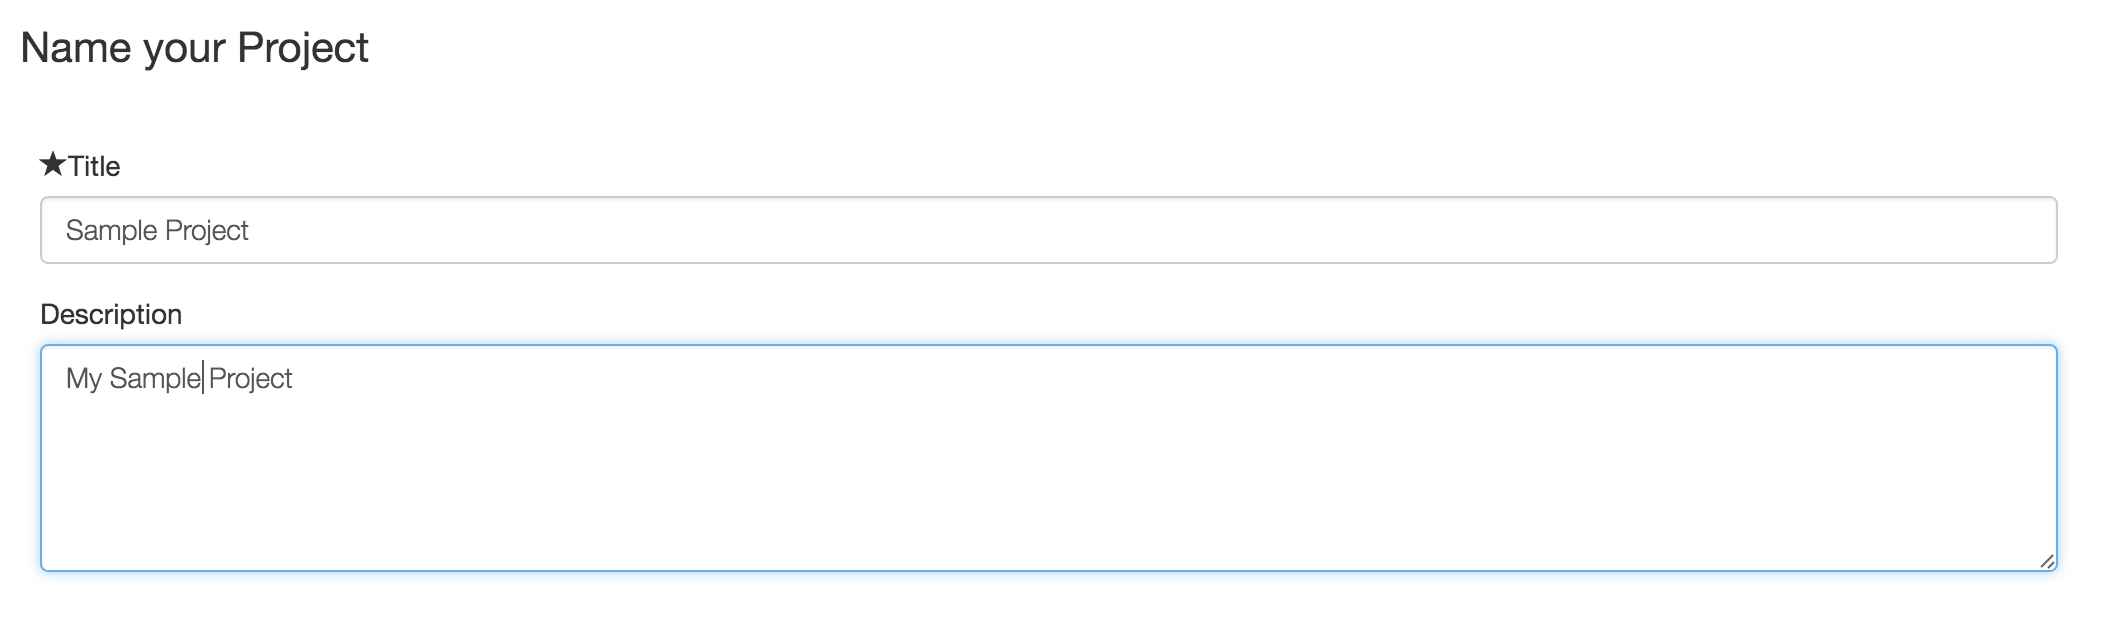
Click Create and your Project will be created. This may take a minute or two. Once the wizard completes, you will be dropped into your new Project.
Remember that a Project built from scratch doesn't yet have any custom content models or content objects in it. It is more or less a blank slate for you to work with. You can build out anything you want!
Create a Project using a Project Template
Any Project can be tagged as a template. Tagging a Project as a template means that you want other people to be able to make copies of your Project by picking it within the Project Creation Wizard.
To tag a Project as a Template, go into the existing Project that you wish to tag as a Template and then go to the Project Settings page on the left-hand side menu.
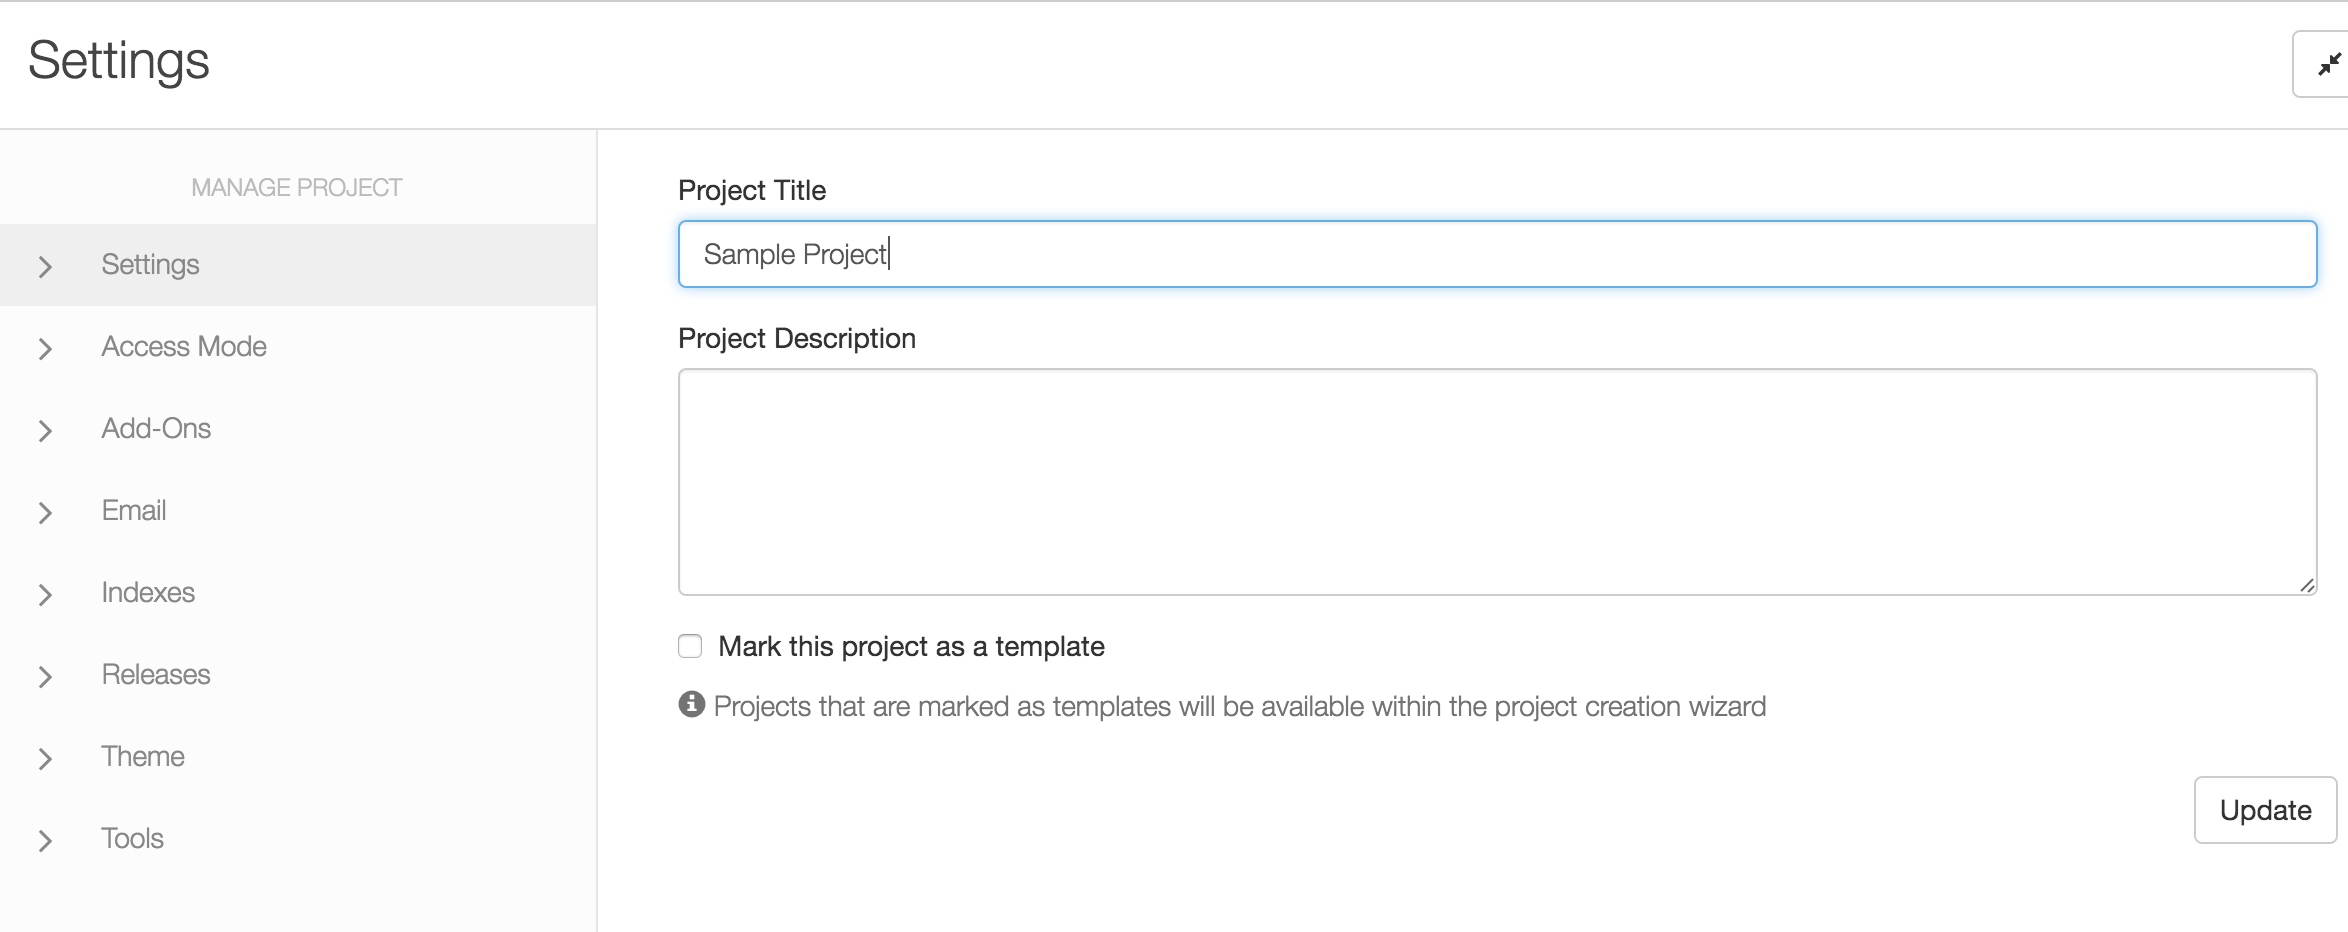
Check the box for "Mark this project as a template" and click Save.
That's it, your existing Project is now marked as a Project Template.
Now create a new Project by going to the Projects page and clicking Create Project.
Notice that you Project Template is now available within the Project Creation Wizard. Select your Project Template and then complete the Project Creation Wizard to create a new Project.
Your new Project will be a copy of the Project Template. All of the content definitions, forms, content objects, users and more will be included.